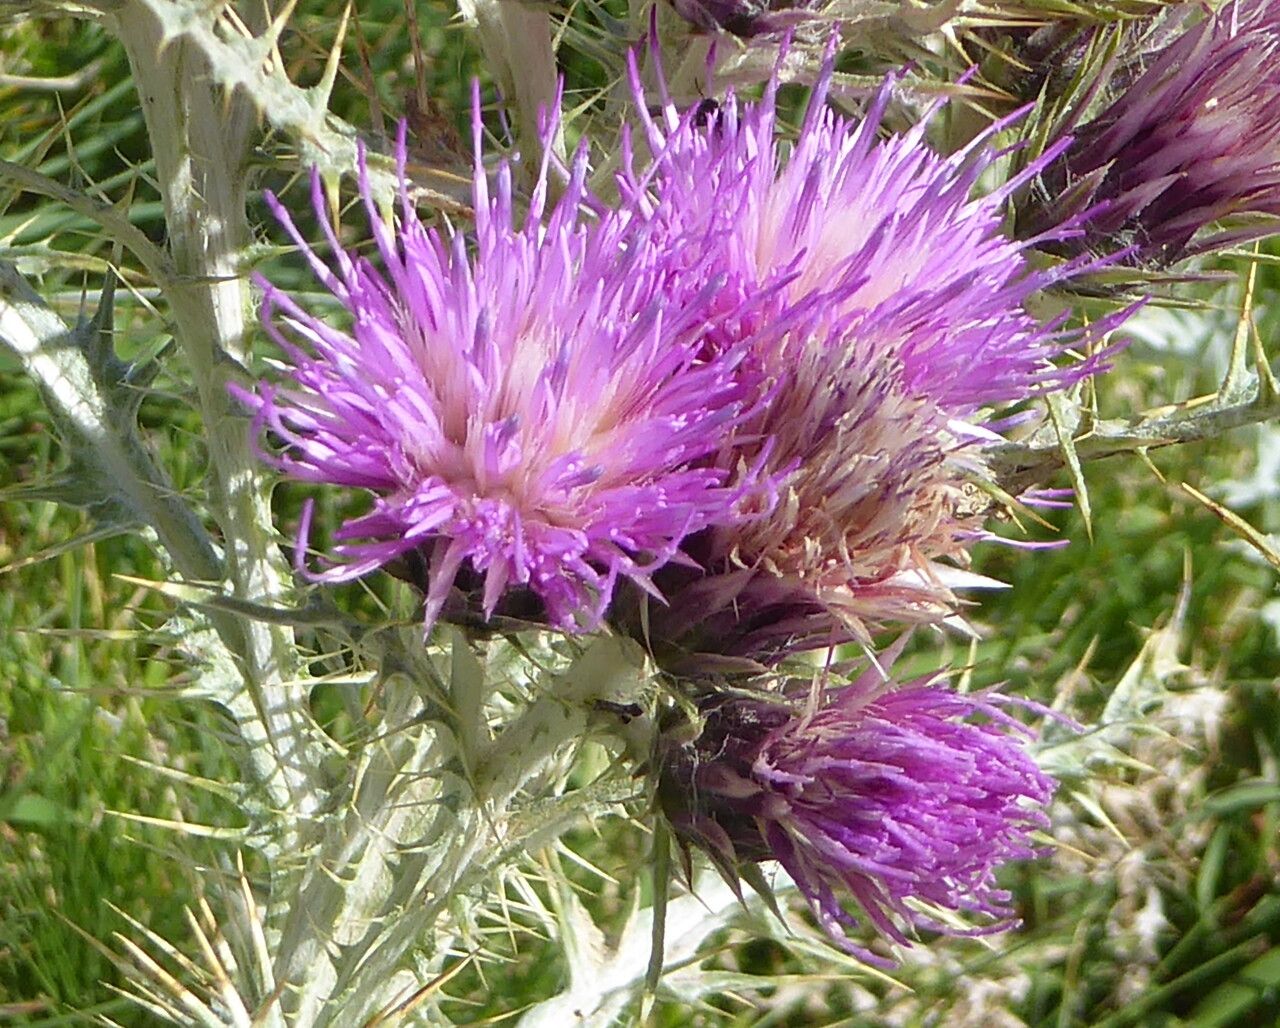
Oh, hello there! Pull up a chair and let’s chat about a plant that has truly captured my heart over the years: Carduus carlinoides, often called Alpine Thistle or Mountain Thistle. It’s such a stoic beauty, isn’t it? Those delicate, yet resilient, thistle flowers really do bring a touch of wild charm to any garden. And the best part? Learning to propagate it is a wonderfully rewarding journey. For those of you just dipping your toes into the world of plant propagation, I’d say Carduus carlinoides is moderately easy. It’s not a push-button plant, but with a little attention, you’ll be rewarded with a whole new patch of these delightful blooms.
The Best Time to Start
When I’m looking to get more Carduus carlinoides plants, I always aim for the late spring to early summer. This is when the plant is actively growing, and the new stems have a good chance of rooting successfully. Waiting until after the main flowering flush is also a smart move. You’ll have plenty of healthy shoots to work with.
Supplies You’ll Need
Before we get our hands dirty, let’s gather our tools. Here’s what I usually have on hand:
- Sharp pruning shears or a clean knife: For making clean cuts.
- A well-draining potting mix: I like a mix of perlite, coarse sand, and peat moss. About a 1:1:1 ratio usually does the trick.
- Small pots or trays: Clean ones are a must to prevent disease.
- Rooting hormone powder or gel (optional but recommended): This can give your cuttings a real boost.
- A watering can with a fine rose: For gentle watering.
- A clear plastic bag or a propagator lid: To create a humid environment.
Propagation Methods
There are a couple of ways we can go about this, but my favorite for Carduus carlinoides is definitely stem cuttings. It’s straightforward and gives you a great success rate.
Stem Cuttings:
- Select your cutting: Look for healthy, non-flowering stems that are about 4-6 inches long. These are often referred to as “semi-hardwood” cuttings. Gently twist or cut the stem from the parent plant.
- Prepare the cutting: Remove the lower leaves, leaving just a few at the top. If the leaves are very large, you can even cut them in half to reduce water loss.
- Apply rooting hormone (optional): Dip the cut end of the stem into rooting hormone. Tap off any excess.
- Plant the cutting: Make a hole in your prepared potting mix with a pencil or finger. Insert the cutting into the hole, ensuring the nodes (where the leaves were) are buried. Gently firm the soil around the base.
- Water gently: Water thoroughly until the drainage holes are active.
- Create humidity: Place the pot inside a clear plastic bag, sealing it loosely, or cover it with a propagator lid. This will keep the humidity high, which is crucial for cuttings to root.
- Find a good spot: Place the pot in a bright location but out of direct sunlight. A windowsill that gets indirect light is perfect.
The “Secret Sauce” (Pro Tips)
Now, for a few little tricks I’ve picked up over the years.
- Keep it clean: Sterilize your tools and pots! This is more important than you might think for preventing fungal diseases on your delicate cuttings. A quick wipe with rubbing alcohol does wonders.
- Don’t drown it: While humidity is key, avoid waterlogging the soil. Soggy conditions are the quickest way to invite rot. Let the top inch of soil dry out slightly between waterings.
- A little warmth helps: If you have it available, a heat mat placed under your propagator can significantly speed up the rooting process. It mimics the warmth of spring and can make a noticeable difference.
Aftercare & Troubleshooting
Once your Carduus carlinoides cuttings have started to show signs of life – look for new leaf growth or a gentle tug that meets resistance – they’re on their way!
- Acclimatize gradually: Once roots are established (this can take several weeks to a couple of months), slowly introduce your new plants to open air by opening the plastic bag for a few hours each day.
- Pot them up: When they’re strong enough, carefully transplant them into their own small pots. Continue to keep them in bright, indirect light and water when the topsoil feels dry.
- Watch for rot: The most common problem is rot. If your cutting turns black and mushy, it’s likely a goner. This usually happens from overwatering or poor air circulation. Don’t be discouraged; just try again with a clean setup. Another sign of trouble is if your cuttings wilt and fail to perk up even after watering. This could indicate a lack of humidity or that they haven’t developed roots yet.
A Encouraging Closing
Propagating Carduus carlinoides is such a satisfying experience. It’s a chance to nurture new life and expand your garden with these beautiful plants. Be patient, observe your cuttings closely, and don’t be afraid to experiment a little. Nature has its own rhythm, and with a touch of care, you’ll soon be surrounded by your very own thistles. Happy gardening!
Resource:
https://identify.plantnet.org/k-world-flora/species/Carduus%20carlinoides%20Gouan/data