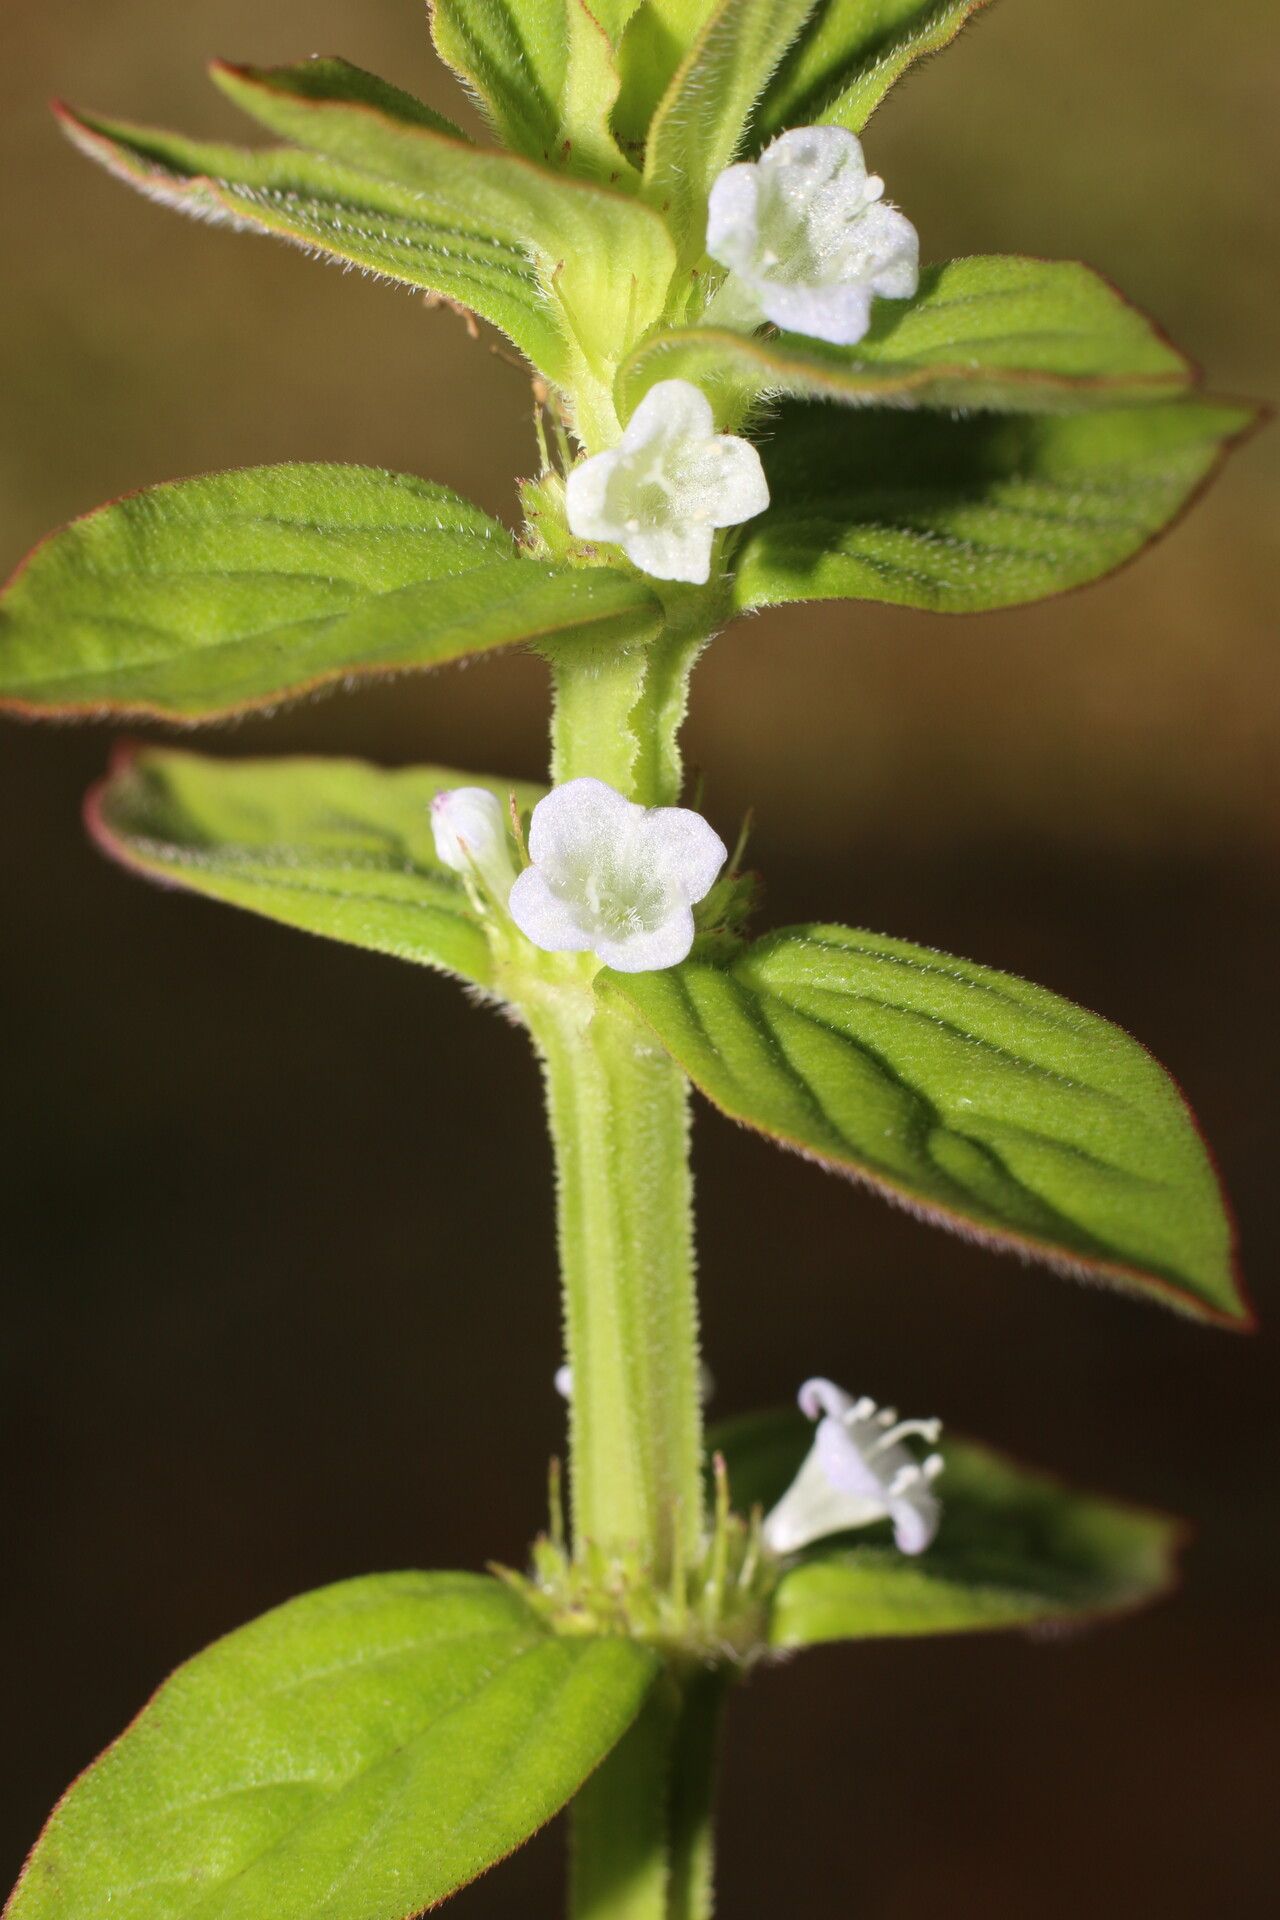
Oh, hello there, fellow plant enthusiast! I’m so glad you’ve stopped by. Today, we’re going to get our hands dirty with a really delightful plant: Spermacoce alata. If you’ve had the pleasure of seeing this beauty in bloom, you know what I mean. Its vibrant flowers and lush foliage can really brighten up any corner of the garden or home.
What I love most about propagating Spermacoce alata is the sheer joy of watching a tiny slip of stem transform into a thriving new plant. It’s incredibly rewarding, and guess what? For beginners, this one is surprisingly forgiving. You might find yourself with more plants than you know what to do with – and that’s a wonderful problem to have!
The Best Time to Start
When it comes to timing, spring and early summer are your absolute best friends for propagating Spermacoce alata. The plant is actively growing during this time, which means it has plenty of energy to put into developing new roots. You’ll get the most robust cuttings and the highest success rate with fresh, vibrant growth. Look for stems that are healthy and firm, not woody or already flowering.
Supplies You’ll Need
To set yourself up for success, gather these handy tools:
- Sharp pruning shears or a clean knife: For making clean cuts.
- Rooting hormone (optional, but recommended): A powder or gel to encourage root development.
- Well-draining potting mix: I like a blend of peat moss, perlite, and a bit of compost. For a ready-made option, a good quality seed starting mix works wonders.
- Small pots or seed trays: About 4-6 inches deep are perfect. Make sure they have drainage holes.
- Plastic bags or a propagation dome: To create a humid environment.
- Watering can or mister: For gentle watering.
Propagation Methods
We’ll focus on two of the easiest and most effective ways to propagate Spermacoce alata: stem cuttings and water propagation.
Stem Cuttings
This is my go-to method for this plant.
- Take Your Cuttings: From a healthy, mature plant, select non-flowering stems. Using your sharp shears, make a cut just below a leaf node (where a leaf attaches to the stem). Aim for cuttings that are about 4-6 inches long.
- Prepare the Cuttings: Gently remove the lower leaves, leaving just a couple of leaves at the very top. This prevents them from rotting in the soil. If your leaves are quite large, you can even cut them in half horizontally to reduce water loss.
- Apply Rooting Hormone (Optional): Dip the cut end of the stem into your rooting hormone, tapping off any excess.
- Plant Your Cuttings: Fill your small pots with your well-draining potting mix. Make a small hole in the center with your finger or a pencil, and gently insert the cutting. Firm the soil around the stem.
- Water Gently: Water thoroughly, making sure the soil is evenly moist but not waterlogged.
- Create Humidity: Cover the pot with a clear plastic bag, or place it under a propagation dome. This little humid environment is crucial for keeping the cuttings from drying out before they can root.
- Place in Bright, Indirect Light: Find a warm spot that receives bright, indirect light. Avoid direct sun, which can scorch your precious cuttings.
Water Propagation
This method is fascinating to watch!
- Select and Prepare Cuttings: Follow steps 1 and 2 from the stem cuttings method.
- Place in Water: Find a clean glass jar or vase and fill it with fresh, room-temperature water. Place your prepared cuttings in the water, ensuring that no leaves are submerged. This is super important to prevent rot.
- Change Water Regularly: Change the water every few days to keep it fresh and prevent algae growth.
- Monitor Root Development: Place the jar in a bright location with indirect light. You should start to see tiny white roots emerging from the cut end within a couple of weeks.
- Potting Up: Once the roots are about an inch long, it’s time to move them to soil! Gently plant them in your prepared potting mix as described in step 4 of the stem cuttings method.
The “Secret Sauce” (Pro Tips)
Here are a couple of things I’ve learned over the years that can really boost your success:
- Bottom Heat is Your Friend: If you have access to a heat mat, placing your pots on it can significantly speed up root development. This mimics the warmth of the soil in nature.
- Don’t Be Afraid to Mist: Especially in dry environments, lightly misting the leaves of your cuttings every so often (while they are covered) can provide that extra bit of humidity they crave. Just don’t go overboard; we want a humid environment, not a swamp!
Aftercare & Troubleshooting
Once you see new growth emerging or feel a gentle tug when you lightly pull on a cutting, it’s a good sign that roots have formed! Gradually acclimate your new plants to drier air by removing the plastic bag or dome for longer periods each day. Continue to water them when the top inch of soil feels dry.
Now, sometimes things don’t go as planned. The most common issue you might face is rot. If your cuttings look black, mushy, or slimy, it’s a sign of too much moisture and poor air circulation. At that point, it’s best to discard them and start again, paying closer attention to watering and drainage. If your cuttings simply wilt and die without any sign of rot, they might be drying out too quickly. Ensure your humidity dome or plastic bag is creating a good seal.
A Encouraging Closing
Propagating plants is a wonderfully meditative process, and with Spermacoce alata, its resilience makes it an even more enjoyable journey. Be patient with your little cuttings. Some might take a little longer than others, and that’s perfectly okay. Celebrate every little success, and don’t be discouraged by losses. The joy of nurturing a new plant from a tiny piece of another is truly one of life’s simple pleasures. Happy propagating!
Resource:
https://identify.plantnet.org/k-world-flora/species/Spermacoce%20alata%20Aubl./data