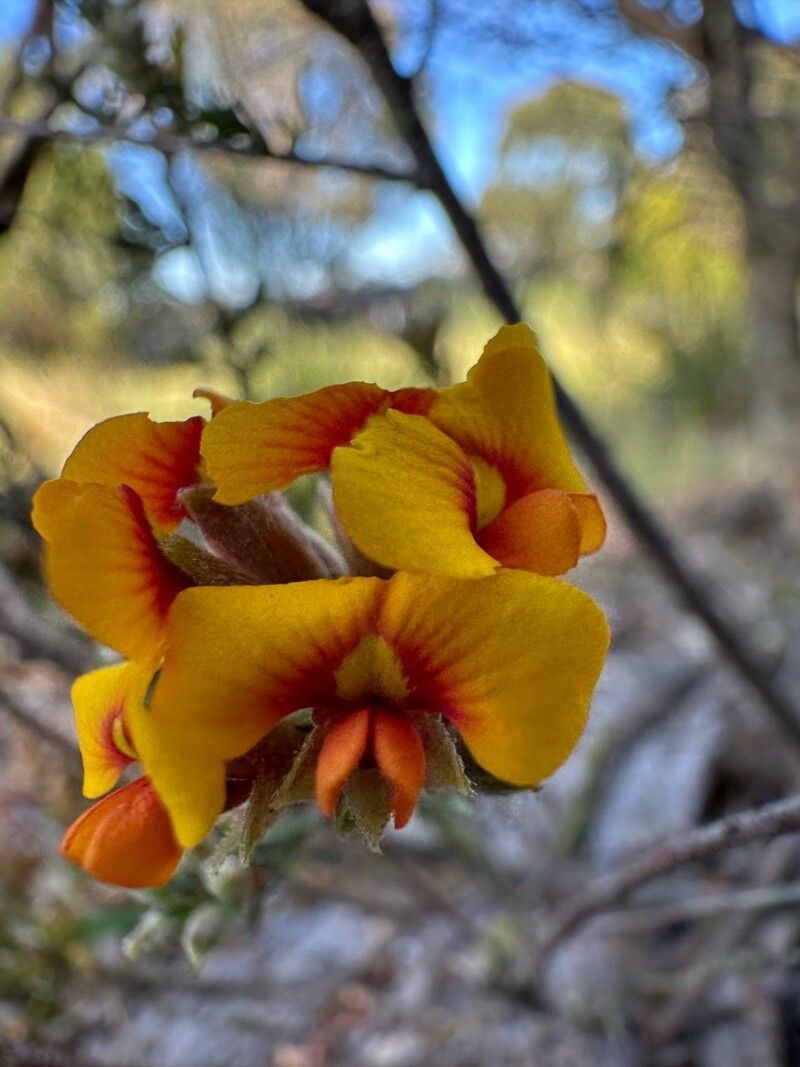
Hello, fellow plant enthusiasts! If you’ve ever admired the delicate beauty of Dillwynia phylicoides, also known as the lovely mountain pea-bush or native Christmas bush, you’re not alone. Its sprays of cheerful yellow-to-orange pea-like flowers really bring a touch of sunshine to the garden, especially those lovely native ones here in Australia. And the best part? You can easily multiply this beauty yourself!
As a seasoned gardener, I can tell you that propagating Dillwynia phylicoides is a truly rewarding experience. It’s a fantastic way to get more of these delightful plants for your own garden or to share with friends. For beginners, I’d say it’s moderately easy – with a little patience and the right guidance, you’ll be seeing success in no time.
The Best Time to Start
For the highest success rate, I’ve found that the ideal time to take cuttings is in late spring or early summer. This is when the plant is actively growing, and the new shoots are firm but not yet woody. You want to catch them at that juicy, vigorous stage.
Supplies You’ll Need
Gathering your supplies beforehand makes the whole process smoother. Here’s what you’ll want to have on hand:
- Sharp, clean secateurs or pruning snips: This is crucial for clean cuts that heal well.
- Rooting hormone powder or gel: While not always essential, it can significantly boost your success rates, especially for trickier cuttings.
- Well-draining potting mix: A good quality seed-starting mix or a blend of equal parts vermiculite and perlite works beautifully. You want something that doesn’t hold too much moisture.
- Small pots or seed trays: Clean pots are a must to prevent disease.
- Plastic bags or a mini propagator: This helps maintain humidity around your cuttings.
- Watering can with a fine rose: For gentle watering.
- Labels and a pen: To keep track of what you’ve planted and when.
Propagation Methods
The most reliable way to propagate Dillwynia phylicoides is through stem cuttings. It’s straightforward and generally yields great results.
- Select Your Cuttings: Look for healthy, non-flowering stems on your established plant. Aim for pieces that are about 10-15 cm long. Gently bend a stem; if it snaps cleanly, it’s a good candidate. Avoid old, woody stems or very soft, new growth.
- Make the Cut: Using your sharp secateurs, make a clean cut just below a leaf node (where a leaf attaches to the stem). Again, a clean cut is vital for quick healing.
- Prepare the Cuttings: Carefully remove the lower leaves from the cutting, leaving about two to three sets of leaves at the top. If the leaves are quite large, you can even cut them in half to reduce water loss.
- Apply Rooting Hormone (Optional but Recommended): Dip the cut end of the stem into your rooting hormone powder or gel. Tap off any excess.
- Plant Your Cuttings: Fill your clean pots or trays with your well-draining potting mix. Make a small hole with a pencil or dowel, and gently insert the cutting. Firm the soil around the base.
- Water Gently: Water the cuttings thoroughly but gently, ensuring the soil is moist but not waterlogged.
- Create a Humid Environment: The key here is to keep humidity high. You can do this by placing the pots inside a clear plastic bag (make sure the leaves don’t touch the plastic!) or by using a propagator with a lid. Place your propagation setup in a bright location out of direct sunlight.
The “Secret Sauce” (Pro Tips)
Here are a few little tricks I’ve picked up over the years that can make a real difference:
- Bottom Heat is Your Friend: If you have a heat mat designed for seedlings, placing your pots on it can dramatically speed up root formation. It mimics the warm soil temperatures that stimulate root growth.
- Don’t Fret Over Every Leaf: As I mentioned, reducing leaf surface area is important. If you have a cutting with several leaves and they’re quite large, don’t be shy about trimming them back by half. It significantly reduces transpiration, making it easier for the cutting to stay hydrated until it develops roots.
- Patience with the Potting Mix: Resist the urge to use a rich, heavy compost. Dillwynia phylicoides hates wet feet, and this principle extends to its cuttings. A light, airy mix is far more forgiving and less prone to encouraging rot.
Aftercare & Troubleshooting
Once your cuttings have rooted – which can take anywhere from 4 to 10 weeks, depending on conditions – you’ll start to see new growth appearing at the top. You can also gently tug on the cutting; if there’s resistance, roots have formed.
- Gradual Acclimatization: When roots have developed, don’t immediately expose them to full outdoor conditions. Gradually remove the plastic bag or propagator, increasing the amount of time they are open to the air over a week or so. This helps them acclimatize.
- Slightly Larger Pots: Once they’re acclimatized, you can pot them into slightly larger, individual pots with their own fresh, well-draining potting mix. Keep them in a protected spot and water regularly, but still avoid waterlogging.
- Signs of Failure: The most common problem you might encounter is rot. This usually manifests as a blackening or mushy stem at the soil line. It’s a sign of too much moisture and not enough air circulation. If you see this, sadly, the cutting is unlikely to recover. You can try to prevent it by ensuring good drainage and using your rooting hormone. Another sign of struggle is wilting that doesn’t perk up after watering, which could indicate insufficient root development or drying out.
Happy Planting!
Don’t be discouraged if not every cutting takes. Gardening is a journey, and propagation is part of that learning curve. The most important thing is to enjoy the process, observe your plants, and celebrate each success. You’ll soon be surrounded by your own beautiful Dillwynia phylicoides! Happy propagating!
Resource:
https://identify.plantnet.org/k-world-flora/species/Dillwynia%20phylicoides%20A.Cunn./data