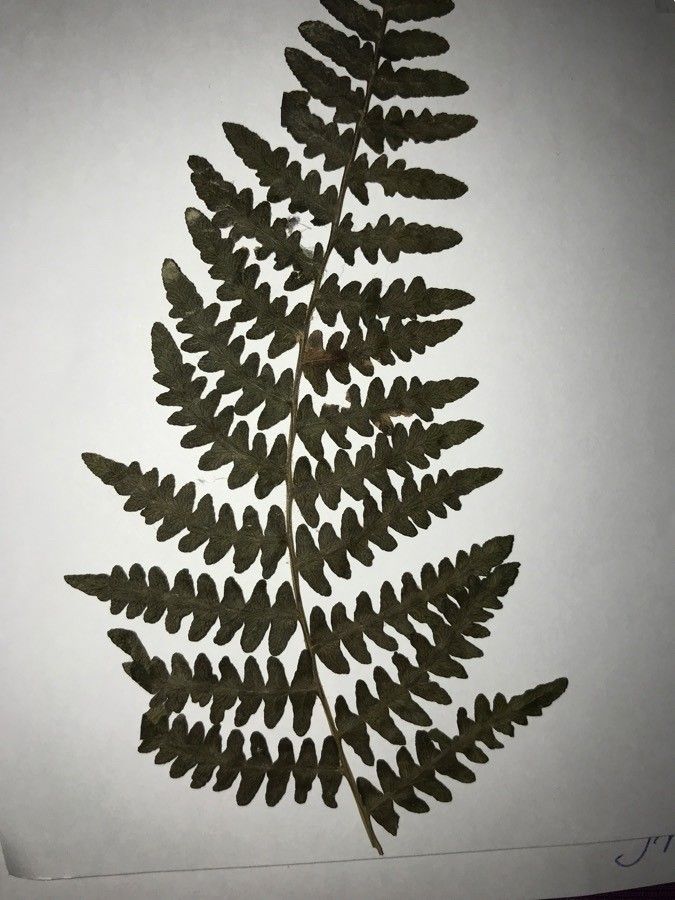
Oh, hello there! Come on in, grab a mug. Let’s chat about something truly special: Diplazium macrophyllum. If you’re captivated by its lush, unfurling fronds and the sheer jungle-like vibe it brings to a space, you’re not alone. And guess what? You can bring that magic into your own home, or share it with friends, by propagating this beauty. It’s a wonderfully rewarding feeling, watching new life sprout from a piece of your existing plant. Now, is it a walk in the park for absolute beginners? I’d say it’s more of a gentle stroll with a few fascinating turns. It requires a little attention to detail, but nothing a keen gardener can’t master.
The Best Time to Start
My favorite time to get propagating is when the plant is in a robust growth phase. Think late spring through early summer. You want your Diplazium macrophyllum to be actively producing new fronds. This means it has plenty of energy to share and is more likely to put that energy into developing new roots. Avoid propagating when the plant is stressed, like during extreme heat or a dry spell.
Supplies You’ll Need
Gathering your tools beforehand makes the whole process smoother. Here’s what I always have on hand:
- Sterilized pruning shears or a sharp knife: Cleanliness is key to preventing disease.
- Small, clean pots or containers: I like to use ones with drainage holes, of course.
- Well-draining potting mix: A good blend with perlite and orchid bark works wonders for ferns. For sensitive cuttings, I often use a mix of peat moss and perlite about 50/50.
- Rooting hormone (optional but helpful): A little boost can encourage faster root development.
- A clear plastic bag or humidity dome: To keep things nice and humid around your cuttings.
- Water: Always use fresh, room-temperature water.
- Spray bottle: For misting.
Propagation Methods
Diplazium macrophyllum is best propagated through division, which is my go-to method. It’s generally the most successful and least stressful for your mother plant.
Division
This technique involves carefully separating a mature plant into smaller sections, each with its own roots and at least one healthy frond.
- Gently remove the plant from its pot. If it’s a bit stuck, give the pot a gentle squeeze or run a knife around the edge.
- Inspect the root ball. You’re looking for natural growing points – places where new shoots or rhizomes are emerging.
- Use your fingers or a sterilized tool to carefully tease apart the rhizomes. Go slow. If a division seems tough to separate, don’t force it. You might need to make a clean cut through a rhizome with your sterilized shears or knife. Ensure each section has a good amount of healthy roots and at least one viable shoot or frond.
- Pot up each new division. Use your well-draining potting mix in clean pots. Plant them at the same depth they were growing before.
- Water gently but thoroughly. You want the soil to be moist, not soggy.
- Place the newly potted divisions in a bright, indirect light location. High humidity is crucial at this stage. You can achieve this by placing the pots in a tray of water (making sure the bottom of the pot isn’t submerged) or covering them with a clear plastic bag or humidity dome.
The “Secret Sauce” (Pro Tips)
Here are a couple of things I’ve learned over the years that really make a difference:
- The “Don’t Drown Your Roots” Rule: When using the water tray method for humidity, make sure the water level stays below the crown of the plant. You want to humidify the air around it, not waterlog the base, which can lead to rot.
- Introduce Bottom Heat (If You Can!): Ferns, especially when young and vulnerable, absolutely adore a little warmth from below. If you have a heat mat designed for seedlings, placing your pots on it can significantly speed up root development. It’s like a cozy little spa for your new fern babies.
Aftercare & Troubleshooting
Once your divisions are potted up, keep that humidity high! Mist the fronds lightly daily if you’re not using a bag or dome. As they start to show signs of new growth – you’ll see tiny new fronds unfurling – you can gradually reduce the humidity and start to introduce them to slightly more light.
The most common issue you’ll face is rot. If you see fronds turning yellow and mushy at the base, or if the entire division goes limp and brown, it’s usually a sign of too much moisture and often poor air circulation. Ensure your potting mix is draining well and don’t let water sit at the base of the plant. If you suspect rot, try to remove the affected parts immediately with sterilized tools and allow the remaining parts to dry out a bit more.
A Little Patience Goes a Long Way
Propagating Diplazium macrophyllum is a journey, not a race. Don’t be discouraged if things take a little time. Observing the subtle signs of life, the slow unfurling of a new frond, is one of the greatest joys of gardening. So embrace the process, enjoy the nurturing, and soon you’ll have more of these magnificent ferns to admire and share! Happy growing!
Resource:
https://identify.plantnet.org/k-world-flora/species/Diplazium%20macrophyllum%20Desv./data