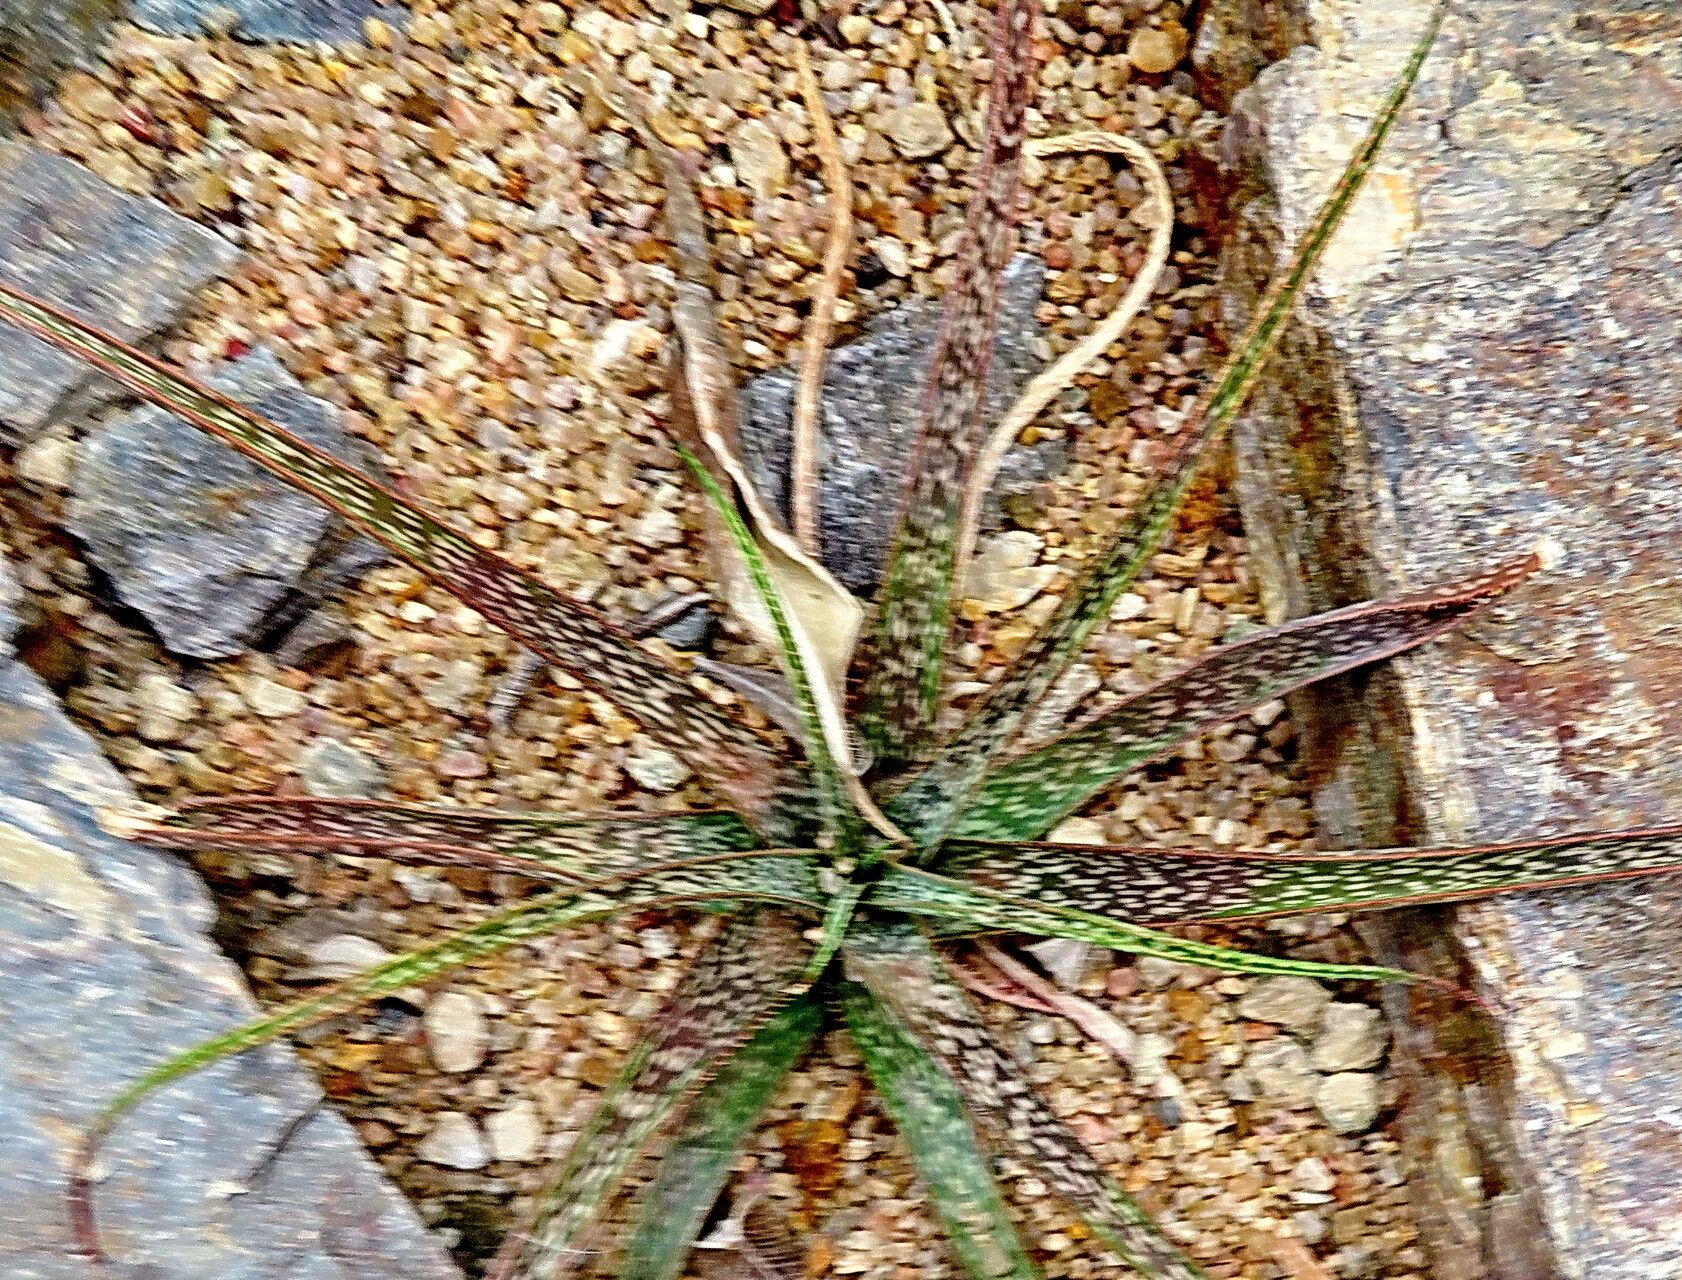
Oh, hello there! Pull up a chair, let’s chat about getting more of those gorgeous Aloe bellatula plants to love. If you’ve ever admired its striking, architectural beauty and thought, “I wish I had more of those!” – then you’re in the right place. Propagating these beauties is not only possible but incredibly rewarding. It’s a wonderful way to share the plant love and build your own little aloe army. And for us beginners? I’d say Aloe bellatula is a pretty forgiving plant to start with, which is always a plus!
The Best Time to Start
Generally, spring is your best bet. Think about it: the plant is waking up after its winter rest and entering its most vigorous growth phase. This boost of energy means it’s more likely to root successfully and bounce back from the propagation process. Aim for a time when temperatures are consistently warm, but before the intense heat of summer sets in.
Supplies You’ll Need
Having your toolkit ready makes all the difference. Here’s what I always have on hand:
- Sharp, clean pruning shears or a sharp knife: Essential for making clean cuts.
- Well-draining potting mix: A cactus or succulent mix is perfect. Or, you can make your own by mixing equal parts potting soil, perlite, and coarse sand.
- Terra cotta pots: These breathe, which is great for preventing waterlogged roots.
- Rooting hormone (optional but helpful): A little dip can speed things up.
- Watering can with a fine rose or a spray bottle: For gentle watering.
- A sunny windowsill or bright, indirect light source: Where your new cuttings will thrive.
- Labels and a pen: To keep track of what you’ve propagated and when!
Propagation Methods
We have a couple of tried-and-true ways to get more Aloe bellatula babies.
Method 1: Division (The Easiest Way)
This is my favorite for Aloe bellatula because this plant naturally produces pups, those little offsets that grow around the base of the mother plant.
- Gently remove the mother plant from its pot. You might need to coax it out.
- Examine the base to find where the pups are attached. Look for a spot where a new plant is clearly growing from the main root system.
- Carefully separate the pup. Use your sharp knife or shears to make a clean cut. Try to get a good portion of roots attached to the pup if possible. If a pup has no roots yet, that’s okay! We can still work with it.
- Allow the cut end to callous over. This is super important! Let the separated pup sit in a dry, shaded spot for a day or two until the cut surface forms a dry, scab-like layer. This prevents rot.
- Pot it up! Plant the pup in its own small pot filled with your well-draining mix. Water lightly.
Method 2: Leaf Cuttings (A Bit More Patience Needed)
This method is trickier for Aloe bellatula than for some other succulents, as they tend to be slow to root from leaves. But it’s worth a try!
- Select healthy leaves. Choose firm, plump leaves from the mother plant.
- Make a clean cut. Using your sharp knife, slice the leaf off at the base where it meets the stem.
- Let it callous. Just like with divisions, let the cut end of each leaf dry out and form a callous. This can take several days to a week.
- Plant the cuttings. Insert the calloused end of the leaf about half an inch to an inch deep into your succulent potting mix. You can place multiple cuttings in the same pot, leaving a bit of space between them.
- Water sparingly. Give them a light mist or a very light watering.
The “Secret Sauce” (Pro Tips)
Alright, let me share a couple of things I’ve learned over the years:
- Think “dry feet.” Aloes absolutely despise soggy soil. When you pot up your babies, err on the side of too dry rather than too wet. They’ll tell you when they need a drink by looking a little less plump.
- Bottom heat can be your friend. If you’re propagating in cooler months or just want to give your cuttings a little extra encouragement, placing the pots on a seedling heat mat can really speed up root development. Just ensure it’s set to a low, gentle warmth.
Aftercare & Troubleshooting
Once your pup or cutting has roots (you can gently tug it to feel for resistance, or if you’re brave, peek at the drainage holes!), it’s time to nurture it.
- Watering: Water thoroughly when the soil is completely dry. For new propagations, this might be every week or two. As they establish, adjust based on your environment.
- Light: Keep them in bright, indirect light. Direct sun can often scorch young, tender leaves.
- Troubleshooting: The biggest enemy here is rot. If you see a leaf or pup turning mushy and black, it’s likely due to too much moisture. If this happens, remove the affected part immediately and try to let the remaining healthy section dry out more before replanting. If a division or cutting just shrivels up and doesn’t root, it could be that it wasn’t properly calloused, or it simply didn’t have the energy to root. Don’t be too disheartened; it happens to the best of us!
A Encouraging Closing
So there you have it! Propagating Aloe bellatula is a journey, and like any good garden adventure, it requires a dash of patience and a whole lot of love. Don’t be afraid to experiment, observe your plants, and learn from each attempt. Before you know it, you’ll be surrounded by the beautiful green spines of your own propagated Aloe bellatula babies. Happy gardening!
Resource:
https://identify.plantnet.org/k-world-flora/species/Aloe%20bellatula%20Reynolds/data