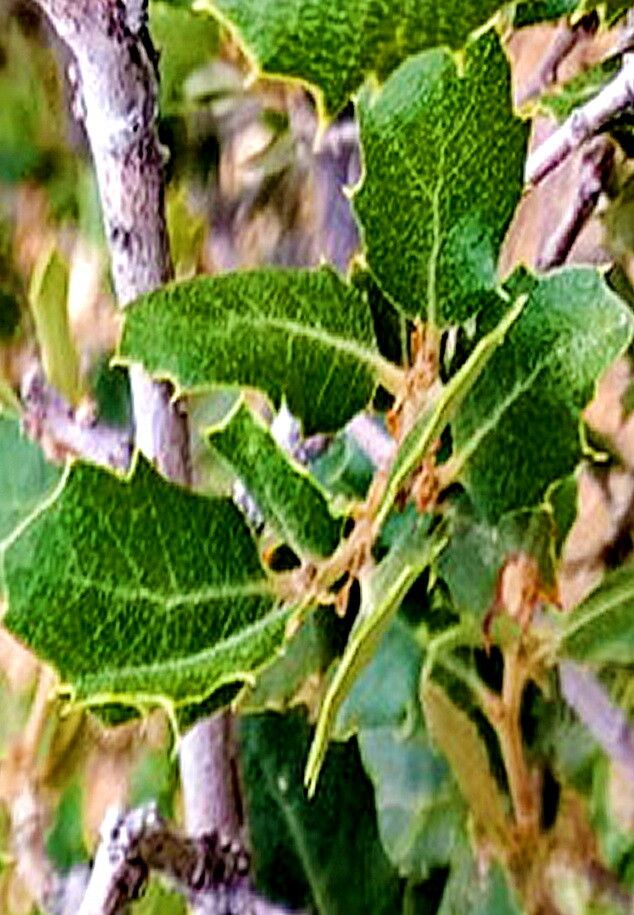
Hello fellow garden enthusiasts! I’m so excited to chat with you today about one of my absolute favorite trees, Quercus cornelius-mulleri, affectionately known as the California scrub oak. If you’ve ever admired its beautiful, leathery foliage and its resilience in dry climates, you’re in for a treat. Propagating this beauty is a wonderfully rewarding endeavor, a chance to connect with nature on a deeper level and fill your garden (or a friend’s!) with these stunning oaks. While it might seem a little daunting, I find Quercus cornelius-mulleri to be moderately easy to propagate, making it a great project for those ready to step up their propagation game.
The Best Time to Start
For the highest success rate with Quercus cornelius-mulleri, I always lean towards late spring to early summer. This is when the plant is actively growing, and the new stems are pliable enough to root well. You’re looking for what we call “softwood cuttings” – not brand new, floppy growth, but also not woody and rigid. Think of a pencil that’s just starting to firm up. This is your sweet spot.
Supplies You’ll Need
To give your cuttings the best chance, make sure you have these essentials ready:
- Sharp, clean pruning shears or a sharp knife: Cleanliness is crucial to prevent disease.
- Rooting hormone powder or gel: While not always strictly necessary for oaks, it can give you a significant boost.
- A well-draining potting mix: I love a blend of peat moss, perlite, and a little bit of coarse sand. Something that holds moisture but doesn’t stay soggy.
- Small pots or propagation trays: Make sure they have drainage holes.
- A clear plastic bag or propagation dome: To create a humid environment.
- Labels and a marker: To keep track of your cuttings.
- Optional: Bottom heat mat: This can really speed up root development.
Propagation Methods: Stem Cuttings
This is my go-to method for Quercus cornelius-mulleri. It’s straightforward and yields wonderful results.
- Take Your Cuttings: On your chosen day, head out to your healthy Quercus cornelius-mulleri. Using your sharp pruning shears, cut stems that are about 4-6 inches long. Make a clean cut just below a leaf node (where a leaf attaches to the stem). Remove the lower leaves, leaving just the top 2-3 leaves. You can also gently scrape a small sliver of bark off the bottom inch of the stem on one or two sides; this encourages rooting.
- Apply Rooting Hormone: Dip the cut end of each stem into your rooting hormone, tapping off any excess.
- Plant Your Cuttings: Fill your pots with your well-draining potting mix. Make a small hole in the center of each pot with your finger or a pencil. Insert the hormone-coated end of the cutting into the hole, ensuring the node where you removed the leaves is buried. Firm the soil gently around the base of the cutting.
- Create a Humid Environment: Water your potting mix lightly. Place the pots into your propagation tray or group them in a larger container. Cover the entire setup with a clear plastic bag or propagation dome. This traps moisture and humidity, mimicking the conditions cuttings crave.
- Provide Ideal Conditions: Place your cuttings in a bright spot, but out of direct, harsh sunlight. A bit of dappled light is perfect. If you have a bottom heat mat, this is the time to use it, set to a gentle warmth (around 70-75°F).
The “Secret Sauce” (Pro Tips)
Here are a couple of tricks gathered over the years that make a real difference:
- Don’t Overcrowd: Give your cuttings a little breathing room. When roots form, they need space. If they’re too cramped, it can encourage fungal issues. I usually plant just one or two cuttings per small pot, depending on the pot size.
- Ventilate Regularly: That humidity is great, but you also need to let fresh air in. Open your plastic bag or propagation dome for about 15-20 minutes each day to prevent mold and mildew from taking hold. You’ll quickly get a feel for how much ventilation your specific environment needs.
- Think About the Source: Always take cuttings from healthy, vigorous parent plants. A stressed or unhealthy plant will produce cuttings that are less likely to succeed.
Aftercare & Troubleshooting
Once your new little oaks have established roots, it’s time to transition them. You’ll know they’re rooting when you see new leaf growth, or you can gently tug on a cutting – if there’s resistance, roots have formed. At this point, gradually acclimate them to lower humidity by opening the cover a little more each day over a week or two.
Watch out for signs of rot. This usually looks like a blackening or mushy stem at the soil line. If you see this, it means conditions are too wet and/or not enough air circulation. Unfortunately, rotted cuttings are usually a lost cause, but use it as a learning opportunity – adjust your watering and ventilation for the next batch.
Be patient. Rooting can take anywhere from 4-8 weeks, sometimes longer. Don’t be discouraged if you don’t see immediate results.
A Encouraging Closing
Propagating plants, especially beautiful trees like Quercus cornelius-mulleri, is a journey of patience and observation. It’s about learning to read the subtle cues from nature. Even if not every cutting takes, each attempt teaches you something new. So, grab your shears, get your hands in the soil, and enjoy the rewarding process of bringing new life into the world. Happy gardening!
Resource: