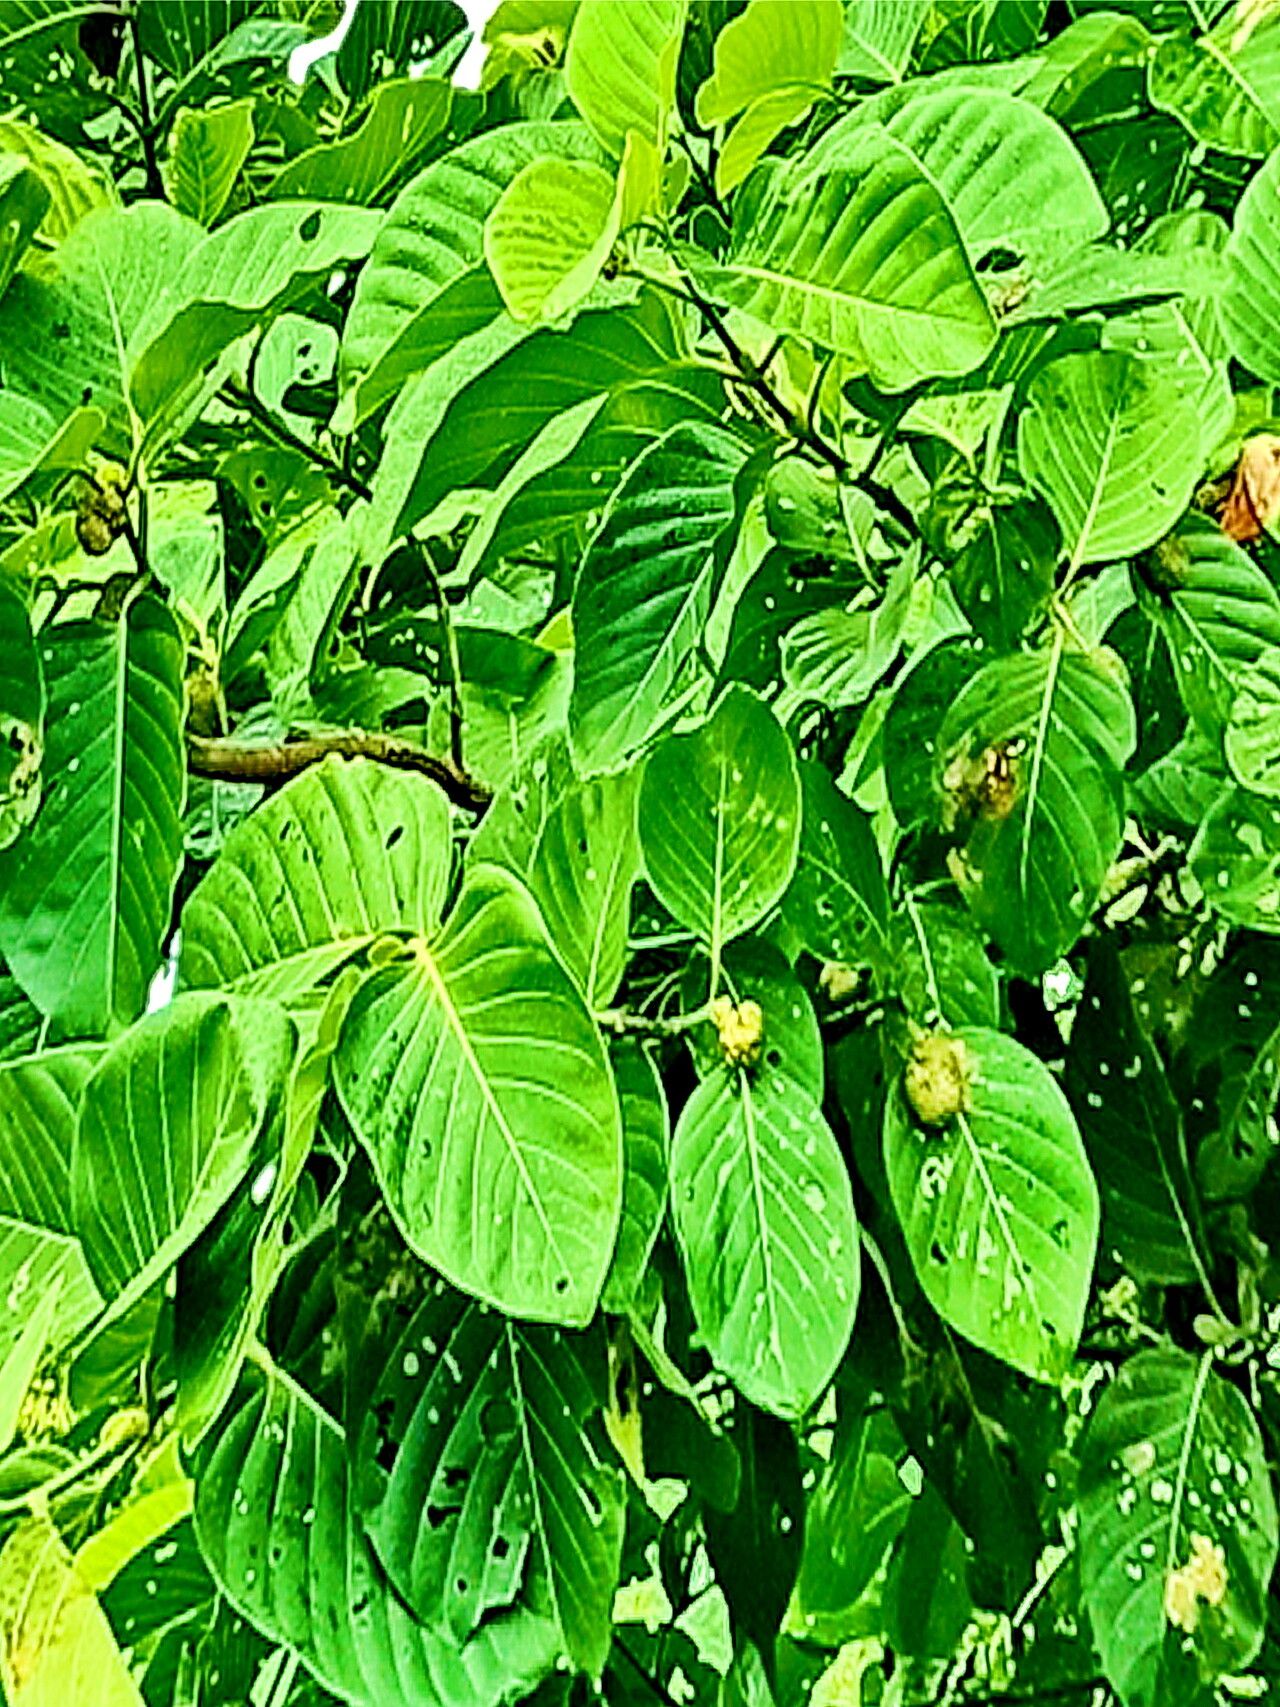
Hello there, fellow plant enthusiasts! If you’ve ever admired the vibrant beauty of Nauclea orientalis, you know its charm. Also known as the Yellow Cheesewood or Bur-flower, this tropical delight offers stunning yellow blooms and lush foliage. And guess what? Growing more of them is incredibly rewarding! It’s like sharing a little piece of gardening joy. Don’t let the exotic name scare you; propagating Nauclea orientalis is quite manageable, even for those just starting their plant parenting journey.
The Best Time to Start
For the greenest thumb success, aim to propagate your Nauclea orientalis during its active growing season, which is typically late spring through summer. This is when the plant has plenty of energy to put into developing new roots. You’ll want to take cuttings from healthy, semi-hardwood stems – not brand new, floppy growth, but not old, woody branches either. Think of it as that stage where a twig is sturdy but still has some flexibility.
Supplies You’ll Need
Gathering your supplies beforehand makes the whole process smoother. Here’s what I recommend:
- Sharp Pruning Shears or a Clean Knife: For taking clean cuts.
- Rooting Hormone (Optional but Recommended): A powdered or liquid form can give your cuttings a significant boost.
- Well-Draining Potting Mix: A good blend of peat moss, perlite, and a bit of coarse sand works wonders. Avoid heavy, compacted soils.
- Small Pots or Trays: Clean pots with drainage holes are essential.
- Plastic Bag or Propagator Lid: To create a humid environment.
- Spray Bottle: For misting.
- Labels: To keep track of your new babies!
Propagation Methods
Let’s get our hands dirty with the most reliable ways to multiply your Nauclea orientalis.
Stem Cuttings
This is my go-to method for Nauclea orientalis.
- Select and Cut: Choose a healthy stem from your mature plant. Using your sharp shears or knife, take a cutting that’s about 4-6 inches long. Make a clean cut just below a leaf node (where a leaf attaches to the stem).
- Prepare the Cutting: Gently remove the lower leaves, leaving just a few at the top. This prevents them from rotting in the soil. If the remaining leaves are very large, you can even cut them in half to reduce water loss.
- Apply Rooting Hormone (Optional): Dip the cut end of the stem into your rooting hormone powder or liquid, tapping off any excess.
- Plant Your Cutting: Fill your small pots with your prepared potting mix. Make a hole in the center with your finger or a pencil, then gently insert the cutting. Firm the soil around the stem to ensure good contact.
- Water and Cover: Water the soil thoroughly but gently, allowing excess to drain. Then, place a plastic bag over the pot (creating a mini-greenhouse) or cover it with a propagator lid. Make sure the plastic doesn’t touch the leaves.
Water Propagation
While stem cuttings are usually more successful for this plant, water propagation can be a fun experiment!
- Prepare the Cutting: Follow steps 1 and 2 above for stem cuttings.
- Place in Water: Put the prepared cutting into a jar or vase filled with clean water.
- Position Carefully: Crucially, ensure no leaves are submerged in the water. This is a common mistake and will lead to rot.
- Change Water Regularly: Change the water every few days to keep it fresh and prevent bacteria buildup.
- Monitor for Roots: You should start to see small white roots developing from the nodes over a few weeks. Once the roots are about an inch long, you can carefully transplant them into potting mix.
The “Secret Sauce” (Pro Tips)
Here are a couple of tricks I’ve learned over the years that really make a difference:
- Bottom Heat is Your Friend: If you have a seedling heat mat, using it under your pots of cuttings can significantly speed up root development. It mimics the warmth of the tropics and encourages those roots to sprout with gusto!
- Don’t Be Afraid to Mist: Regularly misting your cuttings (even daily if your environment is dry) helps keep the leaves turgid and signals to the plant that it’s in a humid, supportive environment, encouraging root formation. Just be careful not to overdo it to the point of fungal issues.
Aftercare & Troubleshooting
Once you see signs of new growth emerging from the top of your cutting, that’s a good indicator that roots have formed! It’s time to gently acclimate your new plant to normal conditions. Gradually remove the plastic bag or lid over a week or so, allowing it to get used to less humidity. Keep the soil consistently moist but not waterlogged.
If you notice your cutting turning yellow and limp, or developing black, mushy spots, that’s usually a sign of rot. This is often due to too much moisture, poor drainage, or lack of air circulation. If this happens, don’t despair! Sometimes, you can salvage a bit of the cutting if it hasn’t gone too far. Remove the affected parts, ensure better drainage, and try again with fresh cuttings.
A Encouraging Closing
Gardening is all about patience and the joy of nurturing life. Be patient with your Nauclea orientalis cuttings. Some might take a little longer than others, and that’s perfectly normal. Celebrate every little bit of progress, from the tiniest root to the unfurling of a new leaf. Enjoy the process, and soon you’ll have more of these beautiful plants to share or simply to admire in your own space. Happy propagating!
Resource:
https://identify.plantnet.org/k-world-flora/species/Nauclea%20orientalis%20(L.)%20L./data