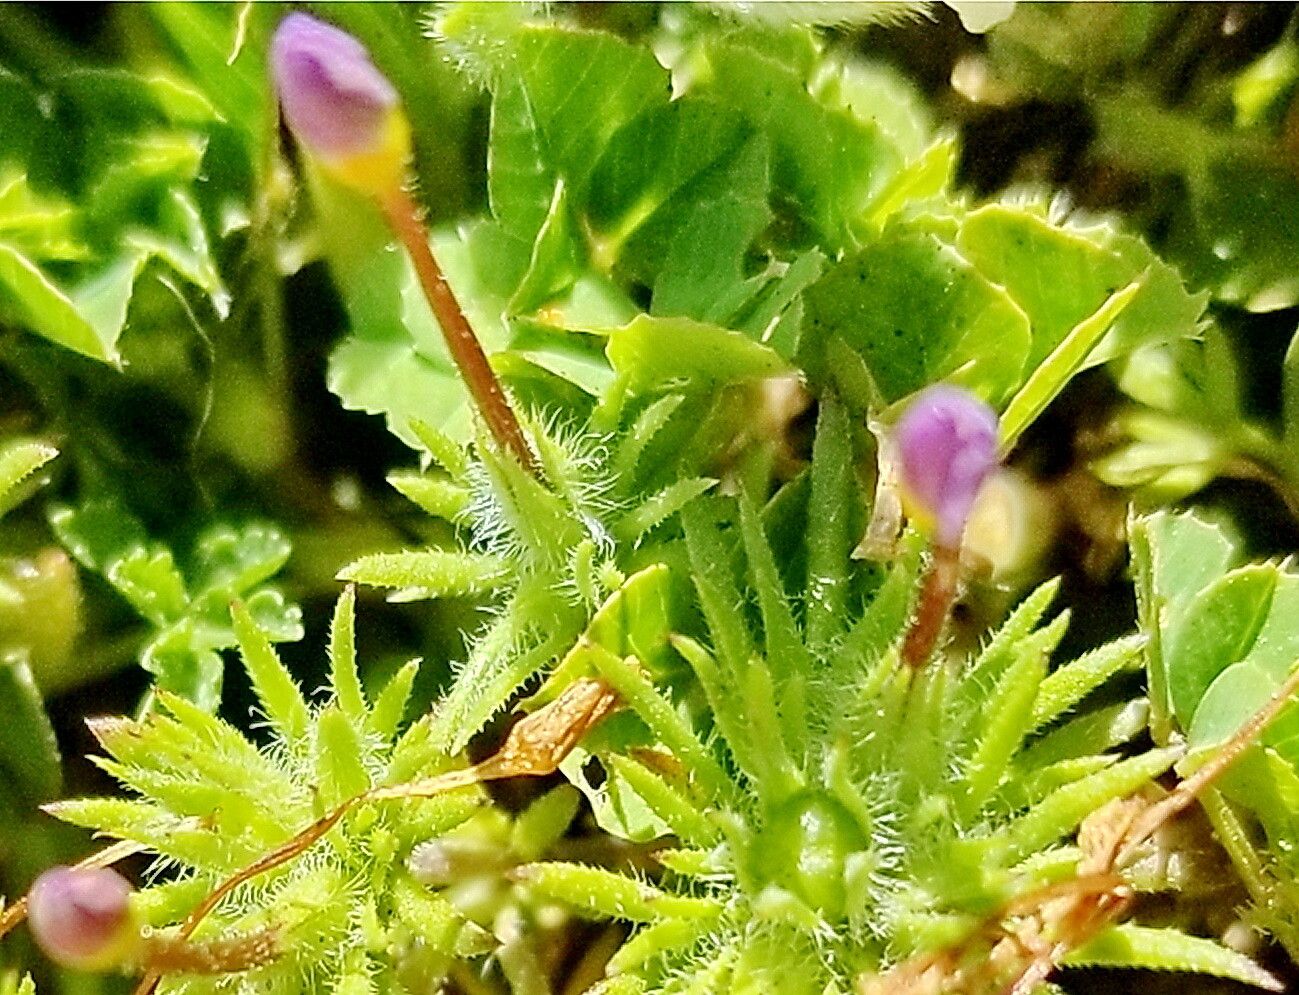
Oh, hello there! Pull up a chair and grab a mug of your favorite brew. Today, we’re going to chat about a little gem I’ve come to adore: Plagiobothrys canescens, or as I affectionately call it, the “Whispering Grass.” This delicate wildflower, with its charming clusters of tiny white flowers, has a way of bringing a soft, natural beauty to any garden corner. It’s not overly flashy, but it has a subtle elegance that I find incredibly rewarding to cultivate. And the best part? Propagating it is absolutely doable, though I’d say it’s a wonderful project for those who’ve dabbled a bit in the garden already. Beginners, don’t shy away – with a little care, you’ll be successful!
The Best Time to Start
For Plagiobothrys canescens, the sweet spot for propagation is generally late spring to early summer. This is when the plant is actively growing and has plenty of energy to put into developing new roots. You’ll want to work with cuttings from healthy, non-flowering stems. The warmth of the season is just perfect for encouraging root formation.
Supplies You’ll Need
Gathering your supplies beforehand makes the whole process much smoother. Let’s get our toolkit ready:
- Sharp Pruning Shears or a Craft Knife: Cleanliness is key!
- Rooting Hormone (Optional, but Recommended): A little boost never hurts.
- Well-Draining Potting Mix: I like a blend of equal parts perlite, coco coir, and a good quality potting soil. You can also use a specialized seed-starting mix.
- Small Pots or Seed Trays: Make sure they have drainage holes.
- Watering Can or Spray Bottle: For gentle watering.
- Clear Plastic Bag or Dome: To create a humid environment.
Propagation Methods
We’ll focus on the most straightforward methods for Plagiobothrys canescens.
Stem Cuttings
This is my go-to method for this plant.
- Take Your Cuttings: In late spring or early summer, select a healthy, upright stem. Using your clean shears or knife, cut a section about 4-6 inches long. Make your cut just below a leaf node (where a leaf meets the stem).
- Prepare the Cuttings: Gently remove the lower leaves, leaving just the top 2-3 leaves intact. This prevents them from rotting once planted.
- Apply Rooting Hormone (Optional): Dip the cut end of the stem into your rooting hormone powder or solution, tapping off any excess.
- Plant Your Cuttings: Fill your small pots or trays with your well-draining potting mix. Make a small hole with your finger or a pencil. Insert the cut end of the stem into the hole, ensuring the leaf nodes are buried. Gently firm the soil around the cutting.
- Create a Humid Environment: Water the soil gently. Then, cover the pot or tray with a clear plastic bag or a propagation dome. This will trap moisture and create a mini-greenhouse effect.
Water Propagation
This method is a bit more visual and very satisfying.
- Take Your Cuttings: Follow the same steps as above for taking and preparing your stem cuttings.
- Place in Water: Fill a small jar or glass with clean, room-temperature water. Submerge the cut end of the stem in the water, making sure no leaves are touching the water.
- Find a Suitable Spot: Place the container in a bright location, but out of direct sunlight.
- Change Water Regularly: Change the water every few days to keep it fresh and prevent bacterial growth.
- Pot Up When Rooted: Once you see small roots, about a half-inch to an inch long, beginning to form (this can take a few weeks), it’s time to pot them up into your well-draining potting mix as described in the stem cutting method.
The “Secret Sauce” (Pro Tips)
Here are a couple of things I’ve learned over the years that make a real difference.
- Bottom Heat is Your Friend: For stem cuttings, placing your pots on a gentle heating mat can significantly speed up root development. It mimics the warmth of the soil in nature and gives those roots a real nudge. Just make sure the mat isn’t too hot—lukewarm is perfect.
- Don’t Over-Water Early On: I know it seems counterintuitive, but over-watering newly planted cuttings is a common mistake. The trapped humidity in the plastic bag should keep them moist. You want the soil to be consistently moist, but not soggy. Too much water will encourage rot before roots even have a chance to form.
Aftercare & Troubleshooting
Once your cuttings have developed a healthy root system (you can gently tug on them; they’ll resist if rooted) or you see new growth, it’s time to transition them.
- Acclimatize: Gradually remove the plastic bag or dome over a few days to let the new plants adjust to the ambient humidity.
- Watering: Water them as you would a mature Plagiobothrys. Check the soil moisture regularly and water when the top inch feels dry.
- Light: Continue to provide bright, indirect light.
- Troubleshooting: The most common issue is rot, which usually manifests as brown, mushy stems at the soil line. This is almost always due to over-watering or poor drainage. If you see this, it’s best to discard the affected cutting and review your watering and soil mix for the others. Another sign of distress can be yellowing leaves, which might indicate too much direct sun or inconsistent watering.
A Encouraging Closing
Don’t get discouraged if not every cutting takes. Gardening is a journey of observation and learning, and that’s part of what makes it so rewarding. Be patient, keep an eye on your little propagations, and enjoy the magic of watching new life emerge. Happy propagating, and may your Whispering Grass thrive!
Resource:
https://identify.plantnet.org/k-world-flora/species/Plagiobothrys%20canescens%20Benth./data