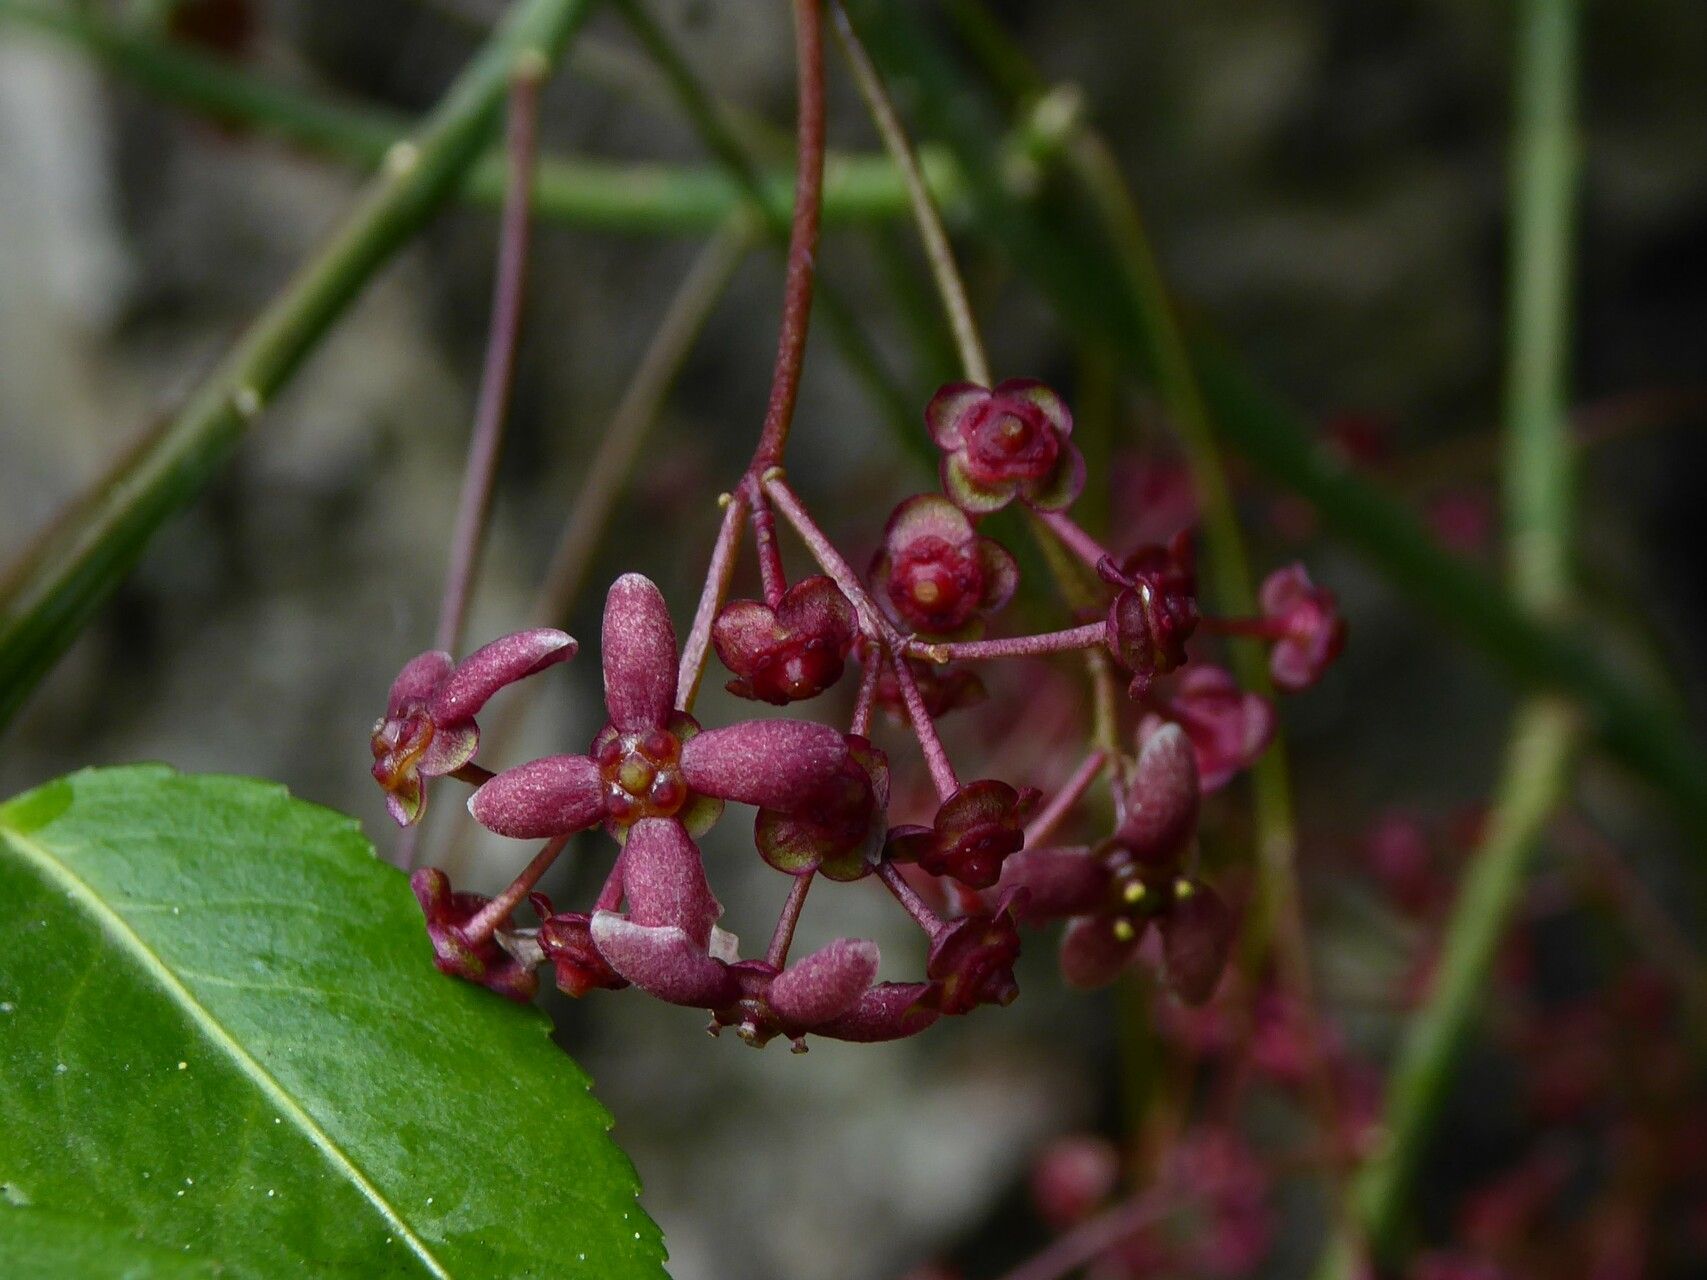
Ah, Euonymus semenovii! If you’re looking for a shrub that brings a touch of elegant charm to your garden, you’ve found a winner. Its graceful branches and often lovely seasonal color make it a joy to behold. And the best part? You can easily bring more of this beauty into your life by propagating it yourself! It’s a wonderfully rewarding feeling to watch a tiny cutting grow into a magnificent plant. For those of you just starting out with propagation, I’d say Euonymus semenovii is a fairly forgiving friend, making it a great choice to dip your toes into.
The Best Time to Start
For Euonymus semenovii, I find that late spring to early summer is your prime time. This is when the plant is actively growing, and the new shoots are usually semi-hardwood – not too soft and floppy, and not yet woody and stubborn. This stage offers a fantastic balance, giving your cuttings the best chance to establish roots.
Supplies You’ll Need
Gathering your tools beforehand makes the whole process smoother. Here’s what I always have on hand:
- Sharp pruning shears or a clean, sharp knife: Essential for making clean cuts.
- Rooting hormone: A little powder or gel can significantly boost success rates. Look for one specifically for softwood or semi-hardwood cuttings.
- Well-draining potting mix: I like a blend of coarse sand, perlite, and peat moss (or a good quality potting mix amended with extra perlite).
- Small pots or seed trays: Clean ones, please!
- A plastic bag or propagation dome: To maintain high humidity.
- Watering can or spray bottle: For gentle watering.
- Optional: Bottom heat mat: Can speed up root development.
Propagation Methods
Let’s get our hands dirty with the most reliable way to propagate Euonymus semenovii: stem cuttings.
- Taking the Cuttings: Select healthy, vigorous stems from your mature plant. Look for shoots that are a bit flexible but still hold their shape. Using your clean shears or knife, make a cut just below a leaf node (where a leaf meets the stem). Aim for cuttings that are about 4-6 inches long.
- Preparing the Cuttings: Gently remove the lower leaves from your cuttings. You want to strip away anything that would be below the soil line. If you have very large leaves, you can even cut them in half to reduce water loss through transpiration.
- Applying Rooting Hormone: Dip the cut end of each cutting into your rooting hormone, tapping off any excess. This helps stimulate root growth.
- Planting the Cuttings: Fill your clean pots with the well-draining potting mix. Make a pilot hole in the center of the mix with your finger or a pencil. Carefully insert the rooting hormone-coated end of the cutting into the hole, then gently firm the mix around it.
- Watering and Covering: Water the soil gently but thoroughly. You want the mix to be moist, not waterlogged. Now, cover the pots with a plastic bag or propagation dome. This creates a mini greenhouse environment, keeping the humidity high, which is crucial for cuttings to root without drying out. Make sure the plastic bag doesn’t touch the leaves too much if you can help it.
The “Secret Sauce” (Pro Tips)
After years of trial and error, I’ve picked up a few tricks that really make a difference.
- Bottom Heat is Your Friend: If you can, place your pots on a heat mat. Euonymus cuttings absolutely love a bit of warmth from below. It encourages root formation much faster than just relying on ambient room temperature.
- Don’t Drown Your Newbies: While they need moisture, overwatering is a speedy path to rot. Check the soil moisture regularly by gently probing with your finger. Only water when the top inch or so feels dry.
- Air Circulation is Key (After a While): Once you start seeing signs of rooting, gradually introduce more air. You can do this by opening the plastic bag a little each day, or lifting the lid of your propagation dome. This helps prevent fungal issues.
Aftercare & Troubleshooting
Be patient! It can take anywhere from 4 to 8 weeks, sometimes even longer, for your Euonymus semenovii cuttings to develop a good root system. You’ll know they’re ready when you gently pull on a cutting and feel resistance, or when you see new leaf growth.
Once roots have formed, carefully remove the plastic cover. Continue to water as needed and slowly acclimate your new plants to normal room humidity over the next week or two. When they’re looking robust, you can transplant them into larger individual pots.
The most common problem you might encounter is rot. If you see your cuttings turn black and mushy, it’s usually a sign of too much moisture and not enough air circulation. Trim away any rotted parts, ensure good drainage, and try again, paying close attention to watering. Pests are less common at this stage, but keeping an eye out for aphids or spider mites is always wise.
A Encouraging Closing
Propagating plants is a journey, and each success builds your confidence. Don’t be discouraged if your first few attempts aren’t perfect. The key is to experiment, observe, and most importantly, to enjoy the process. Watching those tiny roots emerge and new leaves unfurl is truly one of gardening’s greatest rewards. Happy propagating!
Resource:
https://identify.plantnet.org/k-world-flora/species/Euonymus%20semenovii%20Regel%20&%20Herder/data