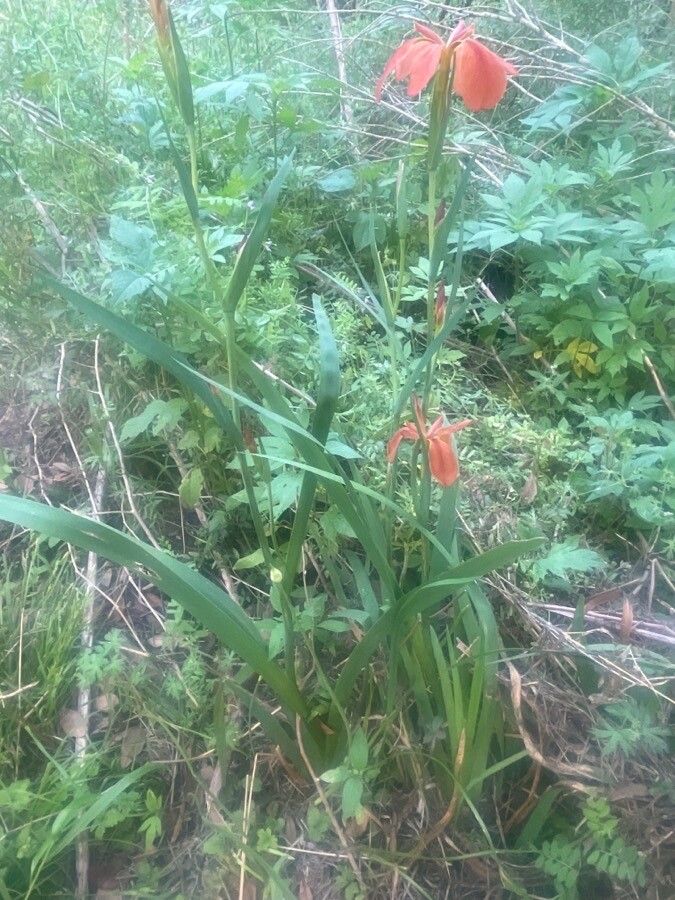
Hey there, fellow plant enthusiasts! It’s so wonderful to connect with you today. You know, there’s something truly magical about watching a plant you’ve nurtured from a tiny piece grow into its full glory. And when it comes to Iris fulva, also known as the copper iris, the reward is double. Its exquisite, fiery orange-red blooms are just stunning in late spring and early summer, bringing such a vibrant splash of color to any garden. Plus, this beauty is surprisingly forgiving, making it a fantastic plant for beginners eager to dip their toes into propagation. Let’s get those little troopers started!
The Best Time to Start
For Iris fulva, the sweet spot for propagation is generally early spring, just as the plant is waking up from dormancy. You’re looking for that moment when new growth is just beginning to emerge. You can also have great success with propagation right after the plant has finished flowering, typically in mid-summer. This gives the new divisions or cuttings plenty of time to establish before the cooler weather arrives.
Supplies You’ll Need
Gathering your tools beforehand makes the whole process smoother. Here’s what I like to have on hand:
- Sharp pruning shears or a clean knife: For making precise cuts.
- Well-draining potting mix: A blend of perlite, compost, and a bit of sand works beautifully. You want something that won’t hold too much moisture.
- Small pots or seedling trays: For your new Iris babies.
- Rooting hormone (optional but recommended): This can give your cuttings a little boost.
- Watering can with a fine rose: For gentle watering.
- Labels and a permanent marker: To keep track of what you’ve planted and when.
Propagation Methods
Iris fulva is primarily propagated through division. It’s the simplest and most effective method for this lovely iris.
Division
This is where we’ll focus our energy because it’s so darn easy and successful for Iris fulva.
- Prepare Your Tools: Make sure your pruning shears or knife are clean and sharp. This prevents disease transmission.
- Gently Excavate: In early spring or mid-summer (as mentioned above), carefully dig up your established Iris fulva plant. You don’t want to be too rough; aim to lift the whole clump out of the ground with as much of the root ball intact as possible.
- Examine the Rhizomes: Once the plant is out of the soil, you’ll see its thick, fleshy rhizomes (these are the modified stems that grow horizontally underground). Look for natural divisions or points where the rhizome has branched.
- Make the Cuts: Using your clean shears or knife, carefully separate the rhizomes into smaller sections. Each division should have at least one healthy, plump rhizome and some attached roots. Don’t be afraid to break it apart; Iris rhizomes are pretty tough. If a section looks old, woody, or a bit punky, discard it.
- Trim Excess Foliage: You can trim back the existing leaves by about a third. This helps reduce water loss from the foliage while the roots establish.
- Prepare the New Divisions: If you’re using rooting hormone, dip the cut end of each division into it. You don’t need a ton, just a light coating.
- Plant Your Separations: Pot each division into its own pot filled with your well-draining mix. Plant the rhizome so that the top is just at the soil surface, or slightly above. The roots should be tucked into the soil.
- Water Gently: Water thoroughly but gently to settle the soil around the roots.
The “Secret Sauce” (Pro Tips)
After years of getting my hands dirty, I’ve picked up a few little tricks that have made a world of difference.
- The “Face Up” Rule: When planting your divisions, make sure the rhizome is oriented correctly. You want the growing tip (where the leaves will emerge) pointing upwards. If you plant it upside down, it might struggle to get going.
- Don’t Overcrowd: Resist the urge to cram too many divisions into a small pot. They need space to breathe and start developing their own root systems. Give them a little room to grow.
- Embrace the Sun (with Caution): Newly divided Iris fulva appreciate warmth. Place your pots in a sunny spot, but if it’s scorching hot new conditions, a little afternoon shade can prevent the delicate new growth from getting stressed.
Aftercare & Troubleshooting
Once your Iris fulva divisions are nestled into their pots, give them a good soak. Keep the soil consistently moist but not waterlogged. Imagine a wrung-out sponge – that’s the ideal moisture level. In a few weeks, you should start seeing new foliage emerging. That’s your sign of success!
The most common problem you might encounter is rot. This usually happens if the soil stays too wet. If you notice mushy, brown areas on the rhizome, or the foliage starts to yellow and wilt from the base, it’s a sign of too much moisture. Make sure your potting mix is breathable, and adjust your watering schedule. If you catch rot early, you might be able to salvage the division by cutting away the affected parts and repotting in fresh, dry soil.
A Encouraging Closing
Propagating Iris fulva is a wonderfully rewarding experience. It’s a chance to multiply the beauty in your garden and share it with friends. Be patient with your new plants; they might take a little while to settle in and show their full potential. But trust me, when those gorgeous copper blooms appear next season, you’ll be beaming with pride. Happy gardening!
Resource:
https://identify.plantnet.org/k-world-flora/species/Iris%20fulva%20Ker%20Gawl./data