Hello there, fellow plant lovers!
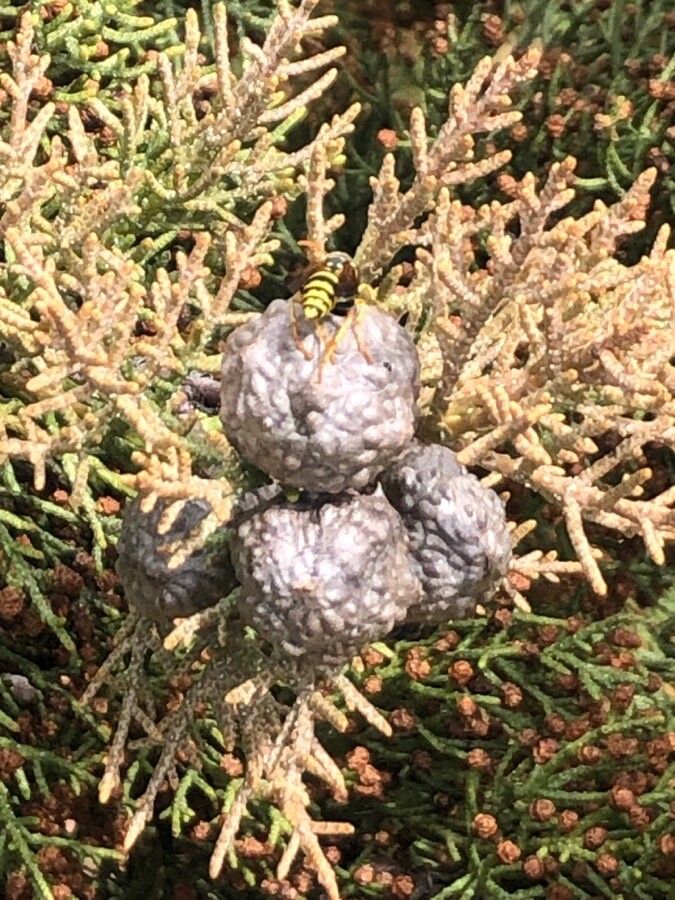
There’s something truly special about nurturing a new life from a tiny piece of its parent. And when it comes to the beautiful Hesperocyparis bakeri, also known as Baker’s cypress, the rewards are even greater. Its elegant, columnar form and soft, fragrant foliage can add such a unique touch to any garden. Propagating this gem is a wonderful way to share its beauty or simply enjoy the satisfaction of growing your own. Now, I won’t lie, Hesperocyparis bakeri can be a little finicky for absolute beginners. It’s not quite as straightforward as a pothos, but with a bit of care and attention, it’s absolutely achievable – and all the more rewarding because of it!
The Best Time to Start
For the best chance of success, I find late spring to early summer, when the plant is actively growing, is the prime time to take cuttings. You want to work with material that’s fresh and vibrant. Look for stems that are semi-hardwood – they’ll be flexible but not leafy soft.
Supplies You’ll Need
Gathering your tools beforehand always makes the process smoother. Here’s what I usually have on hand:
- Sharp, clean pruning shears or a sharp knife: Essential for making clean cuts that heal well.
- Rooting hormone (powder or gel): This is your best friend for encouraging strong root development.
- A well-draining potting mix: I like to use a blend of equal parts perlite and peat moss, or a specific seed starting or cactus/succulent mix.
- Small pots or propagation trays: Clean containers are a must to prevent disease.
- Plastic bags or a propagation dome: To create a humid environment.
- Optional: Bottom heat mat – this can significantly speed up rooting.
Propagation Methods: Stem Cuttings
This is my go-to method for Hesperocyparis bakeri. It’s reliable and gives you a great shot at success.
- Take Your Cuttings: Select healthy, vigorous stems that are about 4-6 inches long. Make a clean cut just below a leaf node (where a leaf meets the stem). Remove any lower leaves, as these will rot when buried and can invite disease. You want to leave a few leaves at the top for photosynthesis.
- Apply Rooting Hormone: Dip the cut end of the stem into your rooting hormone, ensuring the entire wounded surface is coated. Tap off any excess.
- Pot Up Your Cuttings: Fill your clean pots or trays with the well-draining potting mix. Make a small hole in the center of the mix with a pencil or your finger. Gently insert the cutting into the hole, making sure the callused end is in contact with the soil. Firm the soil around the stem.
- Water Gently: Water the soil thoroughly but avoid waterlogging. You want the soil to be consistently moist, but not soggy.
- Create Humidity: Cover the pots with a clear plastic bag or a propagation dome. This creates a greenhouse effect, keeping the humidity high and preventing the cuttings from drying out. If using a bag, you might need to prop it up with skewers so it doesn’t touch the leaves.
- Provide Ideal Conditions: Place the pots in a warm, bright location out of direct sunlight. If you have a bottom heat mat, place the pots on it. This warmth from below can make a huge difference!
The “Secret Sauce” (Pro Tips)
Here are a few things I’ve learned over the years that can really give you the edge:
- Don’t Be Afraid of a Sharp Knife: A clean, sharp cut is crucial. A dull tool can crush the stem, making it harder to root and more susceptible to rot. I always keep my pruners and knives impeccably clean.
- Bottom Heat is Your Friend (Seriously!): While not strictly necessary, the gentle warmth from a bottom heat mat provides is exactly what those developing roots crave. It mimics ideal soil temperatures and can dramatically improve your success rate and speed up rooting.
- Air Circulation is Key: While you want humidity, you don’t want stagnant air. Open the plastic bag or dome for about 15-30 minutes each day to allow for fresh air exchange. This helps prevent fungal issues from developing.
Aftercare & Troubleshooting
Once your cuttings have been in their humid environment for a few weeks, you’ll want to check for roots. Gently tug on a cutting – if you feel resistance, it’s a good sign! You can also carefully excavate one to peek.
Once roots have formed, it’s time to gradually acclimate them to normal conditions. Start by opening the humidity cover a little more each day. Keep the soil consistently moist, but let the surface dry slightly between waterings.
The most common issue you’ll encounter is rot. If you see your cutting wilting, turning mushy, or developing black spots, it’s likely rot. This can be caused by too much moisture in the soil, poor air circulation, or a lack of cleanliness. Unfortunately, if a cutting rots, it’s usually gone. Learn from it, clean your tools, and try again!
A Little Patience Goes a Long Way
Propagating Hesperocyparis bakeri is a journey, not a race. Some cuttings will root faster than others, and some may not make it at all. Don’t get discouraged! The process of nurturing these new plants is incredibly rewarding. Be patient, observe your cuttings, and most importantly, enjoy the simple magic of helping a new life begin. Happy gardening!
Resource:
https://identify.plantnet.org/k-world-flora/species/Hesperocyparis%20bakeri%20(Jeps.)%20Bartel/data