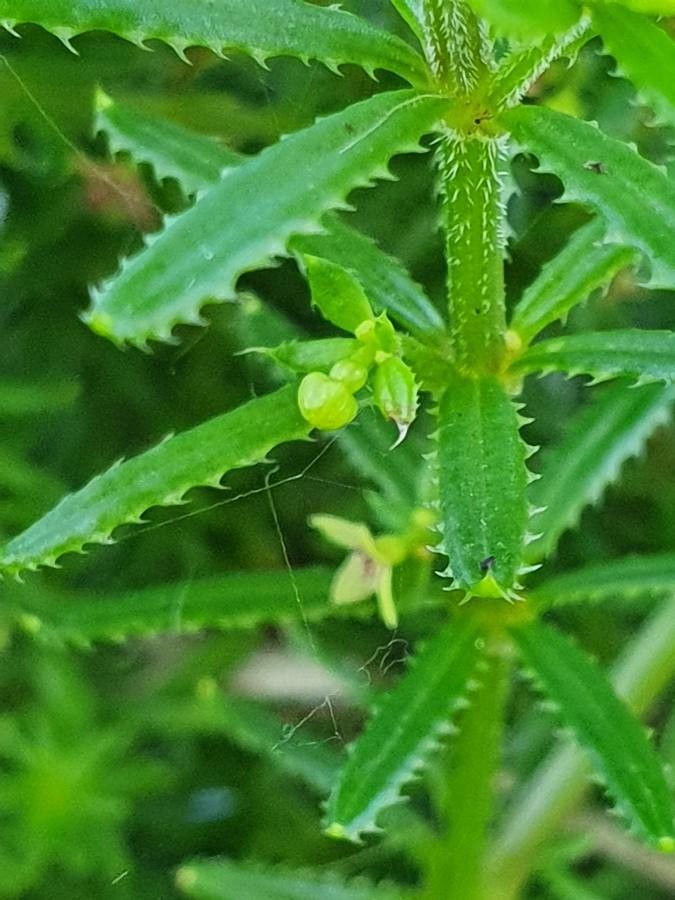
Welcome, fellow garden lovers! Today, we’re diving into the charming world of Galium chloroionanthum. You know, those lovely little plants with their delicate, star-shaped flowers and creeping habit? They’re a real joy to have trailing over walls or nestled in between larger specimens. Their subtle beauty adds such a touch of elegance. And the best part? Propagating them is a wonderfully rewarding project, a chance to fill your garden (or share with friends!) without spending a dime. Now, I wouldn’t say they’re an absolute breeze for the very first-time gardener, but with a little patience and these tips, you’ll be a pro in no time.
The Best Time to Start
For the highest success rate with Galium chloroionanthum, I find late spring to early summer is your sweet spot. This is when the plant is actively growing, and its stems are pliable and full of life. You’re essentially taking advantage of its vigorous growth phase. Avoid trying to propagate during the heat of summer or when the plant is dormant in winter.
Supplies You’ll Need
Here’s a little kit to get you going:
- Sharp, clean pruning shears or a sharp knife: We want clean cuts to avoid introducing disease.
- Small pots or trays with drainage holes: Essential for preventing soggy roots.
- A good, well-draining potting mix: I like a blend of equal parts potting soil, perlite, and a touch of sand.
- Rooting hormone (optional but helpful): Especially for slightly trickier cuttings. Look for a powder or gel.
- A watering can with a fine rose or a spray bottle: Gentle watering is key.
- Clear plastic bags or a propagation lid: To create a humid environment for your cuttings.
- A tray for bottom watering (optional): This is a game-changer for consistent moisture.
Propagation Methods
We’ll focus on the most reliable methods for this little gem.
Stem Cuttings
This is my go-to for Galium chloroionanthum.
- Select your cuttings: Look for healthy, non-flowering stems. You want pieces that are about 3-4 inches long.
- Make the cut: Use your clean shears to take cuttings just below a leaf node. A leaf node is where a leaf grows from the stem – this is where the magic of rooting happens!
- Prepare the cuttings: Gently remove the lower leaves from the cutting, leaving just a few at the top. This prevents them from rotting in the soil and encourages the plant to focus its energy on root development.
- Apply rooting hormone (if using): Dip the cut end of the stem into the rooting hormone, tapping off any excess.
- Plant your cuttings: Fill your small pots with your prepared potting mix. Make a hole with a pencil or your finger and insert the cutting, ensuring the leaf nodes you removed are below the soil surface. Gently firm the soil around the stem.
- Water gently: Water the soil thoroughly but gently, allowing excess water to drain away.
- Create humidity: Cover the pot with a clear plastic bag, securing it with a rubber band, or place it under a propagation lid. You want to trap moisture around the cuttings.
Division
If you have a mature, well-established clump, you can divide it.
- Gently lift the plant: Carefully dig up the entire plant from its pot or garden bed.
- Inspect the root ball: You’ll see that the clump can be easily pulled apart into smaller sections. Look for sections that have healthy roots and at least a few shoots.
- Separate the divisions: Gently pull or use a clean knife to cut the clump apart.
- Replant immediately: Pot up your divisions into their own containers with fresh potting mix, watering them in well.
The “Secret Sauce” (Pro Tips)
Here are a few things I’ve learned over the years that really make a difference:
- Don’t let the leaves touch the water: If you opt for water propagation (which can work for Galium but I find stem cuttings more reliable), make absolutely sure that any leaves are NOT submerged. Leaves in water will rot and can take down your whole cutting.
- Bottom heat is your friend: If you have a propagation mat, placing your pots on it can significantly speed up root formation. Galium chloroionanthum loves a little warmth to get those roots going.
- Patience is key with this one: Sometimes, these little guys can be a bit shy about showing you they’ve rooted. Don’t give up too soon! I’ve had cuttings take several weeks to show new growth.
Aftercare & Troubleshooting
Once your cuttings have developed a good root system (you’ll see new growth, or you can gently tug on a cutting to feel resistance), it’s time for their next step.
- Gradual acclimation: Slowly remove the plastic bag or lid for longer periods over a week or so. This helps them adjust to the drier air.
- Watering: Keep the soil consistently moist but not waterlogged. Watering from the bottom of the pot is a great way to ensure even moisture without disturbing delicate new roots.
- Light: Place your new plants in a spot with bright, indirect light. Avoid direct, harsh sun when they’re young and vulnerable.
- Signs of trouble: The most common issue is rot, which looks like mushy, brown stems. This is usually caused by overwatering and poor drainage. If you see this, it’s sadly often a lost cause, but you can try taking a few more healthy cuttings from the parent plant while you still can! Another sign can be wilting, which might mean they’re too dry or experiencing shock.
A Encouraging Closing
Propagating plants is a journey, and with Galium chloroionanthum, it’s a beautiful one. Be patient with your little green charges. Watch them closely, offer them a little bit of care and attention, and soon enough, you’ll be rewarded with delightful new plants. Enjoy the process, and happy gardening!
Resource:
https://identify.plantnet.org/k-world-flora/species/Galium%20chloroionanthum%20K.Schum./data