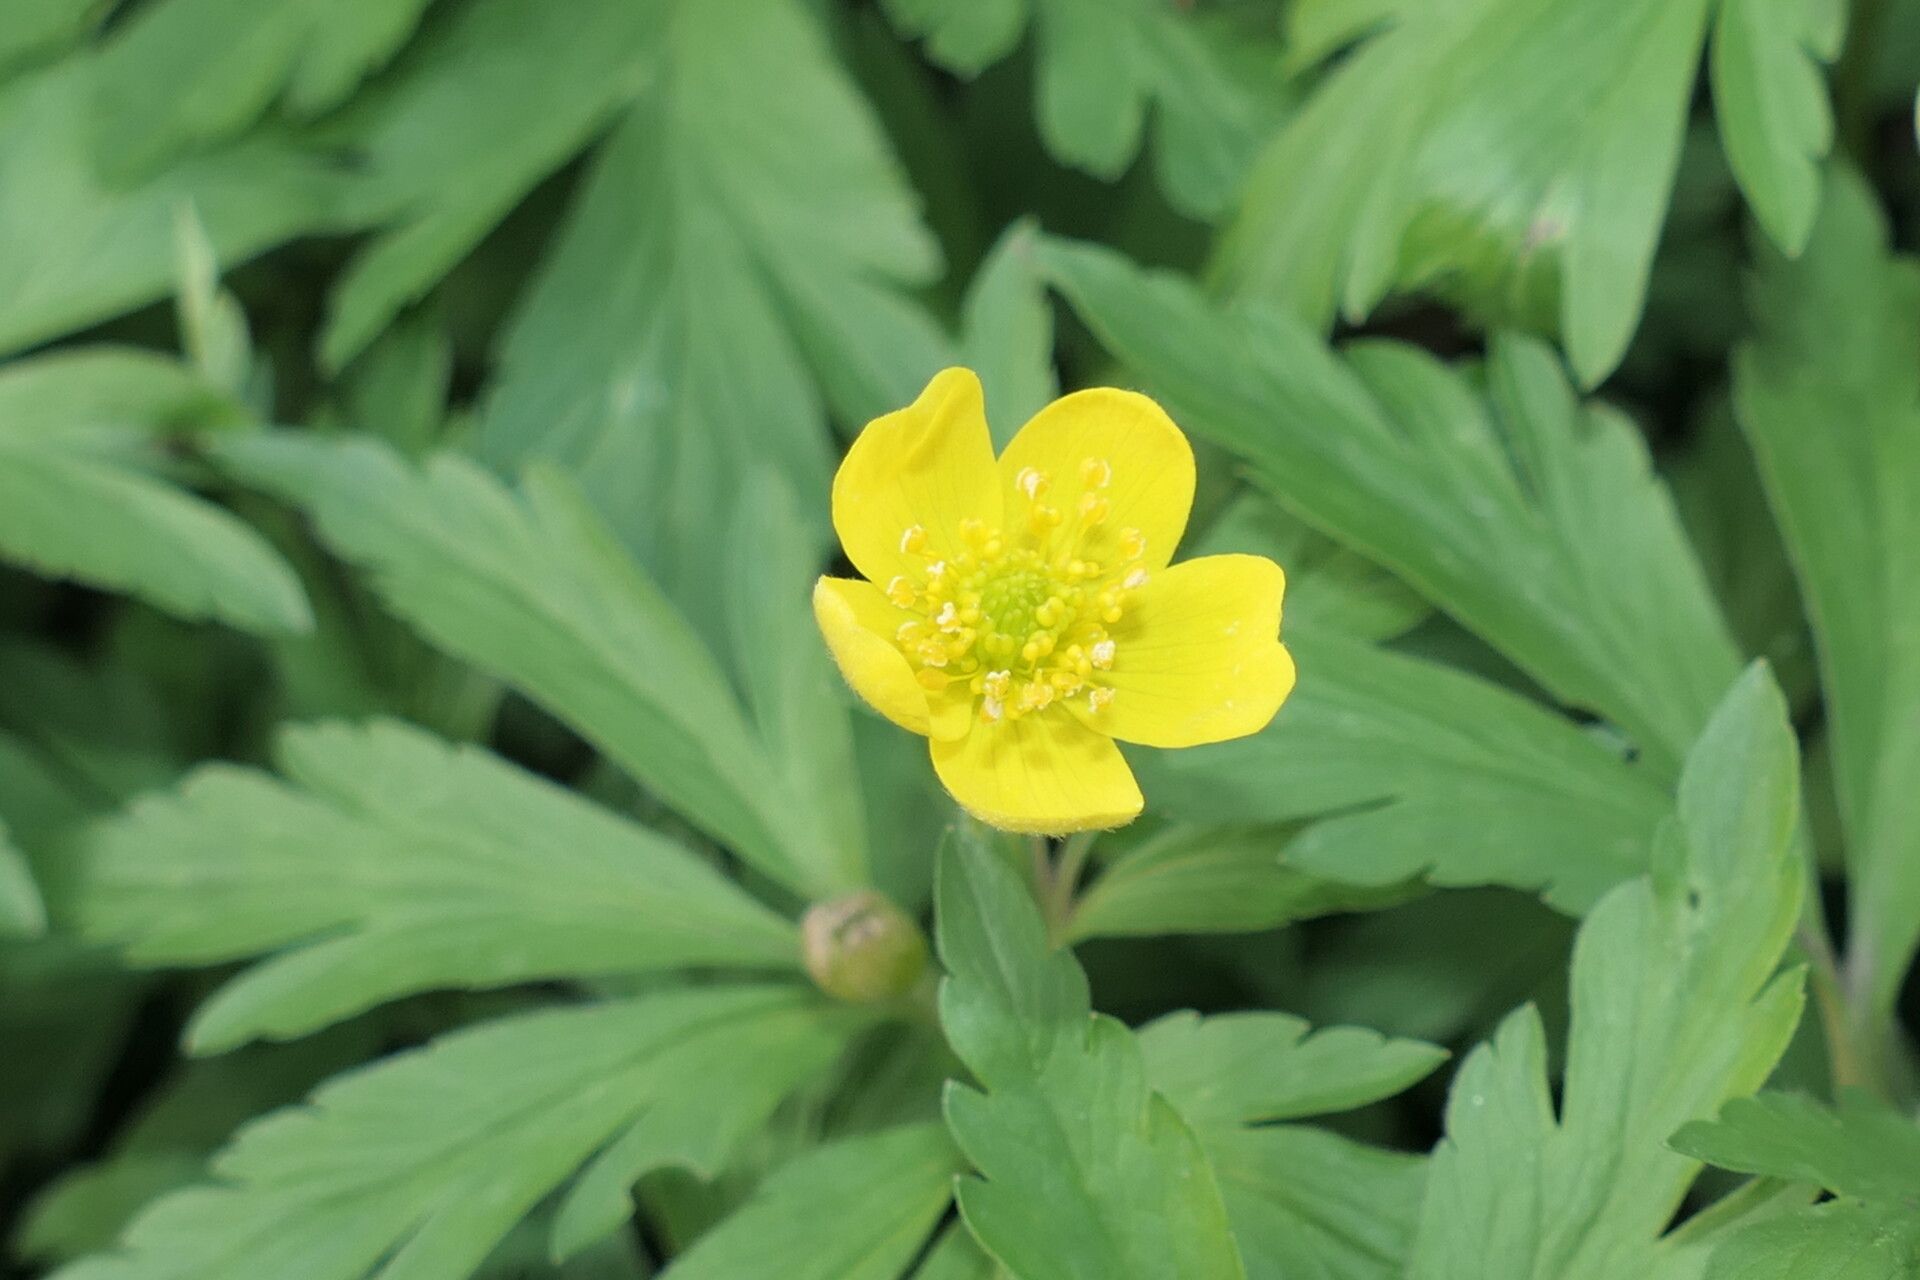
Oh, hello there! Come on in, grab a mug of your favorite brew. I’m so glad you’re interested in propagating Anemonoides ranunculoides, or as many of us affectionately call them, the lesser celandine. If you’ve ever seen their cheerful, glossy, buttercup-yellow flowers blanketing a shady spot in spring, you know they bring a smile to your face. They’re like little spots of sunshine poking up through the damp earth, and honestly, growing more of them is such a rewarding little gardening project.
Now, let me tell you, propagating Anemonoides ranunculoides is generally a pretty fuss-free affair. I’d say it’s certainly beginner-friendly, especially if you choose the right method. You’ll be expanding your lovely groundcover in no time!
The Best Time to Start
The absolute sweet spot for propagating these cheerful plants is right after they’ve finished their spring flowering and started to die back. You’ll notice their leaves might turn yellow or even brown. This is their natural dormancy period creeping in, and it’s the perfect time to get busy. Think late spring to early summer.
Supplies You’ll Need
You don’t need a whole lot of fancy gear to get started. Here’s what I usually have on hand:
- Sharp trowel or small spade
- Your favorite potting mix – something that drains well is key! A mix with compost and perlite usually does the trick.
- A small watering can with a fine rose
- Labels and a marker (so you don’t forget what you’ve planted where!)
- Optional: A spray bottle for misting
Propagation Methods
The most straightforward way to propagate Anemonoides ranunculoides is through division. That’s where we’ll focus our efforts.
- Dig with Care: Gently dig up an established clump of Anemonoides ranunculoides. Be careful not to damage the delicate roots. I like to loosen the soil around the clump with my trowel first.
- Separate Gently: Once the clump is out of the ground, you’ll see it’s made up of fleshy rhizomes, which are basically underground stems. You can often gently tease these apart with your fingers. If they’re a bit stubborn, a clean trowel can help you slice through them.
- Look for Growth Points: Make sure each piece you separate has at least one healthy root and perhaps a visible bud or growth point. This is crucial for the new plant to get going.
- Repot or Replant: You can either replant these divisions directly into your garden beds or pot them up into new containers. For containers, use your well-draining potting mix, gently firming it around the roots.
- Water In: Give your newly divided plants a good, gentle watering. This helps settle the soil around the roots and removes any air pockets.
The “Secret Sauce” (Pro Tips!)
Over the years, I’ve picked up a few little tricks that seem to make a difference:
- Don’t Over-Divide: It’s tempting to make as many plants as possible, but resist the urge to break the rhizomes into tiny pieces. Larger divisions with more robust root systems have a better chance of establishing quickly. Think of it as giving them a good head start.
- Keep Them Cool and Moist (Initially): While these plants can handle a bit of sun in their blooming season, newly divided ones prefer to stay in a cool, dappled shade, especially if you’re potting them up. Keep the soil consistently moist, but not waterlogged, until you see signs of new growth.
- Observe Their Natural Rhythm: Remember that Anemonoides ranunculoides is a spring ephemeral. They do their thing, then they fade. Don’t panic if your divisions disappear underground for a while. They’re just resting and getting ready for their next show.
Aftercare & Troubleshooting
Once your divisions are in their new homes, the main task is to keep them consistently moist while they re-establish. This is especially important if you’re propagating during a drier spell. You’ll know they’re happy when you start to see fresh, green shoots emerging from the soil.
The most common issue you might encounter is rot, especially if the soil stays too wet. If you notice a division becoming mushy or black, it’s likely a sign of too much moisture or not enough drainage. If this happens, gently dig it up, let it dry out a bit, and replant in fresh, drier soil. Sometimes, sadly, a division just doesn’t take, and that’s part of gardening. Don’t be discouraged!
A Encouraging Closing
So there you have it! Propagating Anemonoides ranunculoides is a lovely way to fill out those shady corners with vibrant color. Be patient, trust the process, and enjoy watching your new patches of sunshine come to life. Happy gardening!
Resource:
https://identify.plantnet.org/k-world-flora/species/Anemonoides%20ranunculoides%20(L.)%20Holub/data