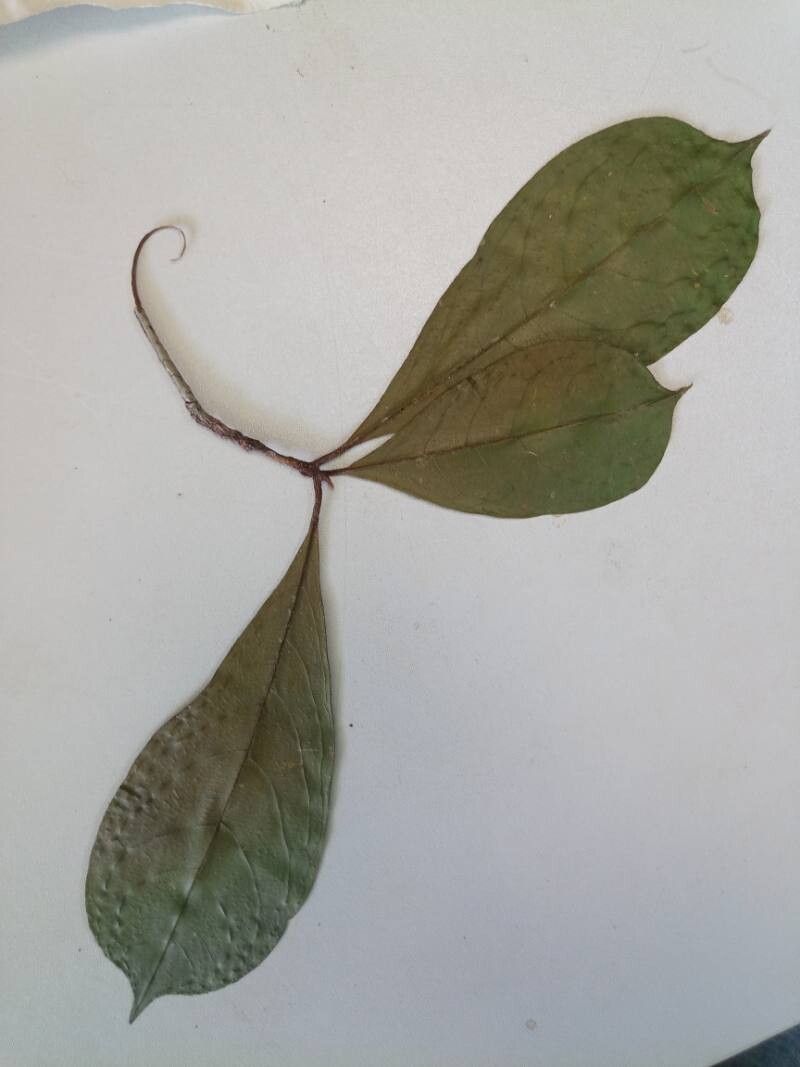
Oh, Terminalia nitidissima! What a gorgeous choice. I’ve always admired its glossy, deep green leaves and elegant upright form. It’s the kind of plant that brings a touch of sophisticated calmness to any space, inside or out. Bringing one of these beauties into existence from a tiny cutting or a division? That’s pure gardening magic, and honestly, quite rewarding. Now, if you’re new to propagation, this one might present a little learning curve, but it’s certainly not insurmountable. With a bit of patience and the right approach, you’ll be well on your way.
The Best Time to Start
For Terminalia nitidissima, spring and early summer are your absolute best friends. This is when the plant is in its most vigorous growth phase. New stems are developing, and sap is flowing freely, which all helps in the root-forming process. I’ve found starting cuttings when the wood is starting to harden slightly, but is still quite flexible, gives the best results. Avoid trying this when the plant is stressed by extreme heat or during its dormant period.
Supplies You’ll Need
Gathering a few things beforehand makes the entire process so much smoother. Here’s what I usually have on hand:
- Sharp pruning shears or a clean knife: For making precise cuts.
- Rooting hormone (powder or gel): This isn’t strictly essential for all plants, but it gives Terminalia nitidissima a real boost.
- Potting mix: A well-draining mix is crucial. I like a blend of coco coir, perlite, and a touch of compost. You can also find specialized propagation mixes.
- Small pots or propagation trays: Clean ones, please!
- Plastic bag or humidity dome: To keep the humidity high around your cuttings.
- A spray bottle: For misting.
- Labels and a marker: To keep track of what you’ve planted!
Propagation Methods
Terminalia nitidissima can be propagated quite successfully from stem cuttings. This is generally the most straightforward and rewarding method for this particular plant.
Stem Cuttings
- Take your cuttings: In spring or early summer, select healthy, non-flowering stems. Using your sharp shears, cut pieces about 4-6 inches long. Make the cut just below a leaf node (that little bump where a leaf emerges).
- Prepare the cuttings: Gently remove the leaves from the bottom half of the cutting. You want to avoid any leaves that will end up below the soil line, as they’ll likely rot. You can leave a couple of leaves at the top to help with photosynthesis, but if they’re very large, consider trimming them in half.
- Apply rooting hormone: Dip the cut end of the stem into your rooting hormone. Tap off any excess.
- Plant the cuttings: Fill your small pots or trays with your well-draining potting mix. Make a small hole in the center with your finger or a pencil. Insert the cutting into the hole, ensuring the leaf nodes that were below the soil line are now covered. Gently firm the soil around the cutting.
- Water and cover: Water the soil gently until it’s evenly moist, but not waterlogged. Then, cover the pot with a plastic bag or place it under a humidity dome. This is critical for creating a mini-greenhouse effect.
- Find a good spot: Place your pots in a bright location with indirect light. Avoid direct sun, which can scorch the tender cuttings.
The “Secret Sauce” (Pro Tips)
Here are a few little tricks I’ve picked up over the years that make a difference:
- Think about “callousing”: While not always necessary for softer stems, for slightly woodier cuttings like these, sometimes leaving them to air dry for a few hours after taking them (before dipping in hormone and planting) can encourage a stronger callus to form at the wound, which can aid in root development. It’s a small step but can boost success rates.
- Bottom heat is your friend: If you have a seedling heat mat, placing your pots on it can significantly speed up root formation. The gentle warmth encourages the plant to send out roots when the top is still relatively cool.
- Don’t be afraid to experiment with water: While I primarily recommend soil propagation for this one, I’ve had some success with water propagation for small Terminalia nitidissima cuttings. The absolute key here is to ensure no leaves touch the water. Only the bare stem should be submerged. Change the water every few days to keep it fresh. Once roots are about an inch long, carefully transplant them into soil.
Aftercare & Troubleshooting
Once your cuttings have been planted, patience is key!
- Maintain humidity: Keep that plastic bag or humidity dome on, and check the soil moisture regularly. It should feel consistently damp to the touch, but never soggy. If you see condensation building up excessively, you can temporarily vent the bag for an hour or so.
- The moment of truth: After about 4-8 weeks, you can gently tug on a cutting. If you feel resistance, you have roots! It’s a good sign. You can also try to look for tiny new leaf growth.
- Troubleshooting:
- Rot: If your cuttings turn mushy and black, that’s usually a sign of overwatering and poor drainage. Make sure your mix is airy and adjust your watering schedule.
- Wilting: If your cuttings wilt dramatically and don’t perk up after watering, they likely haven’t rooted yet and are struggling to take up moisture. Ensure your humidity is high.
- Not rooting: Sometimes, they just don’t take. Don’t get discouraged! It can be due to the time of year, the health of the mother plant, or subtle environmental factors. Just try again with new cuttings.
A Encouraging Closing
So there you have it – a journey into making more magical Terminalia nitidissima plants. Remember, gardening is as much about the process as it is about the prize. Be patient with your cuttings, give them a little TLC, and enjoy watching them grow. Each new plant is a testament to persistence and the wonderful life force of nature. Happy propagating!
Resource:
https://identify.plantnet.org/k-world-flora/species/Terminalia%20nitidissima%20Rich./data