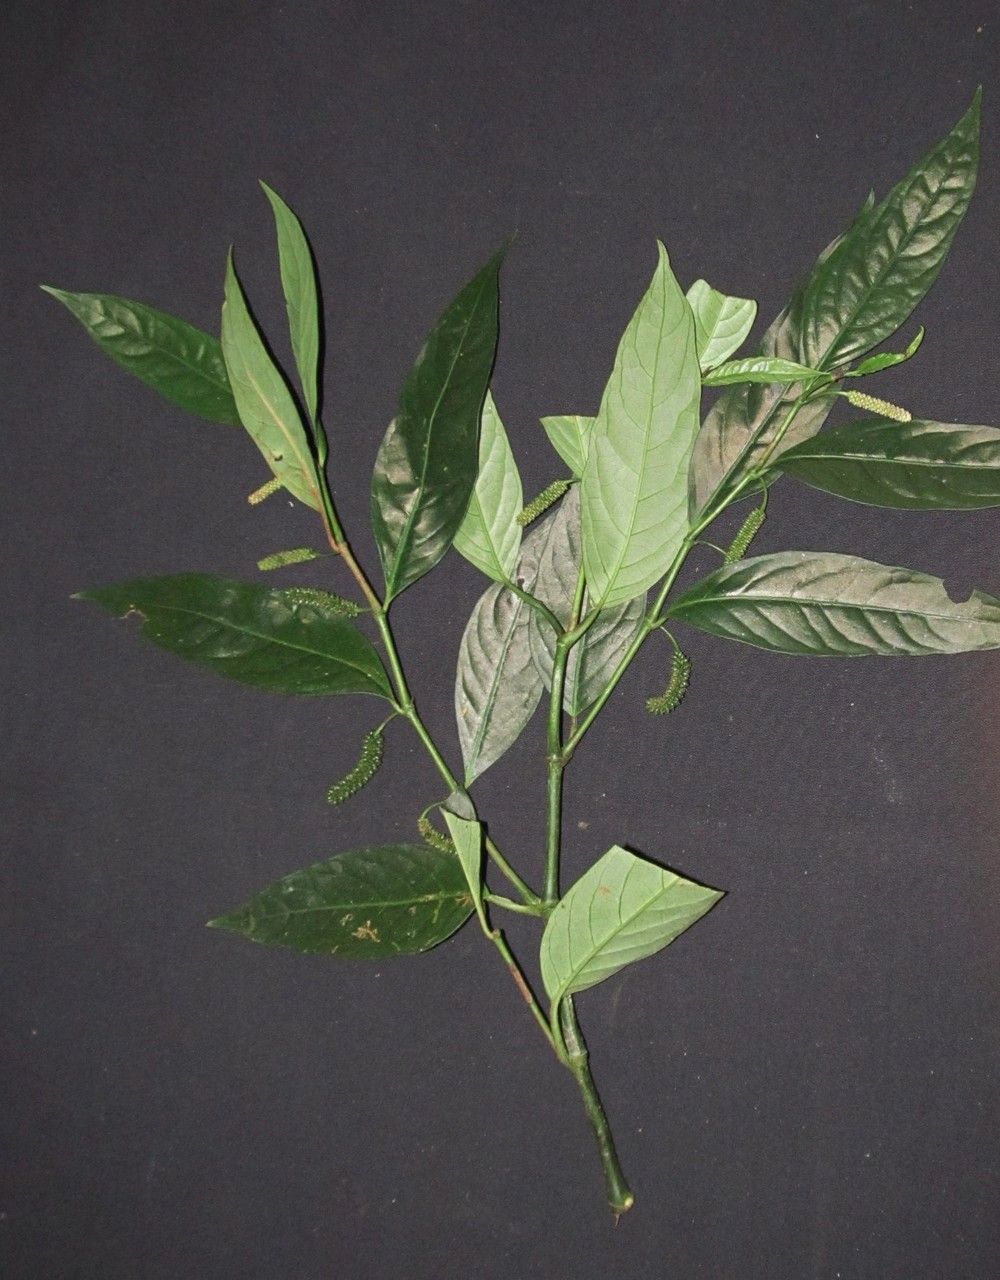
Hello fellow plant lovers! Today, we’re diving into the wonderful world of Piper candelarianum. If you’ve ever admired its striking, deep green, heart-shaped leaves with their intricate venation, you’re not alone. This plant brings such a touch of the tropics to any indoor space. And guess what? Propagating it yourself is incredibly rewarding. It’s a fantastic way to multiply your collection or share the green love with friends. For those of you just starting out, I’d say Piper candelarianum is moderately easy to propagate, making it a great project to build your confidence.
The Best Time to Start
When is the perfect moment for this gardening adventure? I find the late spring to early summer is your sweet spot. This is when your Piper is in its most vigorous growth phase. New growth is plump and full of life, giving your cuttings the best chance to establish themselves. You can absolutely try it at other times, but you’ll likely see the fastest and most successful results during this peak growing period.
Supplies You’ll Need
Before we get our hands dirty, let’s round up our tools. Having everything ready makes the process so much smoother.
- Sharp Pruning Shears or a Clean Knife: A clean cut is crucial for preventing disease.
- Rooting Hormone (Optional but Recommended): This can give your cuttings a nice boost. Look for IBA-based powders or gels.
- Well-Draining Potting Mix: I like a blend of peat moss, perlite, and a bit of orchid bark. It keeps things airy and prevents waterlogging.
- Small Pots or Propagation Trays: Choose pots that are just big enough for your cuttings.
- Clear Plastic Bag or Dome: This will create a mini-greenhouse effect.
- Spray Bottle: For misting.
- Water: Of course!
Propagation Methods
Let’s get down to business! I find two methods work best for Piper candelarianum: stem cuttings and water propagation.
Method 1: Stem Cuttings
This is my go-to for Piper because it’s so effective.
- Select a Healthy Stem: Look for a piece of stem that has at least two to three sets of healthy leaves. It should be flexible, not woody.
- Make the Cut: Using your sharp shears or knife, cut the stem just below a leaf node. This is the little bump where a leaf emerges from the stem, and it’s where roots love to form. Aim for cuttings about 4-6 inches long.
- Prepare the Cutting: Gently remove the lower leaves, leaving only the top one or two. If your remaining leaves are very large, you can cut them in half to reduce water loss.
- Apply Rooting Hormone (Optional): Dip the cut end into your rooting hormone powder or gel, tapping off any excess.
- Plant Your Cutting: Fill your small pots with your prepared potting mix. Make a small hole with your finger or a pencil and gently insert the cutting, ensuring the nodes are buried. Firm the soil gently around it.
- Water and Cover: Water the soil thoroughly until you see it drain from the bottom. Then, place a clear plastic bag over the pot, or use a propagation dome, to create a humid environment. You can prop the bag up with a stick if it touches the leaves.
Method 2: Water Propagation
If you’re feeling a bit nervous about soil, water propagation is a lovely, visual way to start!
- Select and Cut: Follow steps 1 and 2 from the stem cutting method.
- Prepare for Water: Remove any leaves that would end up submerged in water.
- Place in Water: Fill a clean jar or glass with room-temperature water. Place your cutting in the water, making sure the leaf nodes are submerged.
- Find a Good Spot: Set your jar in a spot with bright, indirect light.
- Change the Water Regularly: This is key! Change the water every few days to keep it fresh and prevent bacterial growth.
The “Secret Sauce” (Pro Tips)
Here are a couple of things I’ve learned over the years that really make a difference.
- Don’t let those leaves touch the water! In water propagation, any leaves submerged will quickly rot and can take your cutting with them. Snip them off or make sure the water level is just right.
- Bottom heat is your best friend. If you can, placing your pots on a heating mat designed for plants can really speed up root development. It mimics the warmth of spring and encourages those roots to push out.
- Be patient with pruning. When you take cuttings, think of it as pruning your mother plant. Even if a cutting doesn’t immediately show signs of growth, it might still be developing roots under the surface.
Aftercare & Troubleshooting
So, you’ve got roots! Congratulations! Now what?
For Soil Cuttings: Once your cuttings have developed a good root system (you’ll see new leaf growth, and they’ll feel a slight resistance when gently tugged), you can remove the plastic bag or dome gradually over a few days to acclimate them to normal humidity. Continue to keep the soil moist but not soggy. Gradually move them into brighter light.
For Water Cuttings: When your roots are about 1-2 inches long, it’s time to transplant them into potting mix. Gently plant them as you would a soil cutting, water well, and cover to help them adjust to the new environment.
Troubleshooting: The most common issue is rot. If your cutting looks mushy, dark, or smelly, it’s likely rotted. This usually happens due to overwatering, poor air circulation, or contaminated water. If you catch it early, you might be able to salvage a healthy section by taking a new cutting. Another sign something’s amiss is a cutting that just sits there doing nothing for weeks and weeks. While some are slow, a complete lack of energy could mean poor rooting conditions or a weak cutting to begin with.
A Encouraging Closing
Propagating plants is a journey, not a race. There will be successes, and there might be a few setbacks, but each attempt teaches you something valuable. Be patient with your Piper candelarianum cuttings, give them the right environment, and enjoy watching new life sprout from your efforts. Happy propagating!
Resource:
https://identify.plantnet.org/k-world-flora/species/Piper%20candelarianum%20C.DC./data