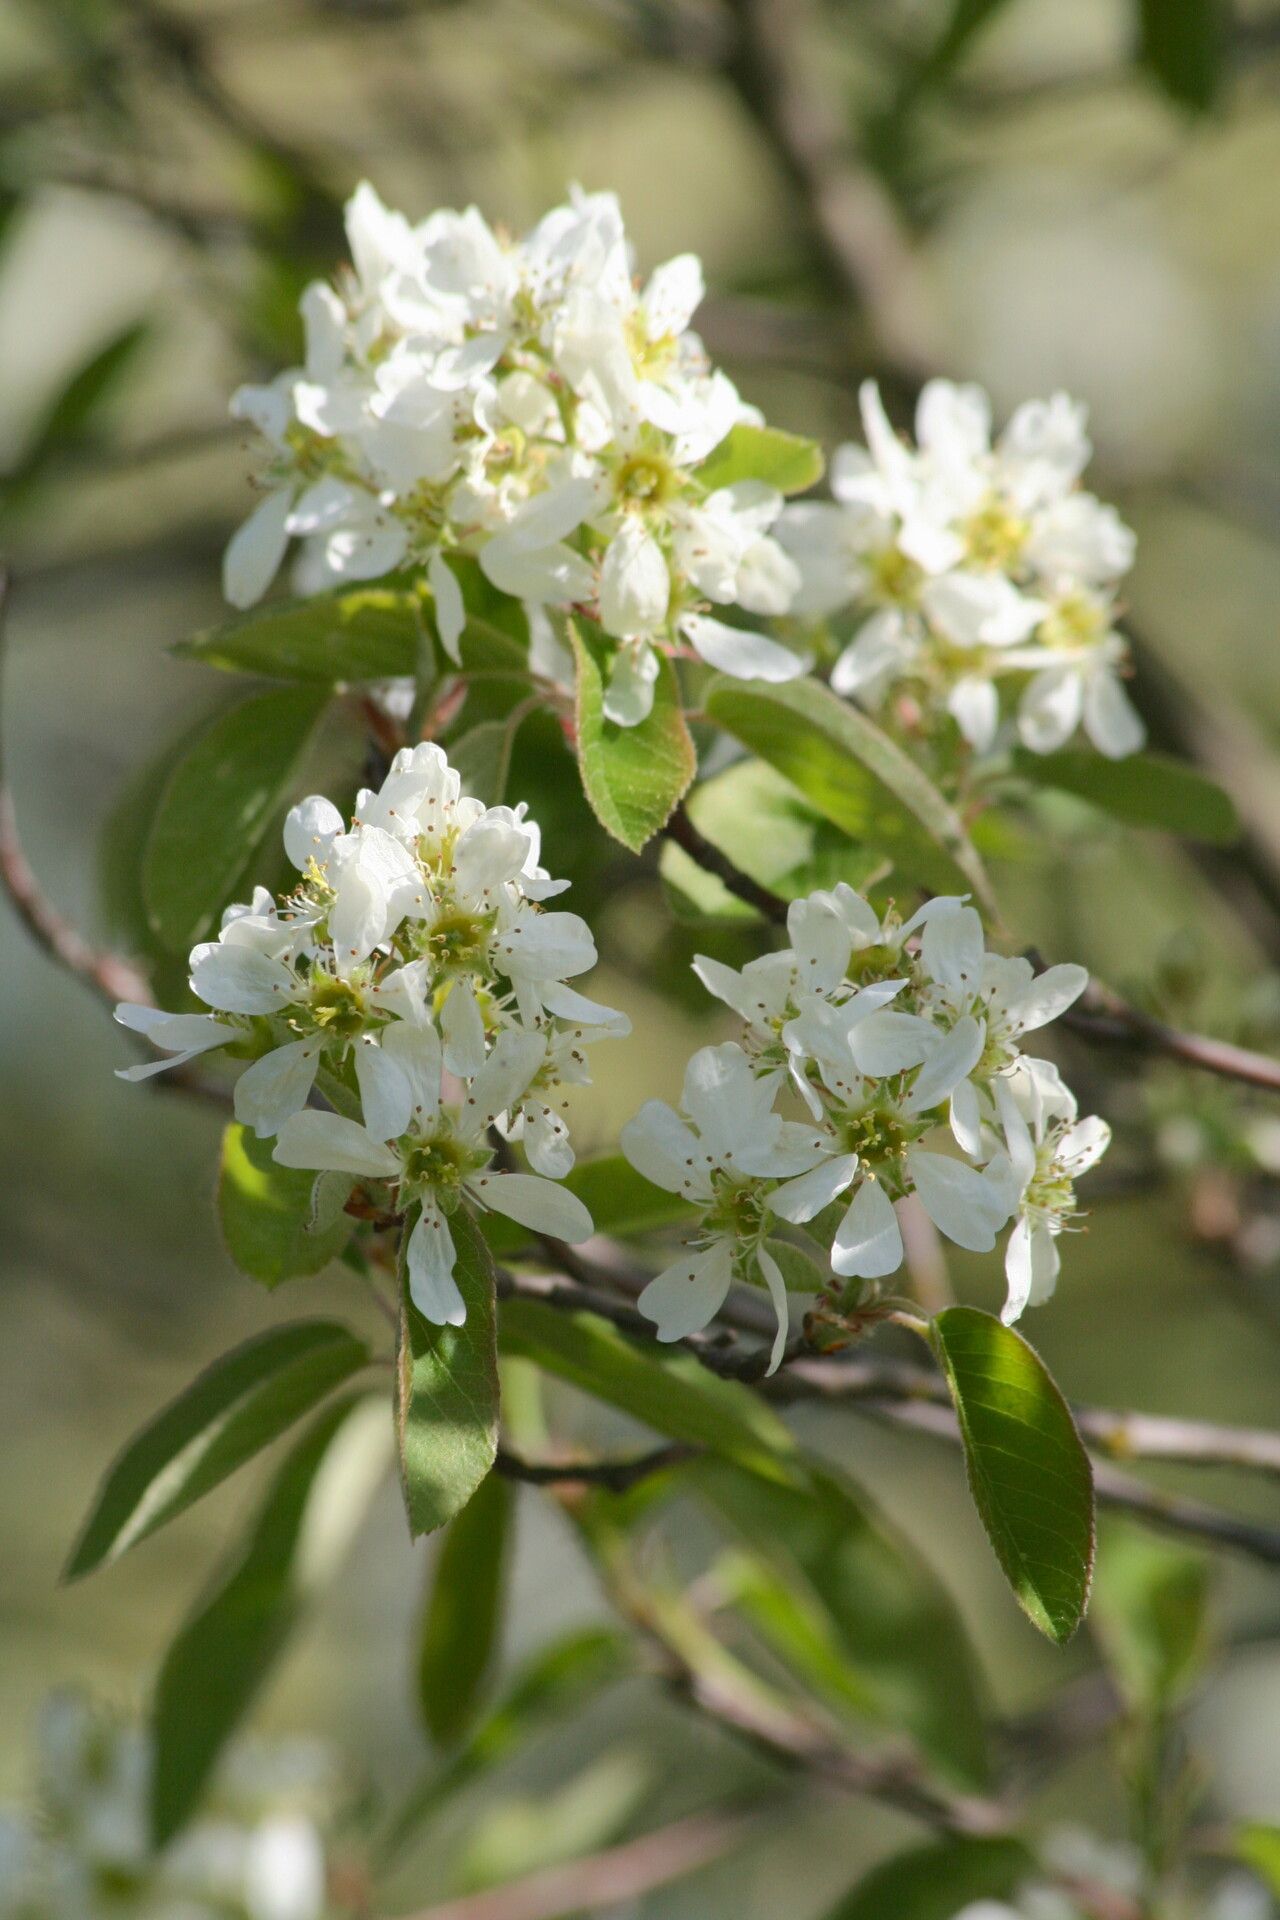
Hello there, fellow garden enthusiasts! I’m so glad you’ve decided to dive into the world of propagating Amelanchier stolonifera, or what many of us lovingly call our native Serviceberry. This plant is an absolute gem. In spring, its delicate white flowers are a harbinger of warmer days, followed by delicious, edible berries that birds absolutely adore. And in autumn? Oh, the foliage turns a glorious mix of reds and oranges that simply takes my breath away.
There’s a special kind of joy in coaxing a new plant life from an existing one. It’s a tangible connection to nature’s cycles, and with Serviceberry, it’s surprisingly accessible. Don’t let the fancy botanical name fool you; this is a wonderfully rewarding plant for beginners to propagate. You’ll be sharing its beauty with friends in no time!
The Best Time to Start
For the highest success rates, I find that late spring to early summer is your golden window. This is when the plant is actively growing, and its stems have hardened up just enough to make good cuttings, but they’re not old and woody. Aim for stems that are still somewhat flexible but not floppy.
Supplies You’ll Need
Gather up your tools, and let’s get ready!
- Sharp Pruning Shears or Knife: Clean cuts are essential for healthy healing.
- Rooting Hormone Powder or Gel: This gives your cuttings an extra boost to develop roots. You can find this at most garden centers.
- Well-Draining Potting Mix: A good blend of peat moss, perlite, and coarse sand works wonders. A mix specifically designed for cuttings is also an excellent choice.
- Small Pots or Seed Trays: About 4-6 inches deep are perfect for individual cuttings.
- Clear Plastic Bags or Domes: To create a humid environment for your cuttings.
- Watering Can with a Fine Rose: Gentle watering is key.
- Optional: Bottom Heat Mat: This might be a bit more advanced, but providing gentle warmth from below can significantly speed up root formation.
Propagation Methods
We’ll focus on stem cuttings, as it’s generally the most effective and straightforward method for Amelanchier stolonifera.
1. Taking the Cuttings:
Head out to your Serviceberry plant on a bright morning after the dew has dried. Look for healthy, current-year’s growth. You want semi-hardwood cuttings – stems that are flexible but have started to firm up. Using your clean pruning shears, take cuttings that are about 6 to 8 inches long. Make your cut just below a leaf node (where a leaf joins the stem).
2. Preparing the Cuttings:
Once you have your cuttings, it’s time to prep them. Gently remove the leaves from the bottom two-thirds of each cutting. You want to leave just a few leaves at the very top to help the cutting photosynthesize. If your leaves are particularly large, I like to snip them in half horizontally to reduce water loss through transpiration.
Now, dip the cut end of each stem into your rooting hormone. Make sure the end is well-coated. Gently tap off any excess.
3. Planting the Cuttings:
Fill your small pots or seed trays with your prepared potting mix. Water it thoroughly so it’s evenly moist but not waterlogged. Using a pencil or your finger, create a hole in the center of the soil, deep enough to accommodate the lower portion of your cutting. Carefully insert your prepared cutting into the hole, and firm the soil gently around the stem to ensure good contact. You can usually fit 2-3 cuttings per small pot, keeping them spaced apart to prevent disease.
4. Creating a Humid Environment:
This is crucial! Place your pots inside a clear plastic bag or cover them with a plastic dome. Ensure the leaves aren’t touching the plastic; if they are, you might need to prop it up with a few small stakes. This traps humidity, which is vital for preventing the cuttings from drying out before they can form roots. Place them in a bright, indirect light location. Avoid direct sun, as it can scorch the delicate cuttings.
The “Secret Sauce” (Pro Tips)
Here are a few little tricks I’ve picked up over the years that really make a difference:
- Bottom Heat is Your Friend: If you can, using a bottom heat mat set to around 70-75°F (21-24°C) will significantly speed up root development. Roots just love a little warmth from below!
- Don’t Mist Too Much: While humidity is key, over-misting can encourage fungal diseases. My preference is to rely on the enclosed plastic bag or dome to maintain moisture. If you do mist, do it lightly, and only when you see the soil surface starting to dry.
- The “Bend Test”: After about 4-6 weeks, gently tug on a cutting. If you feel resistance, congratulations! You’ve got roots. If it comes out easily, it might not have taken, but don’t despair! You can always try again.
Aftercare & Troubleshooting
Once your cuttings have started to show signs of rooting – you might see new leaf growth or feel that resistance when gently tugging – it’s time to start acclimatizing them to the outside world.
- Gradual Acclimatization: For the first week, gradually increase ventilation by opening the plastic bag or dome for a few hours each day. This helps them adjust to lower humidity.
- Watering: Continue to keep the soil consistently moist but never soggy. Water from the bottom if possible.
- Transplanting: Once your new plants have a good root system (you should see roots emerging from the drainage holes), you can transplant them into larger pots with a regular potting mix.
- Signs of Trouble: The most common issue is rot. If your cuttings turn black and mushy, it’s usually a sign of too much moisture or poor air circulation. If you see this, remove the affected cuttings immediately and make sure your remaining ones have good drainage and aren’t sitting in standing water. Wilting can also occur if the cutting is drying out too quickly, which is why maintaining humidity is so important.
A Little Patience Goes a Long Way
Propagating plants is a journey, and each cutting is a little experiment. Don’t get discouraged if not every single one takes. Learn from what happens, adjust your approach, and most importantly, enjoy the process! There’s a deep satisfaction in watching those tiny roots develop and knowing you’ve helped bring a new Serviceberry into the world. Happy propagating!
Resource:
https://identify.plantnet.org/k-world-flora/species/Amelanchier%20stolonifera%20Wiegand/data