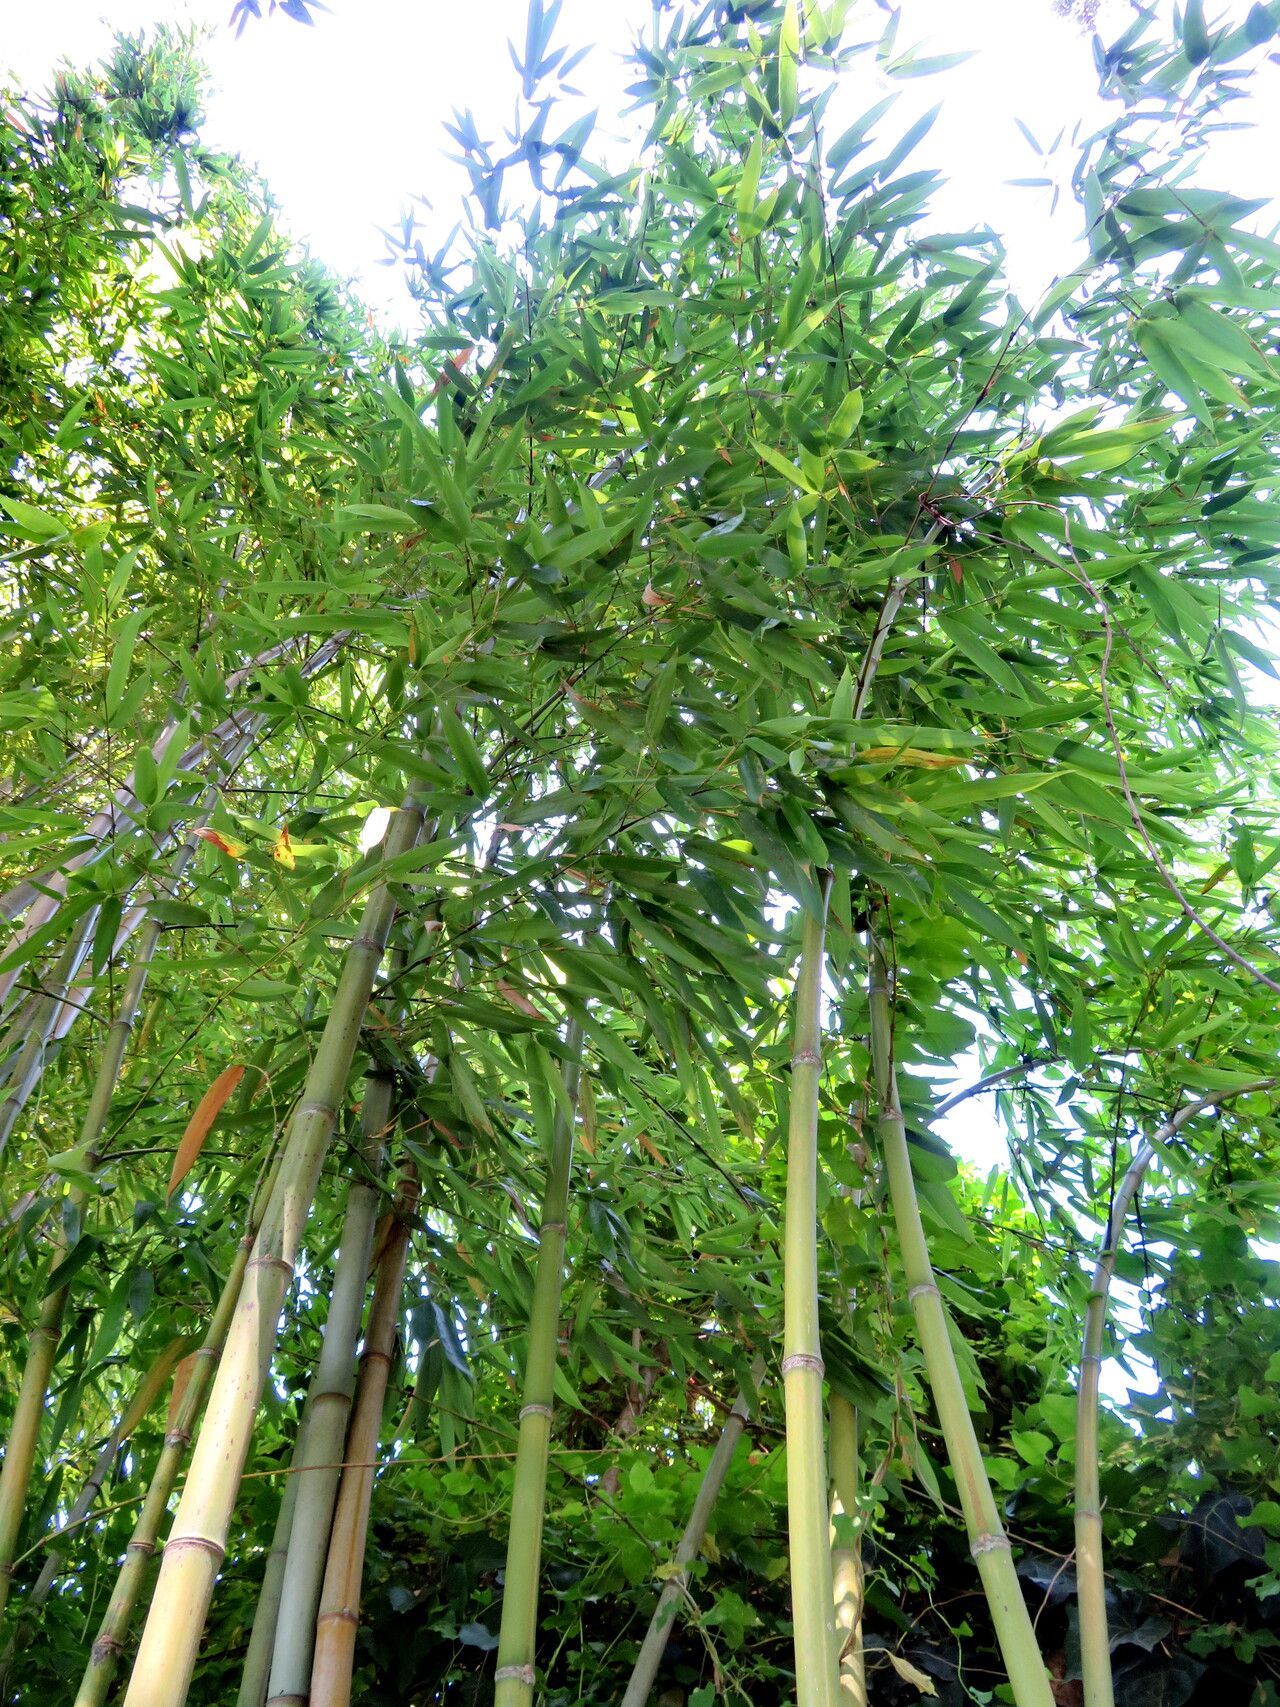
Hey there, fellow plant enthusiasts! Let’s talk bamboo. Specifically, let’s chat about Phyllostachys aurea, or Golden Bamboo. Honestly, it’s one of those plants that just brings a certain oomph to any garden. Its graceful, arching canes, often with that beautiful golden hue, can create such a striking focal point or a lovely screen. And the best part? It’s incredibly satisfying to take a piece of your thriving plant and create a whole new one. Don’t worry, even if you’re just starting out with propagating, Golden Bamboo is actually quite forgiving. You’ll be sharing cuttings with friends before you know it!
The Best Time to Start
When it comes to coaxing new life from your Golden Bamboo, spring and early summer are your golden ticket. This is when the plant is in its active growth phase. You’ll see new shoots emerging, and your existing culms (that’s what we call the bamboo stems) will be full of energy. Trying to propagate when the plant is dormant or stressed just makes things harder on everyone, including your hopeful new plant!
Supplies You’ll Need
Before we dig in, let’s gather our tools. Having everything ready makes the process so much smoother.
- Sharp Pruning Shears or a Saw: Clean, sharp tools are essential for making clean cuts that heal well.
- Potting Mix: A well-draining mix is key. I like a blend of peat moss, perlite, and a bit of compost. You can also find specific bamboo potting mixes.
- Pots or Containers: Clean pots with drainage holes are a must.
- Rooting Hormone (Optional but Recommended): This little helper can significantly boost your success rate. Look for one specifically for woody plants.
- Watering Can or Spray Bottle: For gentle watering and keeping things moist.
- Plastic Bag or Humidity Dome: To create a mini greenhouse effect.
- Sharp Knife or Small Trowel: For division.
Propagation Methods
Golden Bamboo is pretty versatile, and thankfully, you have a couple of straightforward ways to go about it.
Method 1: Division (The Gold Standard for Bamboo)
This is by far the most common and successful way to propagate most running bamboos, including Phyllostachys aurea. Think of it like giving your bamboo a haircut and getting a bonus plant out of it!
- Choose Your Donor: Find a mature, healthy clump of bamboo. Look for a section that’s easily accessible and has some vigorous growth.
- Excavate (Gently!): This can be the trickiest part, especially with well-established plants. Carefully use your pruning shears or saw to cut away a section of the rhizome (the underground stem) and its attached culms. Try to get at least one or two healthy culms attached to a good chunk of rhizome. If you’re working with a very large clump, you might need to be a bit more aggressive with a sturdy saw.
- Separate: Once you have a section, you might need to use your sharp knife or trowel to further tease apart smaller divisions. The goal is to have a piece with a few culms, some healthy rhizome, and ideally, some fine roots already attached.
- Trim: Trim back the culms by about one-third to one-half. This helps reduce water loss through the leaves. If there are any leaves, you can either remove them entirely or trim them back significantly.
- Pot Up: Plant your division in a pot filled with your well-draining potting mix. Make sure the rhizome is just below the soil surface, and the base of the culms are at soil level. Water thoroughly.
Method 2: Stem Cuttings (A Bit More Patience Required)
This method is a little more like a typical houseplant cutting. It can work, but it might take longer to establish.
- Select Your Culm: Look for a healthy, vigorous culm that’s about a year old. You want to take a section that has several nodes (those rings on the stem where leaves emerge).
- Make Your Cuts: Using your sharp pruners, cut a section of the culm about 6-12 inches long. Make sure to include at least two nodes. You’ll want to cut diagonally about an inch above a node and diagonally about an inch below the next node.
- Prepare the Cutting: Remove any leaves from the bottom node. If there are any leaves on the top, trim them down by about half to reduce transpiration.
- Apply Rooting Hormone (Optional): Dip the cut end of the cutting into rooting hormone.
- Plant or Water:
- In Soil: Stick the cutting into a pot filled with a moist, well-draining potting mix, ensuring the bottom node is buried.
- In Water: Place the cutting in a jar of water, ensuring the bottom node is submerged. Change the water every few days to keep it fresh.
The “Secret Sauce” (Pro Tips)
Alright, time for a little insider knowledge! These are the things that make a real difference.
- Don’t Let the Leaves Touch the Water (for water propagation): If you’re doing the water method, make sure the cut end is in the water, but any leaves are well above the waterline. Soggy leaves will just rot and invite problems.
- Bottom Heat is Your Friend: Especially for stem cuttings, providing gentle bottom heat from a propagation mat can significantly speed up root development. It mimics the warmth of springtime soil.
- The “Muddy Bottom” Trick (for division): When planting your divisions, sometimes I like to dip the cut rhizome end into a thick slurry of compost and water before planting. It seems to give them a little boost of nutrients and moisture right where they need it.
Aftercare & Troubleshooting
Once your cutting or division shows signs of life, it’s time for some gentle TLC.
- Watering: Keep the soil consistently moist but not waterlogged. Like most plants, bamboo doesn’t like to sit in soggy conditions. If you’re using the plastic bag method, check the moisture frequently. You want it to feel like a wrung-out sponge.
- Light: Place your new plant in bright, indirect light. Avoid direct, harsh sun, which can scorch delicate new growth.
- Signs of Success: Look for new shoots emerging from the culms or rhizome, or for increased vigor. You might also see tiny white root tips poking out of the drainage holes when you check your pot.
- Common Pitfalls:
- Rot: This is the most common problem. It usually happens from overwatering and poor drainage. If you see mushy, dark stems or roots, it’s likely rot. You might be able to salvage a piece if you catch it early, but often it’s a lost cause.
- Shriveling: If your cutting or division shrivels up, it might be getting too much direct sun, not enough moisture, or it’s just struggling to establish. Keep it humid and out of direct light.
A Little Patience Goes a Long Way
Propagating plants isn’t an exact science, and sometimes things just don’t work out. But don’t get discouraged! Phyllostachys aurea is a determined plant, and with these tips, you’ll have a great chance of success. Enjoy the process of nurturing these new life forms, and before you know it, you’ll have a whole grove of your own to admire. Happy gardening!
Resource: