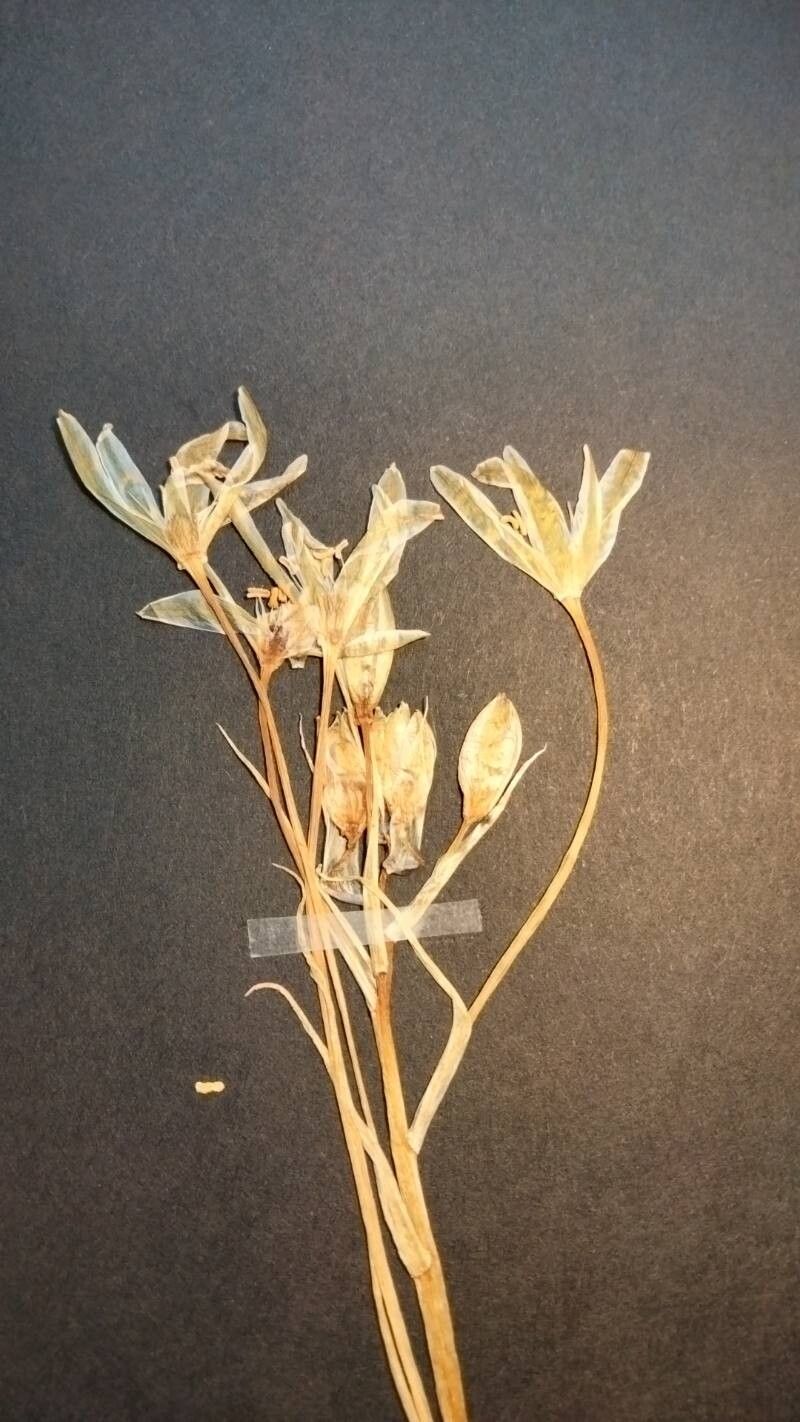
Hello fellow plant lovers! It’s so wonderful to have you here. Today, we’re diving into the delightful world of Ornithogalum comosum, often called “Chincherinchee” or the “Star-of-Bethlehem.” These delicate, star-shaped white flowers are an absolute joy in the garden and even better as cut flowers – they last for ages! If you’ve ever admired their ethereal beauty and wished you had more, you’re in luck. Propagating Ornithogalum comosum is a surprisingly accessible project, even for those just starting their plant journey. It’s incredibly rewarding to see a tiny piece of a plant grow into a whole new specimen.
The Best Time to Start
When it comes to Ornithogalum comosum, timing is everything for best results. The ideal time to propagate is late summer or early autumn, after the flowering season has ended and the plant is beginning its dormancy period or is already established in its resting phase. This is when the bulbs are plump and full of stored energy, ready to put towards producing new roots and shoots.
Supplies You’ll Need
Gathering your supplies beforehand makes the whole process smoother. Here’s what you’ll need:
- Sharp pruning shears or a clean knife: For making precise cuts.
- Well-draining potting mix: A general-purpose mix with added perlite or coarse sand works wonderfully. You can also get specific succulent or bulb mixes.
- Small pots or trays: For housing your new propagations.
- Watering can with a fine rose or a spray bottle: For gentle watering.
- Optional: Rooting hormone powder: While not strictly necessary for Ornithogalum comosum, it can give an extra boost.
- Optional: Small labels: To keep track of what you’ve propagated and when.
Propagation Methods
Ornithogalum comosum is primarily propagated by its bulblets. These little wonders form around the base of the parent bulb and are the easiest way to grow more plants.
-
Exhuming the Bulblets:
- Wait until the foliage of your Ornithogalum comosum has completely died back. This is crucial – the plant needs to store energy in its bulb before you disturb it.
- Gently dig around the parent bulb with your trowel or spade. The soil should be loose.
- Carefully lift the entire clump out of the ground or pot.
- You’ll see small, individual bulblets attached to the sides of the main bulb. They look like tiny onions.
- Gently twist or cut these bulblets away from the parent bulb. Try to ensure each bulblet has a little bit of its own basal plate (where the roots will form).
-
Planting the Bulblets:
- Prepare your pots with the well-draining potting mix.
- Plant the bulblets just below the surface of the soil. For most bulblets, about an inch deep is perfect.
- If you’re planting multiple bulblets in one pot, give them a little space – about 2-3 inches apart.
- Water gently after planting.
The “Secret Sauce” (Pro Tips)
Here are a few little tricks I’ve learned over the years that can really help your Ornithogalum comosum propagations thrive:
- Don’t rush the dig: I know it’s tempting to peek at the bulbs, but patience is a virtue with bulbs. Letting the foliage die back completely ensures the bulblets are mature and have the best chance of survival.
- Give them a little breathing room: When planting bulblets, especially if you’re planting several in one pot, make sure they aren’t crammed together. Good air circulation helps prevent fungal issues, which can be a bulblet’s nemesis.
- Think like a bulb: Remember that these are bulbs. They prefer to be slightly on the drier side once established. Overwatering can lead to rot very quickly, so let the soil dry out slightly between waterings.
Aftercare & Troubleshooting
Once your bulblets are planted, they’ll need a bit of gentle care.
- Watering: Keep the soil lightly moist until you see signs of new growth. Once they’re actively growing, water whenever the top inch of soil feels dry.
- Location: Place your pots in a bright spot, but avoid intense, direct sun for the first few weeks. A sunny windowsill or a sheltered spot outdoors is ideal.
- Patience is key: Don’t be discouraged if you don’t see growth immediately. Bulblets can take their time getting settled.
- Troubleshooting Rot: The most common problem you’ll face is rot. If you notice a bulblet becoming mushy, discolored, or smelling unpleasant, it’s likely rotting. This is usually due to overwatering or poor drainage. Remove it immediately, and ensure the remaining soil is well-draining and allowed to dry between waterings.
A Encouraging Closing
Propagating Ornithogalum comosum is a wonderfully satisfying way to multiply these beautiful blooms. It’s a simple process that rewards you with more of those gorgeous star-shaped flowers to brighten your home or garden. Don’t be afraid to get your hands dirty, be patient with the process, and most importantly, enjoy the journey of nurturing new life! Happy planting!
Resource:
https://identify.plantnet.org/k-world-flora/species/Ornithogalum%20comosum%20L./data