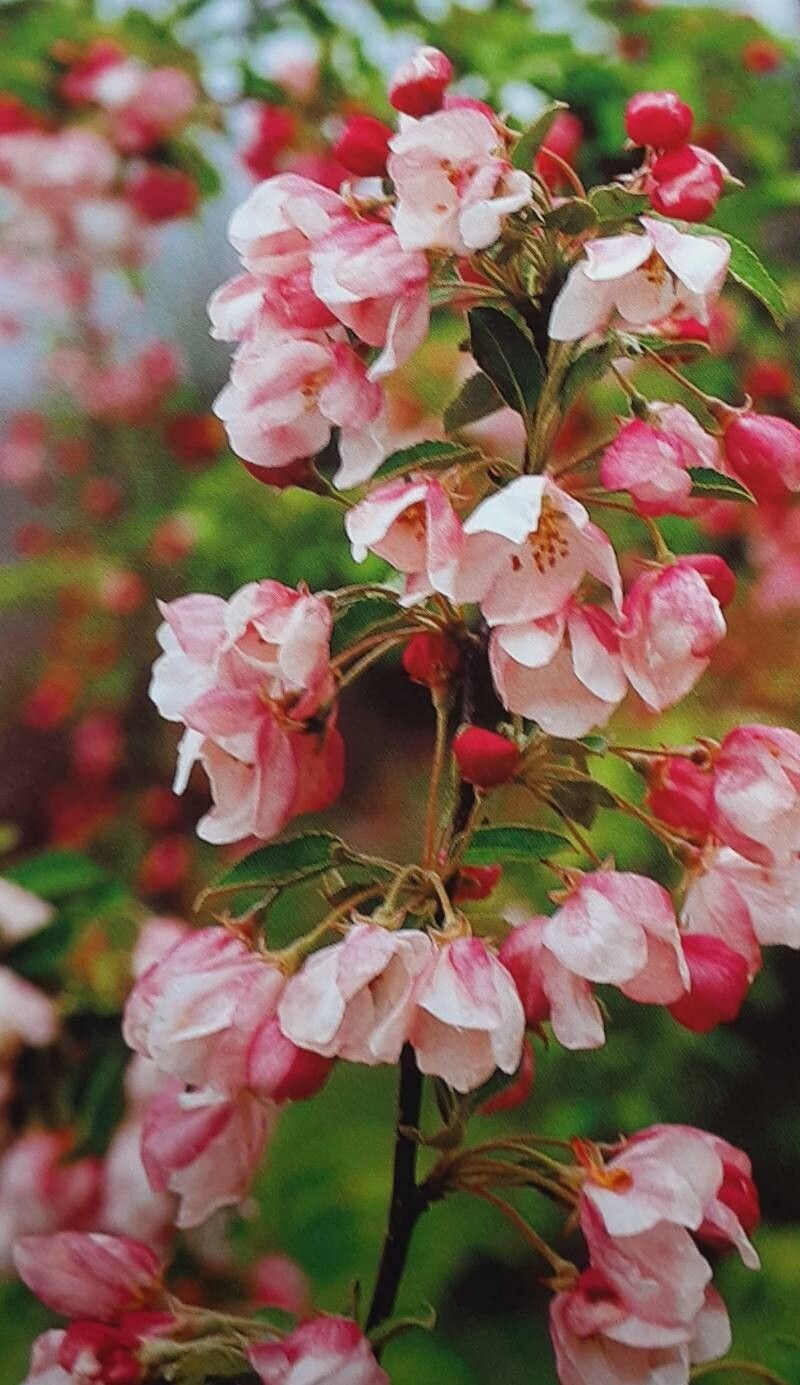
Hello fellow garden enthusiasts! I’m so glad you’ve stopped by. Today, we’re diving into the wonderful world of Malus ioensis, or as it’s more commonly known, the Iowa Crabapple. If you’re a fan of delicate pink blossoms in spring and those charming, small crabapples that birds adore, then you’re in for a treat. I’ve been growing and propagating these beauties for two decades, and I can tell you, the satisfaction of coaxing a new plant to life from an existing one is truly unparalleled.
Now, for the big question: is it easy for beginners? Honestly, Malus ioensis can be a little fussy. It’s not the kind of plant you can just stick in the ground and forget, but with a bit of patience and the right approach, you can absolutely be successful. Think of it as a rewarding challenge, not an insurmountable hurdle!
The Best Time to Start
For the highest chance of success with Malus ioensis, I always recommend working with semi-hardwood cuttings in late summer, typically from late July through August. This is when the current season’s growth has started to firm up but hasn’t fully hardened off. It’s a sweet spot that gives the cuttings enough maturity to survive the process but keeps them flexible enough to root. Avoid taking cuttings too early, when they’re still super soft and floppy, or too late, when they’re completely woody.
Supplies You’ll Need
Gathering your tools before you begin makes the whole process much smoother. Here’s what I usually have on hand:
- Sharp Pruning Shears or a Craft Knife: Clean cuts are essential for healthy healing.
- Rooting Hormone: I like to use a powdered form that contains an auxin, which really gives cuttings a kickstart.
- Potting Mix: A well-draining mix is crucial. I typically use a blend of peat moss (or coco coir), perlite, and a little bit of coarse sand. You can also buy specialized cutting mixes.
- Small Pots or Seed Trays: Make sure they have drainage holes.
- Plastic Bags or a Propagator: This helps create a humid environment for the cuttings.
- Water: For hydrating your cuttings and cleaning your tools.
- Labels and a Marker: So you don’t forget what you’ve planted!
Propagation Methods
While you can try other methods, I find stem cuttings to be the most reliable and accessible way to propagate Malus ioensis.
Here’s my tried-and-true step-by-step for taking cuttings:
- Select Your Wood: On a healthy, vigorous Malus ioensis plant, look for stems that grew this season. You’re after that semi-hardwood state – firm enough that it doesn’t snap easily, but you can still bend it.
- Take the Cutting: Using your clean pruning shears or knife, make a cut just below a leaf node (where the leaves attach to the stem). Aim for cuttings that are about 4-6 inches long, with at least two sets of leaves.
- Prepare the Cutting: Gently strip off the lower leaves, leaving just one or two sets at the very top. If the remaining leaves are very large, I sometimes cut them in half horizontally to reduce water loss through transpiration. You can also gently scrape a small sliver of bark away on one side of the bottom inch of the stem – this is called wounding and can encourage rooting.
- Apply Rooting Hormone: Dip the cut end of the stem into your rooting hormone, tapping off any excess. Make sure you get good coverage on the wounded area if you did that.
- Plant Your Cuttings: Fill your pots or trays with your well-draining potting mix, making sure it’s slightly moist. Use a pencil or a stick to create a small hole in the soil, then carefully insert the base of your cutting. Gently firm the soil around it.
- Create Humidity: This is key! Water the soil lightly. Then, cover the pots with clear plastic bags (use stakes to keep the plastic from touching the leaves) or place them inside a propagator. This traps moisture and keeps the humidity high, which is vital for cuttings.
The “Secret Sauce”
Over the years, I’ve learned a few tricks that seem to make all the difference. These aren’t necessarily complicated, but they’re the little things that can shift the odds in your favor.
- Bottom Heat is Your Friend: If you can, place your cuttings on a heated propagation mat, especially if your house is on the cooler side. This gentle warmth encourages root development from the bottom up, which is far more effective than just relying on ambient temperature.
- Don’t Drown Them: While humidity is essential, don’t let the potting mix become waterlogged. It’s a delicate balance. Soggy soil is a fast track to rot. I always ensure my pots have excellent drainage and I only water when the top inch of soil feels dry to the touch.
- Patience, Young Grasshopper: This one sounds simple, but it’s the hardest! Malus ioensis can be slow to root. Resist the urge to pull them up and check every few days. I give mine at least 6-8 weeks, sometimes even longer, before I even think about checking for roots.
Aftercare & Troubleshooting
Once you start seeing new growth, that’s a fantastic sign! You’ll know your cutting has rooted when you gently tug on it and feel resistance, or if it starts putting out new leaves or stems.
- Gradual Acclimation: Before you remove the plastic cover completely, start acclimating your cuttings to the drier air. Remove the plastic for a few hours each day, gradually increasing the time until you can go without it.
- Gentle Watering: Continue to water consistently but not excessively. Allow the top of the soil to dry slightly between waterings.
- Moving Up: Once the roots have filled the pot and you see good top growth, it’s time to pot up into slightly larger containers with good quality potting soil.
- Watch for Rot: The biggest enemy of cuttings is rot, often indicated by a black, mushy stem at the soil line, or the leaves turning yellow and dropping off en masse. This usually means too much moisture and not enough airflow. If you catch it early, you might be able to save it by letting the soil dry out thoroughly and improving air circulation, but often, it’s a sign that the cutting is lost. Another clue is if the cutting just dies – no new growth, no roots, just a dried-up twig. This is usually a sign it never took.
A Little Note on Patience…
Watching a new plant emerge from a simple twig is one of the most magical experiences in gardening. It takes time, a bit of know-how, and a whole lot of hope. Don’t be discouraged if some cuttings don’t make it; it’s all part of the learning curve. Celebrate the successes, learn from the failures, and most importantly, enjoy the process of bringing more of these lovely Iowa Crabapples into your garden. Happy propagating!
Resource:
https://identify.plantnet.org/k-world-flora/species/Malus%20ioensis%20(Alph.Wood)%20Britton/data