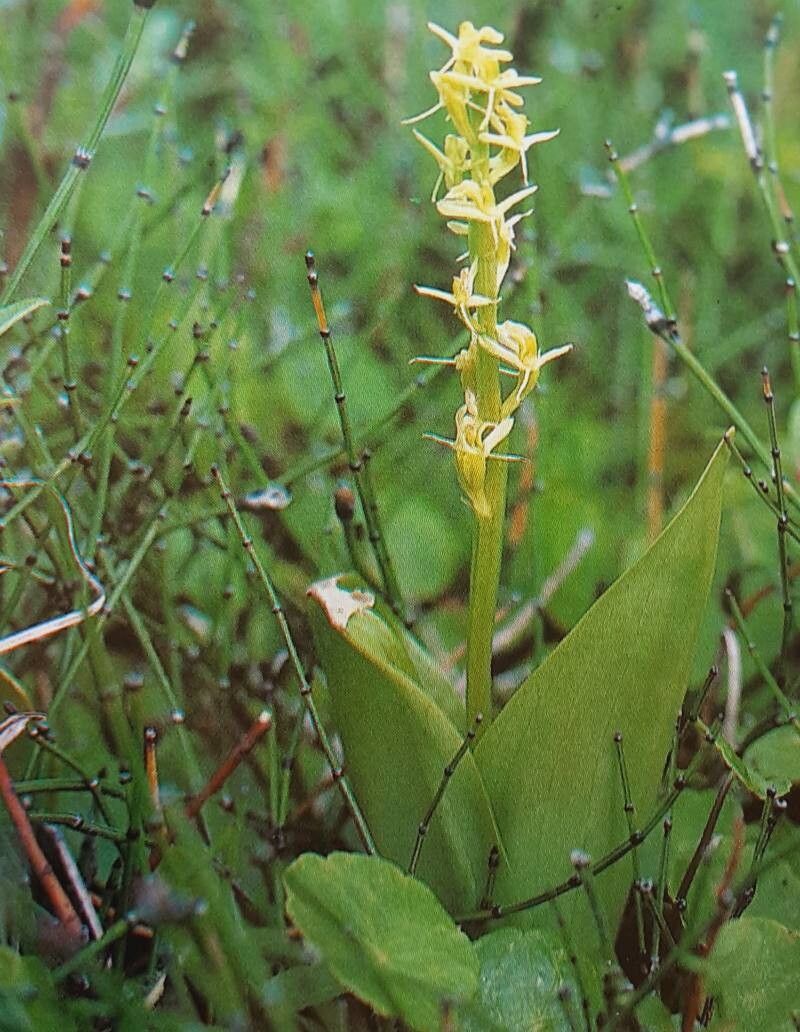
Oh, hello there! So, you’re looking to multiply your beautiful Liparis loeselii, are you? That’s wonderful! I’ve always had a soft spot for this little orchid. Its delicate, almost ethereal beauty, with those pale green-yellow flowers that seem to glow, is just captivating. Propagating it can feel a bit like unlocking a secret, and seeing a new plant emerge from a tiny piece of an old one is an incredibly rewarding experience. Now, I won’t lie to you, Liparis loeselii isn’t the easiest plant for an absolute beginner to propagate. It requires a bit of patience and understanding of its needs. But with a little guidance, you absolutely can succeed!
The Best Time to Start
For Liparis loeselii, the absolute best time to think about propagation is in late spring or early summer. This is when the plant is actively growing after its rest period and has the most energy stored up for new development. Aim for when you see new growth emerging, perhaps tiny shoots or even just before flowering begins. Trying to divide or take cuttings when the plant is dormant will likely lead to less success.
Supplies You’ll Need
To set yourself up for success, here’s a list of what you’ll want to have on hand:
- Sterile pruning shears or a sharp knife: Cleanliness is key to preventing disease.
- Small pots or trays: About 2-4 inches in size, with good drainage holes.
- Well-draining potting mix: A good orchid mix is perfect. You can also create your own by combining orchid bark, perlite, and a bit of sphagnum moss. The goal is for it to dry out relatively quickly.
- Rooting hormone (optional but helpful): A powder or gel specifically for orchids can give your cuttings a boost.
- Watering can with a fine rose or a spray bottle: For gentle watering.
- Clear plastic bags or a propagation dome: To maintain humidity around cuttings.
- Labels and a marker: To keep track of what you’ve propagated and when.
Propagation Methods
The most reliable way to propagate Liparis loeselii at home is through division. This orchid doesn’t really take to stem cuttings in the same way as some other plants, but happily, its growth habit makes division quite straightforward.
Division Method:
- Gently unpot your mature Liparis loeselii. You want to be careful not to damage the roots too much. Brush away as much of the old potting medium as you can.
- Inspect the plant. You’re looking for natural divisions. These usually appear as separate pseudobulbs or growth points that have started to develop their own roots. You might see a clump that looks like it has two or three distinct sections.
- Carefully separate the divisions. Sometimes, you can gently pull them apart with your hands. If they are really stuck, use your sterilized pruning shears or knife to carefully cut between the sections, making sure each new division has at least one healthy pseudobulb and some roots.
- Inspect the cut surfaces. If you’ve had to cut, you can dust the cut with a bit of fungicide powder to help prevent rot.
- Pot up your new divisions. Plant each division in its own small pot filled with your prepared orchid mix. Make sure the pseudobulb is just at or slightly above the surface of the mix. Don’t pack the mix too tightly around the roots.
- Water lightly. Give the newly potted divisions a gentle watering to settle the mix.
The “Secret Sauce” (Pro Tips)
Now, for a couple of tricks I’ve learned over the years that really make a difference:
- Don’t overwater after division. This is crucial. Your newly divided plants are a bit stressed and don’t have a fully developed root system to cope with excess moisture. Let the potting mix dry out almost completely between waterings for the first few weeks. It’s better to underwater slightly than to risk rot.
- Provide gentle bottom heat if possible. If you have a seedling heat mat, placing your pots on it can really encourage root development and new growth. The warmth stimulates the plant’s natural processes without overheating the delicate roots. Just make sure it’s only slightly warm, not hot to the touch.
Aftercare & Troubleshooting
Once your divisions are potted, give them a good home. Place them in a spot with bright, indirect light. Avoid direct sun, which can scorch those delicate leaves.
For the first few weeks, keep an eye on the humidity. If your air is very dry, you can pop a clear plastic bag loosely over the pot to create a mini-greenhouse effect, but make sure to open it for a few hours each day to allow for air circulation and prevent fungal issues.
Signs of trouble to watch for:
- Mushy, brown or black pseudobulbs: This is a sure sign of rot, usually caused by overwatering or poor drainage. If you see this, try to repot the healthy part immediately into fresh, dry mix.
- Wilting leaves: This could be a sign of lack of water or root rot. Feel the pseudobulb – if it’s firm, it’s likely underwatering. If it’s soft and squishy, it’s probably rot.
- No new growth after several weeks: Don’t panic immediately! Some orchids can take their time to settle in. Make sure your light and watering conditions are correct.
A Encouraging Closing
Don’t be discouraged if your first attempt isn’t a resounding success. Propagation is a journey, and patience is truly your best friend in the garden. Every gardener, myself included, has lost plants or had propagation attempts fail. It’s all part of the learning process. Celebrate the successes, learn from the setbacks, and most importantly, enjoy the quiet magic of nurturing new life. Happy propagating!
Resource:
https://identify.plantnet.org/k-world-flora/species/Liparis%20loeselii%20(L.)%20Rich./data