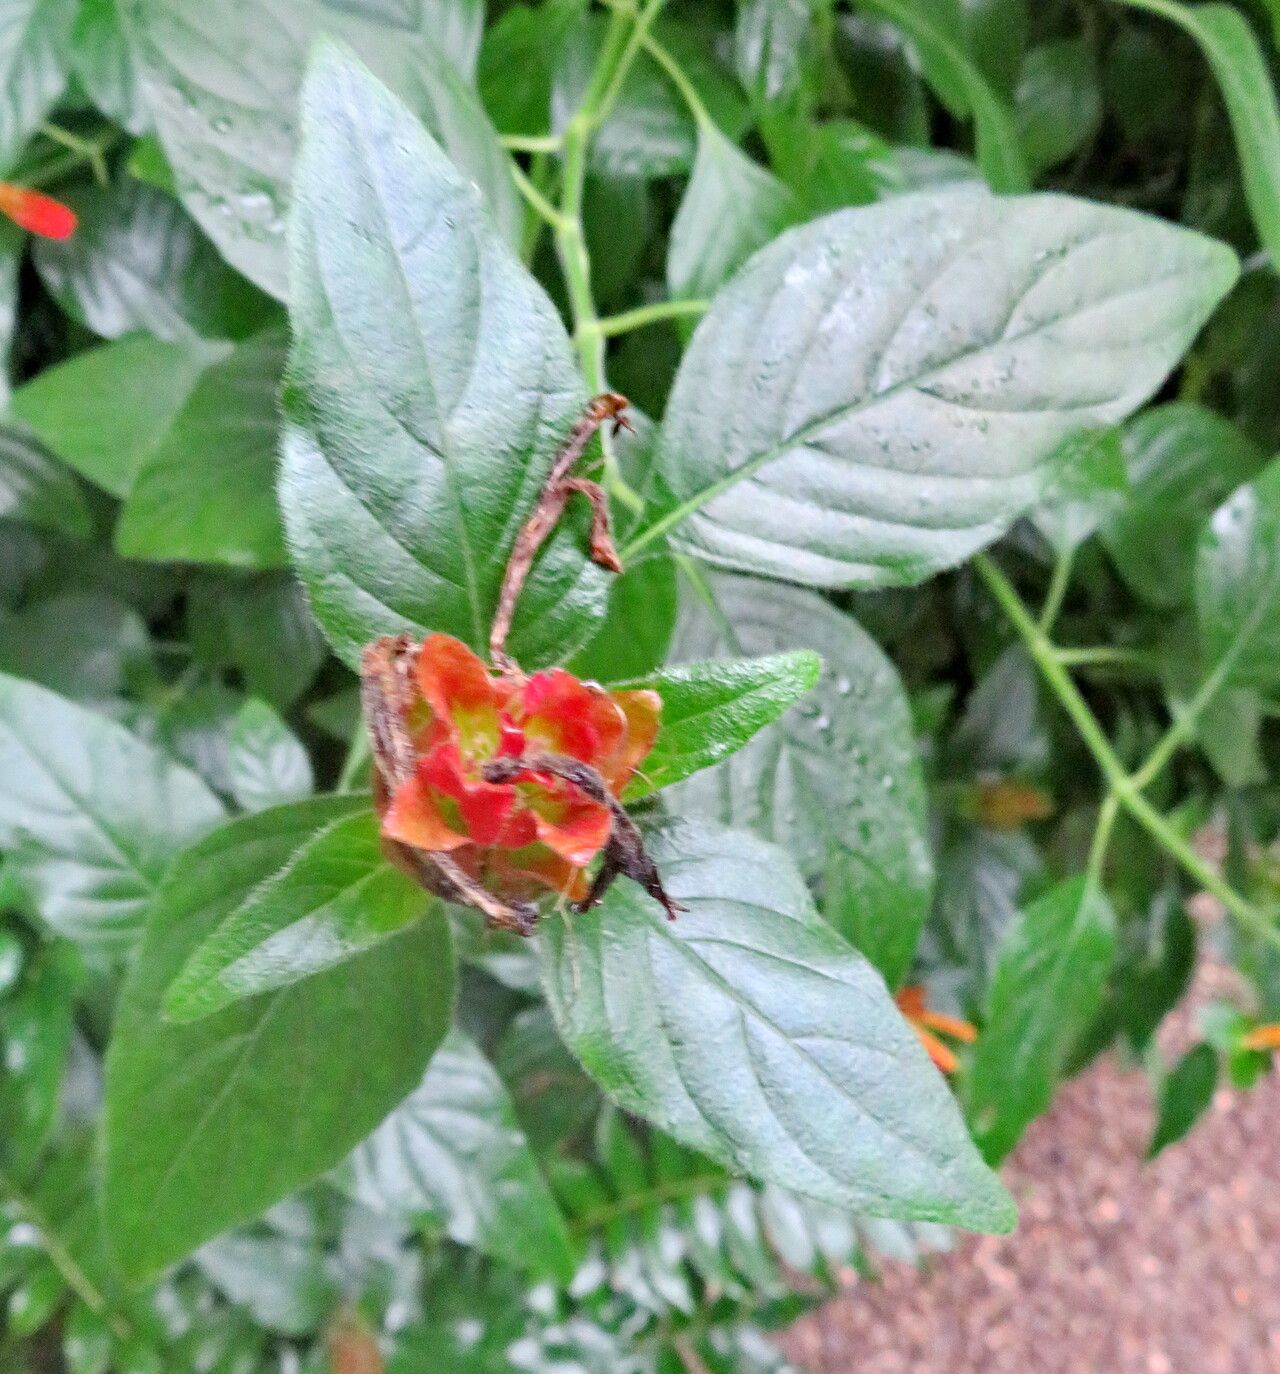
Oh, Justicia fulvicoma! You’ve picked a fantastic plant to get to know better. I remember the first time a friend handed me a cutting, and now my garden is dotted with these lovely bursts of fuzzy orange. They’re such cheerful bloomers, especially when the cooler weather rolls in, and their unique texture really captures attention. If you’re looking to add more of these beauties to your life, you’re in luck! Propagating Justicia fulvicoma is a wonderfully rewarding process, and I think even a beginner can have great success with it.
The Best Time to Start
For the highest chances of success, I always recommend taking cuttings in the late spring or early summer. This is when the plant is actively growing, meaning it has plenty of energy to put into developing roots. You’ll want to choose stems that are new, but not too soft, think of woody but still flexible. Avoid taking cuttings from flowering stems if possible; the plant’s energy is better directed towards roots than blooms right now.
Supplies You’ll Need
Here’s what I like to have on hand before I start:
- Sharp Pruning Shears or a Knife: Clean cuts make all the difference!
- Rooting Hormone: This is optional but can give your cuttings a helpful boost. I prefer the powdered kind.
- A Well-Draining Potting Mix: A good blend of peat moss, perlite, and vermiculite (roughly 50% peat moss, 50% perlite) works wonders. You can also use a standard seedling mix with good drainage.
- Small Pots or Trays: Clean containers are a must.
- A Label and Pen: Trust me, you’ll forget what you planted and when!
- A Plastic Bag or Dome: To create a humid environment.
Propagation Methods
Let’s get our hands dirty! I find stem cuttings to be the most reliable method for Justicia fulvicoma.
- Select Your Stems: Look for healthy, non-flowering stems that are about 4-6 inches long.
- Make the Cut: Using your sharp shears, make a clean cut just below a leaf node. A leaf node is where a leaf attaches to the stem; this is where roots typically emerge.
- Prepare the Cutting: Gently remove the leaves from the bottom half of the stem. This prevents them from rotting in the soil. Leave just a couple of leaves at the top.
- Apply Rooting Hormone (Optional): If you’re using rooting hormone, dip the cut end of the stem into the powder, tapping off any excess.
- Plant Your Cuttings: Make a small hole in your prepared potting mix with a pencil or your finger. Insert the cutting, ensuring the leaf nodes are buried in the soil.
- Firm the Soil: Gently firm the soil around the base of the cutting to ensure good contact.
- Water Gently: Water the soil lightly to settle it in.
The “Secret Sauce” (Pro Tips)
Now, for a couple of my tried-and-true tricks that have really helped me over the years:
- The Humidity Bubble is Key: After planting your cuttings, cover the pot with a clear plastic bag or a plastic dome. This is crucial! It creates a mini-greenhouse that keeps the humidity high, preventing the cuttings from drying out before they can root. Make sure the leaves aren’t touching the plastic if possible – you can use skewers to prop it up.
- Bottom Heat is Your Friend: While not strictly essential, placing your pots on a gentle heat mat designed for seedlings can significantly speed up the rooting process. It mimics the warmth of the soil in summer and gives those nascent roots an extra encouragement. Keep it on the lower setting.
Aftercare & Troubleshooting
Once your cuttings are planted, place them in a bright spot out of direct sunlight. The key now is to keep the soil consistently moist but not waterlogged. It’s a delicate balance!
You’ll know your cuttings have rooted when you see new leaf growth. This usually takes anywhere from 3 to 6 weeks. You can also give them a very gentle tug; if there’s resistance, they’ve likely rooted.
The biggest challenge you might face is rot. If you notice your stems becoming mushy or blackening, it’s usually a sign of too much moisture. Make sure your soil drains well, and try to let the very top layer of soil dry out slightly between waterings. If you see wilting, it could be that the cutting is simply too dry, or it might not have rooted yet.
A Encouraging Closing
Propagating plants is one of life’s simple pleasures. It’s amazing to watch a tiny piece of a plant transform into a whole new one! Be patient with your Justicia fulvicoma cuttings. Sometimes they take their sweet time. Don’t get discouraged if your first few attempts aren’t perfect. Keep trying, enjoy the process, and soon you’ll have a garden brimming with these delightful fuzzy blooms. Happy propagating!
Resource:
https://identify.plantnet.org/k-world-flora/species/Justicia%20fulvicoma%20Schltdl.%20&%20Cham./data