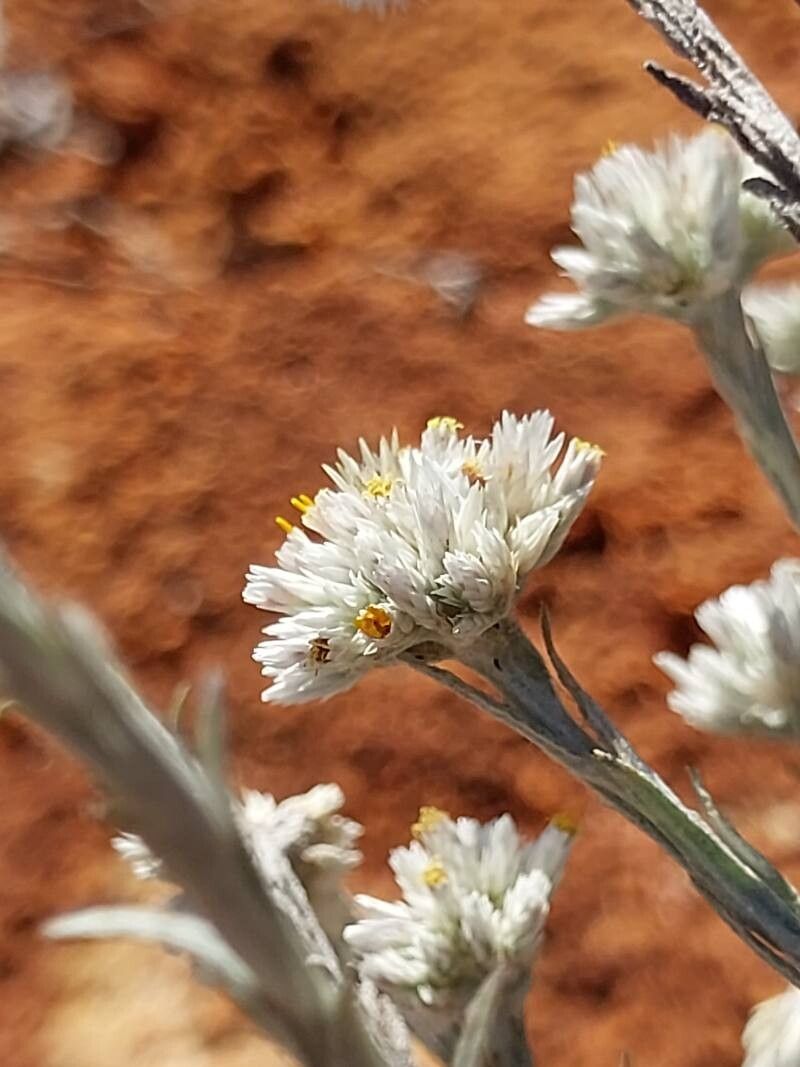
Hey there, fellow garden enthusiasts! I’m so glad you’ve stumbled upon my little corner of the internet. Today, we’re diving into the wonderful world of Helichrysum microcephalum, a plant that brings such a lovely, delicate texture and a subtle, earthy fragrance to any garden. I know, I know, sometimes specialized plants can seem a bit daunting, but trust me, propagating this little gem is a journey well worth taking. It’s not the absolute easiest thing you’ll ever try, but with a little patience and these tips, you’ll be well on your way to a whole patch of these beauties. It’s incredibly rewarding to watch a tiny cutting transform into a thriving plant you nurtured yourself.
The Best Time to Start
For Helichrysum microcephalum, spring or early summer is your golden ticket. This is when the plant is actively growing, and the stems are fresh and full of life. You’re looking for those brand-new, non-woody shoots. Think of it as catching the plant at its most energetic! Trying to propagate from older, tougher stems in the heat of summer or the quiet of winter just won’t yield the same enthusiastic results.
Supplies You’ll Need
Getting your supplies ready makes the whole process smoother. You’ll want to have these handy:
- Sharp, clean pruning shears or a sharp knife: Crucial for making those clean cuts.
- Rooting hormone (optional but recommended): This stuff gives your cuttings a real boost. Look for one specifically for stem cuttings.
- Small pots or seed trays: With drainage holes, of course!
- A good potting mix: I like a well-draining, gritty mix. A blend of perlite, coco coir, and a little bit of compost works wonders. You can also buy specialized seed starting mixes.
- A plastic bag or propagation dome: To create a humid environment.
- Water: For misting and watering the soil.
- Labels and a marker: To keep track of your cuttings!
Propagation Methods: Stem Cuttings
This is my go-to method for Helichrysum microcephalum. It’s straightforward and very effective.
- Select your cuttings: Find healthy, new growth from your established plant. Look for stems that are about 4-6 inches long. You want them to be flexible, not woody.
- Make the cut: Using your clean shears, make a clean cut just below a leaf node. A leaf node is where a leaf attaches to the stem; this is where roots love to sprout.
- Prepare the cutting: Gently remove the leaves from the bottom 2-3 inches of the stem. You don’t want any foliage submerged in the soil or water later, as it can rot.
- Apply rooting hormone (optional): Dip the cut end of the stem into your rooting hormone powder, tapping off any excess.
- Plant your cuttings: Fill your small pots or trays with your prepared potting mix. Make a small hole in the center with your finger or a pencil. Insert the cutting, ensuring the leaf nodes you stripped are buried. Gently firm the soil around the stem.
- Water gently: Water the soil thoroughly but gently. You don’t want to disturb the cuttings.
The “Secret Sauce” (Pro Tips)
Here are a couple of things I’ve learned over the years that really make a difference:
- Bottom Heat is Your Friend: Helichrysum microcephalum roots much better when its feet are warm. If you can, place your pots on a gentle heat mat designed for seedlings. It encourages faster root development and reduces the risk of rot because the soil dries a bit faster.
- Don’t Over-Water, Ever! This is the cardinal sin of propagation. Keep the soil consistently moist but never soggy. I often find that misting the leaves lightly once a day and checking the soil moisture with my fingertip is the best approach. If it feels dry about an inch down, it’s time for a light watering.
Aftercare & Troubleshooting
Once your cuttings are planted, cover the pots loosely with a plastic bag or propagation dome. This traps humidity, which is vital for encouraging new roots to form. Place them in a bright spot but out of direct, harsh sunlight.
You should start to see signs of rooting in 3-6 weeks. This might be new leaf growth appearing or a gentle tug on the cutting revealing some resistance. Once you see good root development, you can gradually acclimate them to normal humidity by opening the bag or dome a little more each day.
The main thing to watch out for is rot. If the stem turns mushy and black, or if mold appears on the soil surface, it’s usually a sign of too much moisture and not enough air circulation. If you spot rot early, you might be able to salvage healthy portions of the stem by taking new cuttings.
Keep Growing!
Propagating plants is a journey of observation and patience. Don’t get discouraged if every single cutting doesn’t make it. Each attempt is a learning opportunity! Enjoy the process of nurturing these tiny new lives, and soon you’ll have a lovely abundance of Helichrysum microcephalum to share or plant wherever you please. Happy gardening!
Resource:
https://identify.plantnet.org/k-world-flora/species/Helichrysum%20microcephalum%20DC./data