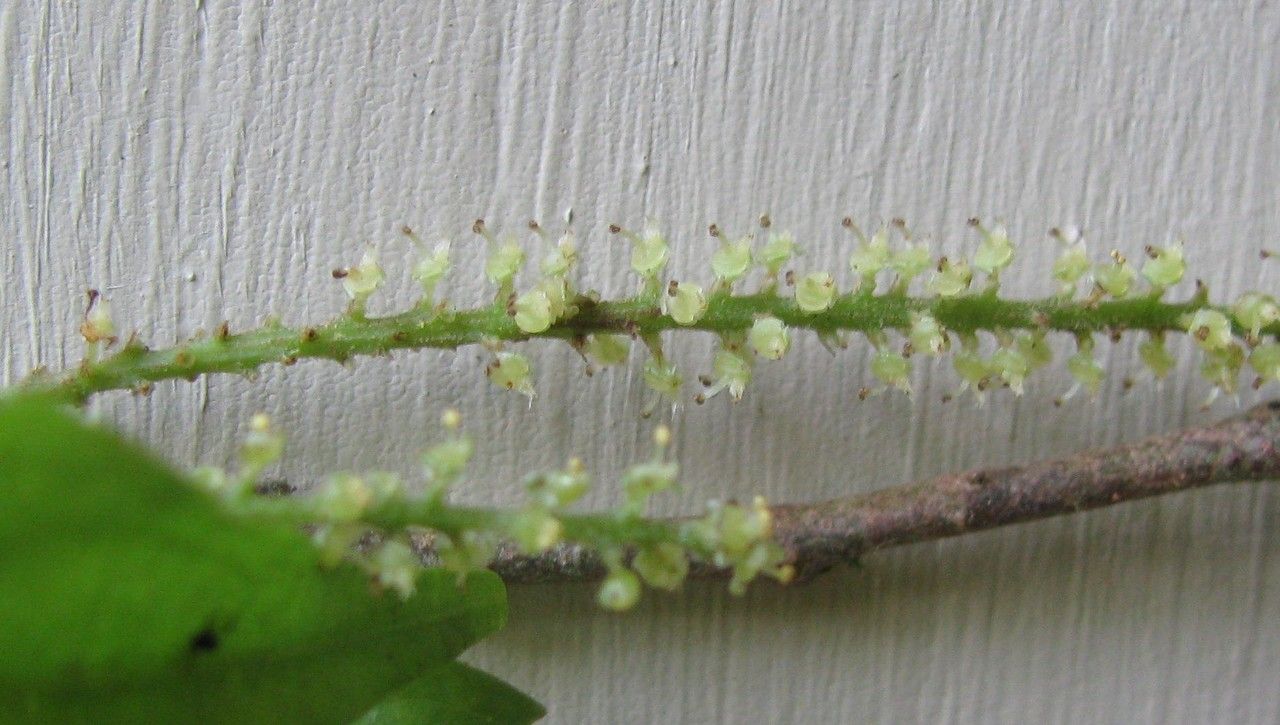
Hello fellow plant lovers! Today, we’re diving into the wonderful world of propagating Gitara nicaraguensis, also known as the Nicaraguan Guitar Plant. I’ve been growing and sharing this beauty for years, and let me tell you, it’s a real showstopper with its unique, guitar-shaped leaves and graceful habit. The reward of seeing a tiny cutting transform into a thriving plant is simply immense. Now, if you’re wondering about difficulty, I’d say Gitara nicaraguensis is moderately easy to propagate. A little attention to detail, and you’ll be well on your way to success!
The Best Time to Start
For the highest success rate, I always recommend propagating Gitara nicaraguensis in the late spring or early summer. This is when the plant is actively growing and has plenty of energy to put into developing new roots. You’re looking for healthy, vigorous stems that haven’t flowered yet. Basically, we want to catch our plant when it’s feeling its best!
Supplies You’ll Need
Here’s a little toolkit to get you started:
- Sharp, clean pruning shears or a sharp knife: You want a clean cut to prevent disease.
- Rooting hormone: While not strictly essential for Gitara, it can give your cuttings a real boost. I like to use one with a fungicide.
- Well-draining potting mix: A good blend of peat moss, perlite, and a bit of compost is perfect. Or, you can use a specialized seedling or seed-starting mix.
- Small pots or seed starting trays: Clean ones, of course!
- Plastic bags or a propagator: To create a humid environment for your cuttings.
- Water: For watering and potentially for water propagation.
- Optional: Bottom heat mat: This can significantly speed up rooting, especially if your home is a bit cooler.
Propagation Methods
Let’s get our hands dirty! Here are my go-to methods for propagating Gitara nicaraguensis:
1. Stem Cuttings (My Favorite!)
This is my preferred method as it generally yields the best results for me.
- Step 1: Take Your Cuttings. Using your clean shears or knife, select a healthy, non-flowering stem. Cut a piece that is about 4-6 inches long. Make your cut just below a leaf node (the point where a leaf attaches to the stem).
- Step 2: Prepare the Cuttings. Gently remove the lower leaves from the cutting, leaving just a couple of leaves at the top. This prevents them from rotting in the soil and also reduces water loss.
- Step 3: Apply Rooting Hormone (Optional but Recommended). Dip the cut end of the stem into your rooting hormone. Tap off any excess.
- Step 4: Plant Your Cuttings. Fill your small pots or trays with your moist potting mix. Make a small hole with your finger or a pencil, and insert the cutting. Gently firm the soil around it.
- Step 5: Create Humidity. Water the soil lightly. Then, cover the pot or tray with a clear plastic bag or place it inside a propagator. Ensure the leaves don’t touch the plastic if possible – this can lead to rot.
2. Water Propagation
This method is wonderfully visual and satisfying!
- Step 1: Select and Prepare Cuttings. Similar to stem cuttings, choose a healthy, 4-6 inch section of stem with a few leaves. Remove the lower leaves.
- Step 2: Place in Water. Fill a clean jar or glass with fresh water. Place the prepared cutting in the water, ensuring the leaf nodes are submerged.
- Step 3: Find a Bright Spot. Place the jar in a bright location, but out of direct, scorching sunlight.
- Step 4: Maintain Water Quality. Change the water every few days, or whenever it starts to look cloudy.
The “Secret Sauce” (Pro Tips)
Here are a few things I’ve learned over the years that really make a difference:
- Don’t let the leaves touch the water if you’re water propagating. I know I mentioned it above, but it’s so crucial! Submerged leaves are a direct route to rot. If the leaves are too low, just snip them off.
- Bottom heat is your best friend. If you can swing it, placing your pots on a gentle bottom heat mat (around 70-75°F / 21-24°C) will dramatically speed up rooting for stem cuttings. The warmth encourages root development from below.
- Be patient with pollination. Gitara nicaraguensis can be a bit shy about flowering. If you’re hoping for seeds, ensure you have good airflow and consider gently hand-pollinating when the flowers appear. However, cuttings are a much more reliable and faster route to new plants!
Aftercare & Troubleshooting
Once your cuttings have developed a good root system – you’ll see roots emerging from the drainage holes or new growth starting to appear – it’s time for a little extra care.
- For Stem Cuttings: Gradually acclimate your new plant to its new environment. Start by lifting the plastic cover for a few hours each day, then remove it completely over a week. Water sparingly, allowing the top inch of soil to dry out between waterings.
- For Water Cuttings: Once you have a decent amount of roots (at least an inch or two long), you can gently pot them up into your well-draining potting mix. Water thoroughly after planting.
Troubleshooting:
- Wilting: This is often due to insufficient humidity or roots not yet established. Increase humidity or ensure the soil stays consistently moist (but not soggy).
- Rotting: This is usually a sign of overwatering or poor drainage. Ensure your soil is very aerated and let the soil dry out a bit more. Remove any rotten parts immediately with a clean tool.
- No Rooting: Sometimes, cuttings just don’t take. Don’t get discouraged! It could be the time of year, the health of the parent plant, or just the individual cutting. Try again with fresh material.
Happy Propagating!
Growing new plants from cuttings is such a rewarding part of gardening. It’s a chance to connect with nature and expand your collection without spending a fortune. Remember to be patient, observe your little cuttings, and enjoy the process. You’ve got this!
Resource: