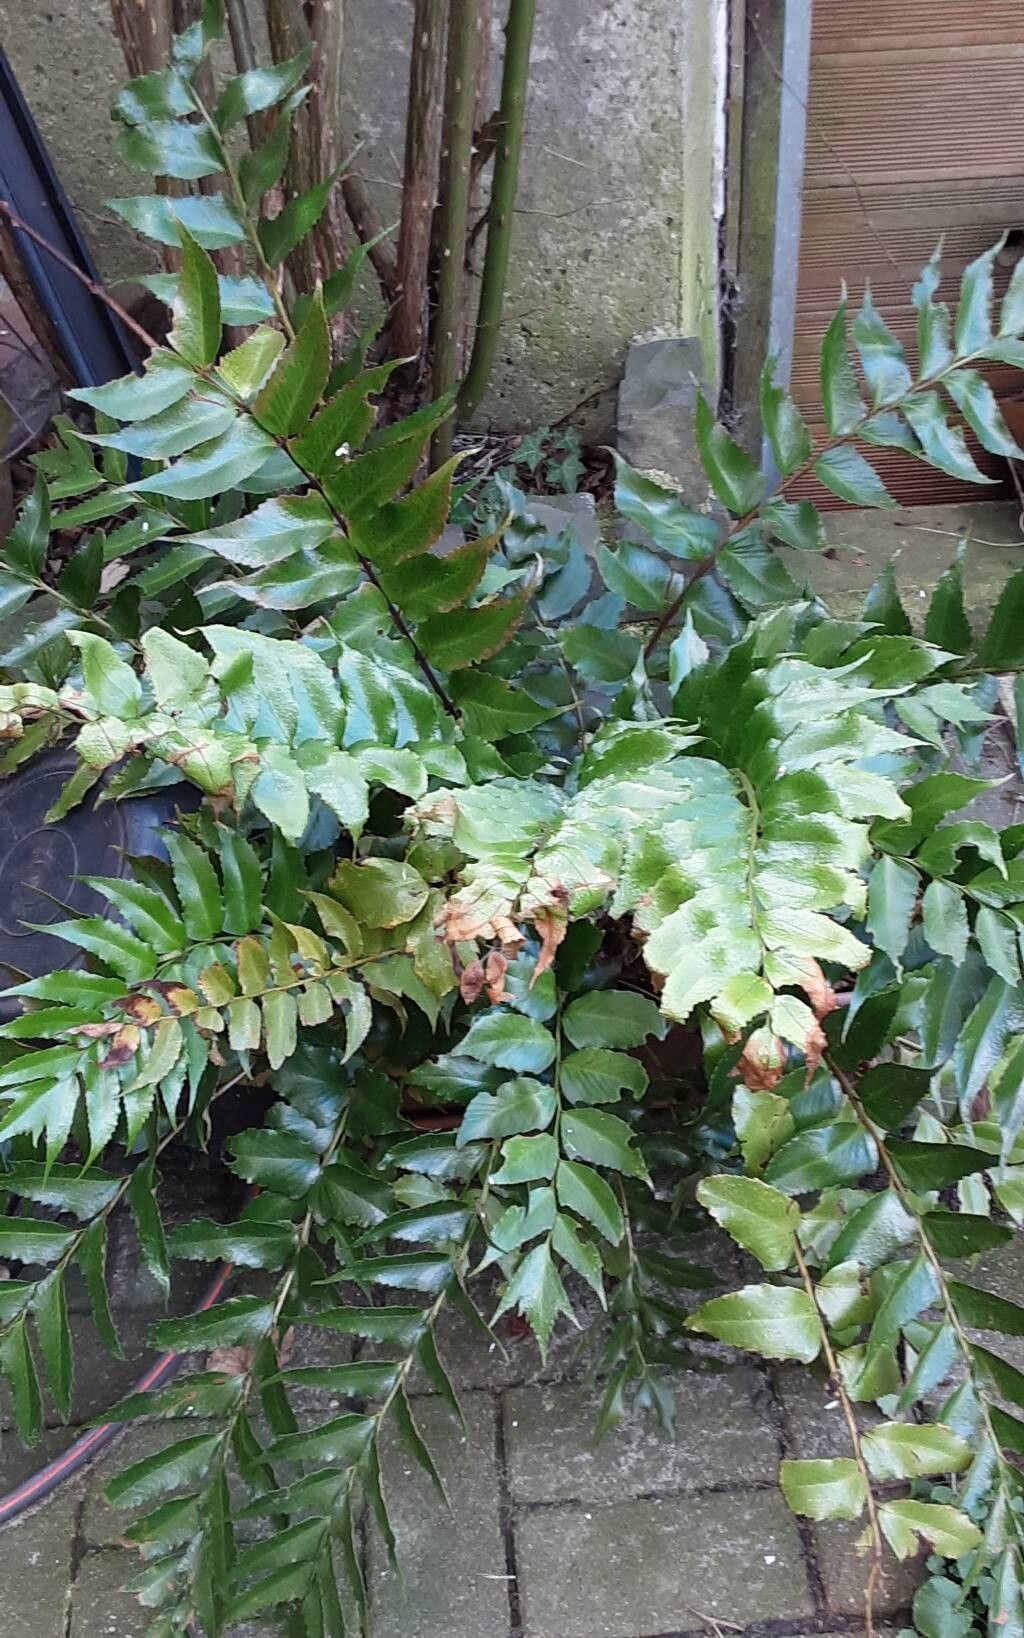
Hello fellow plant lovers! If you’ve ever admired the delicate, almost lace-like fronds of Cyrtomium micropterum, you know it’s a special fern. It brings a touch of understated elegance to shady corners and offers a softer texture than many of its bolder cousins. And guess what? Propagating this beauty isn’t nearly as daunting as it might seem. It’s a wonderfully rewarding process, letting you fill your home with more of these lovely plants without breaking the bank. For the most part, I’d say Cyrtomium micropterum is quite forgiving, making it a great one for those dipping their toes into the world of fern propagation.
When to Get Your Hands Dirty
The best time to embark on your propagation journey with Cyrtomium micropterum is during its active growing season, which typically falls in the spring and early summer. You’re looking for healthy, mature fronds that have a good bit of substance to them. Avoid trying to propagate from very young, unfurling fiddleheads or old, declining fronds. Think of it as picking the prime time for a plant’s energy – when it’s really putting on a show.
Your Propagation Toolkit
Here’s what you’ll want to have on hand to make this as smooth as possible:
- Sharp, clean pruning shears or a disinfected knife: For making clean cuts.
- A good quality, well-draining potting mix: I like a blend of peat moss, perlite, and a bit of orchid bark. For ferns, anything that retains a bit of moisture but doesn’t become waterlogged is key.
- Small pots or trays: Clean ones, of course! Terra cotta pots are excellent as they allow for good air circulation.
- Plastic bags or a propagation dome: To create a humid environment.
- Optional: Rooting hormone: While not always strictly necessary for Cyrtomium micropterum, it can give your cuttings a helpful boost.
- A spray bottle: For misting.
Let’s Get Propagating!
For Cyrtomium micropterum, the most successful and straightforward method is division. Ferns are excellent candidates for this, and this particular species is no exception.
Division Method:
- Gently remove the parent plant from its pot. If it’s stuck, a few firm taps on the pot’s sides usually does the trick.
- Inspect the root ball. You’re looking for natural divisions where the plant has already started to form separate crowns or clusters of fronds arising from distinct root systems.
- Carefully tease the parent plant apart. Use your fingers to gently separate the root ball. If the roots are tightly bound, you might need to use your clean knife or pruning shears to make a cut. Aim to make division cuts that have both roots and at least one healthy frond attached. Don’t be afraid to get in there; the goal is to create distinct new plants.
- Pot up the divisions. Place each division into its own small pot filled with your prepared well-draining mix. Ensure the crown (where the fronds emerge from the roots) is at or just slightly above the soil line.
- Water thoroughly. Give each new pot a good drink.
Cyrtomium micropterum can also be propagated from spores, but I find this method to be quite a bit more advanced and time-consuming for the average home gardener. Division is where you’ll get the most bang for your buck and enjoy quicker results.
My “Secret Sauce” Tips
Here are a couple of things I’ve learned over the years that make a big difference:
- Don’t waterlog the roots right after division. While ferns love humidity, freshly divided plants can be susceptible to rot if the soil stays perpetually soggy. Water them in really well to start, but then let the top inch of soil dry out a bit between waterings. This encourages those new roots to reach out.
- Provide consistent, high humidity. This is crucial for ferns. After potting up your divisions, cover the pots loosely with a clear plastic bag or place them under a propagation dome. This creates that humid microclimate they crave. Just be sure to open it up for a few minutes each day to allow for air circulation and prevent fungal issues.
- Consider bottom heat. If your home tends to be on the cooler side, placing your pots on a gentle heat mat (specifically designed for propagation) can significantly speed up root development. It mimics the warmth of spring soil and gives those roots a nice cozy environment to get started.
Aftercare and When Things Go Wrong
Once your new divisions are potted and settled into their humid haven, keep them in bright, indirect light. Direct sun will scorch their delicate fronds. Continue to water when the top inch of soil feels dry.
You’ll know your divisions are taking off when you start to see new frond growth emerging, especially new fiddleheads unfurling. This might take a few weeks, so patience is your best friend here!
Now, what if things don’t go as planned? The most common culprit for failure with ferns is rot. Signs of this include mushy, black stems at the soil line or yellowing, limp fronds that look like they’re melting. This usually indicates overwatering or poor air circulation, leading to fungal issues. If you see this, try to remove the affected parts immediately and allow the soil to dry out more thoroughly. Sometimes, the division might have simply not had enough viable root to sustain itself, and that’s okay. It happens to the best of us!
Happy Fern Growing!
Propagating Cyrtomium micropterum is a journey of observation and gentle guidance. Don’t get discouraged if your first attempt doesn’t yield a forest of new ferns. Embrace the process, learn from each division, and celebrate those tiny new fiddleheads when they appear. You’re nurturing new life, and there’s truly nothing more satisfying than that. Happy gardening!
Resource:
https://identify.plantnet.org/k-world-flora/species/Cyrtomium%20micropterum%20(Kunze)%20Ching/data