Hello fellow garden lovers!
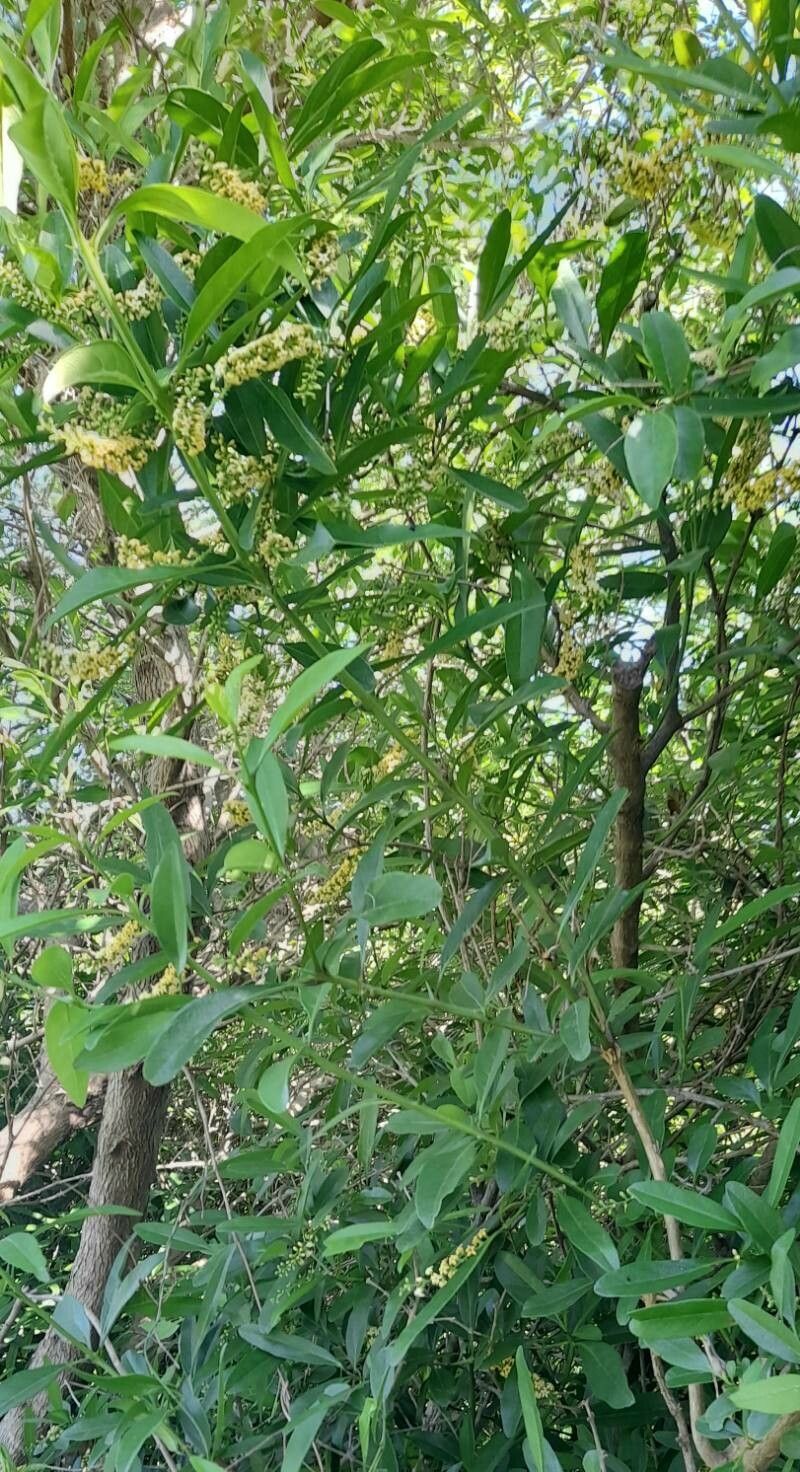
Today, I want to talk about a plant that truly brightens my garden: Citharexylum montevidense, or as it’s affectionately known, its common names like Fiddlewood or Montevidan Boxwood. It’s a beautiful plant, isn’t it? Those lovely white flowers cascading through its branches, the pleasant fragrance, and the way it attracts pollinators – it’s just a joy. And the best part? You can easily bring that joy to more corners of your yard, or even share it with friends, by propagating it. Good news for beginners: this one is quite forgiving, so don’t be intimidated at all!
The Best Time to Start
For the highest success rate with Fiddlewood, I always aim for late spring through early summer. This is when the plant is actively growing, meaning it has the energy reserves to push out those vital new roots. You’re looking for semi-hardwood cuttings. That means growth from this year that is starting to firm up a bit, but isn’t completely woody and stiff. Avoid taking cuttings from very soft, new, green shoots, as they can be prone to rot.
Supplies You’ll Need
Here’s what I keep handy when I’m ready to get propagating:
- Sharp Pruning Shears or a Knife: Cleanliness is key to prevent disease.
- Rooting Hormone: A good quality rooting powder or gel. I find the powder works best for me with this type of plant.
- Small Pots or Seedling Trays: With good drainage holes!
- Propagation Mix: A light, airy blend. I usually use a 50/50 mix of perlite and peat moss or coco coir. Some gardeners also like to add a little bit of compost.
- Plastic Bags or a Mini Greenhouse: To create a humid environment.
- Watering Can with a Fine Rose or a Spray Bottle: For gentle watering.
Propagation Methods
Fiddlewood is wonderfully versatile, and I find stem cuttings are my go-to method for a high success rate.
Stem Cuttings:
- Select Your Cuttings: Look for healthy stems on your Fiddlewood that are about 4-6 inches long. As I mentioned, aim for that semi-hardwood stage.
- Make the Cut: Using your clean pruners or knife, make a clean cut just below a leaf node. This is where roots are most likely to form. Remove the bottom leaves, leaving just the top few. If the remaining leaves are very large, I often give them a haircut by cutting them in half. This reduces water loss from the leaves.
- Apply Rooting Hormone: Dip the cut end of the stem into the rooting hormone, making sure it’s coated about an inch up. Tap off any excess.
- Plant Your Cuttings: Fill your small pots or trays with the propagation mix. Make a hole with your finger or a pencil, and gently insert the cutting. Firm the mix gently around the stem to ensure good contact.
- Water Gently: Water the mix thoroughly, allowing excess water to drain away.
- Create Humidity: Cover the pots with a plastic bag, ensuring it doesn’t touch the leaves, or place them inside a mini greenhouse. This traps moisture, which is crucial for root development.
The “Secret Sauce” (Pro Tips)
Here are a couple of things I’ve learned over the years that really make a difference:
- Bottom Heat is Your Friend: If you have the luxury, place your pots on a heated propagation mat. This gentle warmth encourages root growth from below, significantly speeding up the process and increasing your success rate, especially if your house tends to be a bit cool.
- “Air Layering” for the Impatient: If you’re a bit antsy to see results, try air layering. Take a section of a healthy stem (about pencil-thick), make a small nick or scrape through the bark just below a leaf node, and then pack moist sphagnum moss around the wound. Wrap this whole bundle tightly with plastic wrap. You’ll see roots form inside the moss, and once they are substantial, you can cut the stem below the new roots and pot it up. It’s a bit more involved, but very satisfying!
Aftercare & Troubleshooting
Once your cuttings are planted, the most important thing is to keep the propagation mix consistently moist but not waterlogged. Check it often and mist if the surface feels dry. You’ll also want to open the bags or greenhouse lid for a short period each day to allow for air circulation and prevent fungal diseases.
Roots typically start to show in 4-8 weeks. You can gently tug on a cutting; if there’s resistance, you have roots! Once you see good root development, you can gradually acclimate your new plants to a slightly less humid environment by opening the bags for longer periods over a week or two. Then, you can transplant them into a slightly larger pot with a good quality potting mix.
The most common issue you’ll encounter is rot. If a cutting turns mushy and black, it’s likely succumbed to rot. This usually happens due to overwatering or poor air circulation. Don’t get discouraged! Just discard the rotted cutting, ensure good drainage and ventilation for the remaining ones, and try again.
A Gracious Closing
Propagating your Fiddlewood is a wonderfully rewarding endeavor. It’s a chance to connect with your plants on a deeper level and to multiply the beauty they bring. Be patient with the process, celebrate every tiny new leaf or root you see, and enjoy the journey of nurturing these little green babies into their own independent lives. Happy gardening!
Resource: