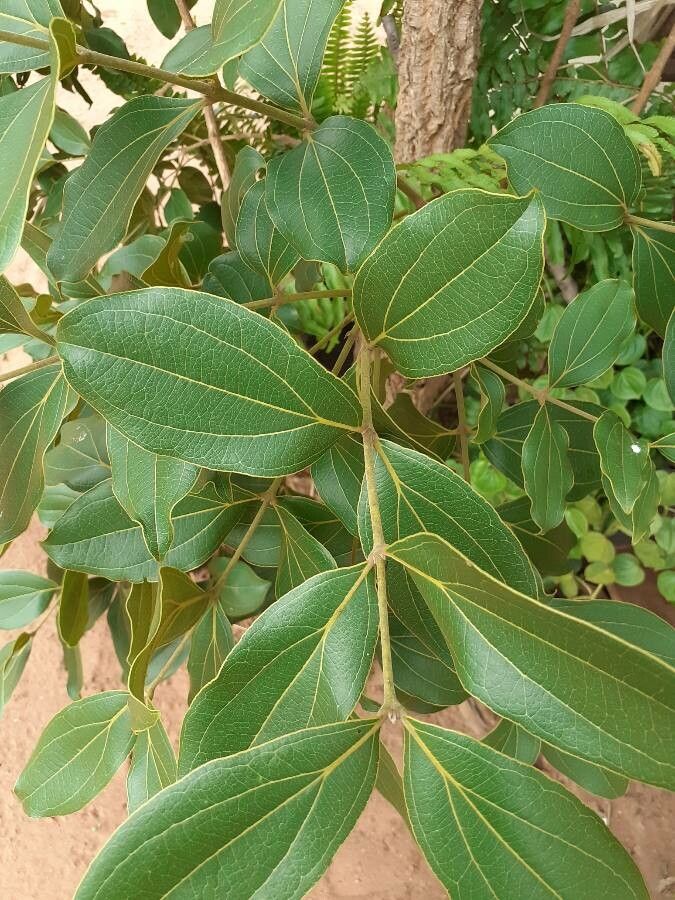
Hello, fellow garden enthusiasts! I’m so excited to chat with you today about a plant that holds a special place in my heart, and hopefully, it will in yours too: Cinchona calisaya. You might know it better as the Quinaquina tree, famous for yielding quinine. But beyond its historical significance, it’s a truly beautiful, lush evergreen, perfect for adding a touch of the tropics to your home or greenhouse. Propagating it is a wonderfully rewarding journey, letting you experience the magic of new life firsthand. Now, I’ll be honest, Cinchona calisaya isn’t the absolute easiest plant for a complete beginner to propagate. It requires a little attention to detail, but with a bit of care and these tips, you’ll be well on your way to success. Come, let’s get growing!
When to Get Your Hands Dirty
The best time to embark on your Cinchona calisaya propagation adventure is during its active growing season. For most of us, that means late spring or early summer. You’re looking for young, tender growth. This is when the plant is bursting with energy and more receptive to developing new roots. Trying to propagate from woody, old stems is like asking a sleepy bear to wake up and run a marathon – it’s just not the right time!
Your Propagation Toolkit
To set yourself up for success, gather these essential items:
- Sharp, sterile pruning shears or a razor blade: Cleanliness is key to preventing disease.
- A rooting hormone powder or gel: This isn’t strictly mandatory, but it gives your cuttings a significant boost. Cinnamon can also be a natural alternative in a pinch!
- A well-draining potting mix: I like a blend of equal parts perlite and coco coir, or a good quality seed-starting mix. Avoid heavy garden soil.
- Small pots or seed trays: Make sure they have drainage holes!
- A clear plastic bag or a propagator lid: This creates a humid environment, which is crucial.
- A spray bottle: For misting.
- Optional: A heat mat: This is a game-changer for encouraging root growth.
Bringing Forth New Life: Propagation Methods
Let’s dive into the methods that work best for Cinchona calisaya.
Stem Cuttings – My Go-To Method
This is my favorite way to propagate Cinchona calisaya. It’s efficient and you get a good number of potential new plants from a single parent.
- Select Your Cuttings: Look for healthy, semi-hardwood stems – these are the new shoots that have started to harden up a bit but aren’t yet woody. Aim for cuttings about 4-6 inches long.
- Make the Cut: Using your sharp, sterile shears, take a clean cut just below a leaf node. A leaf node is where a leaf attaches to the stem. This is where roots are most likely to form.
- Prepare the Cutting: Gently remove the lower leaves, leaving just 2-4 leaves at the top. This reduces water loss. If the remaining leaves are quite large, you can even cut them in half to further minimize transpiration.
- Apply Rooting Hormone: Dip the cut end of the stem into your rooting hormone. Tap off any excess.
- Plant Your Cuttings: Fill your small pots with your prepared, moistened potting mix. Make a small hole with your finger or a pencil, and insert the cutting, ensuring the leaf nodes that were below the soil line are buried. Gently firm the soil around the stem.
Water Propagation – A Visual Treat
While stem cuttings are my usual route, I do enjoy a bit of water propagation for Cinchona calisaya when I want to watch the roots develop.
- Select and Prepare: Follow steps 1-3 for stem cuttings.
- Place in Water: Find a clean glass jar or bottle and fill it with clean, room-temperature water. Place your cuttings in the water, ensuring the leaf nodes are submerged, but the leaves themselves are NOT touching the water.
- Location, Location, Location: Place the jar in a spot with bright, indirect light.
The “Secret Sauce” – My Insider Tips
Here are a few tricks I’ve learned over the years that can make a big difference:
- Bottom Heat is Your Friend: If you’re using stem cuttings, placing your pots on a gentle heat mat can dramatically speed up rooting. It mimics the warmth of spring soil and encourages those roots to form much more quickly and robustly.
- Don’t Drown Them (in the propagator): When you’ve got your cuttings in a propagator or under a plastic bag, monitor the humidity. If you see a lot of condensation building up, air them out for 15-30 minutes daily. Too much moisture without airflow can lead to fungal problems and rot.
- Patience and Observation: This might sound simple, but seriously, resist the urge to constantly tug on your cuttings to see if they have roots. It can damage delicate new root hairs. Instead, look for signs of new leaf growth at the top. That’s usually a good indicator that roots are forming below.
Aftercare and When Things Go Wrong
Once you see good root development – you might see roots peeking out of drainage holes or new growth on top – it’s time to treat them as a small plant.
- For Cuttings: Gradually acclimate them to lower humidity by opening the plastic bag or propagator vents wider over a few days before removing it completely. Water them as you would an established plant, keeping the soil consistently moist but not waterlogged.
- For Water-Propagated Cuttings: Once they have a good root system (at least an inch or two long), gently transplant them into your prepared potting mix. Keep the soil lightly moist for the first week or two.
Troubleshooting: The most common issue you’ll face is rot. If your cutting turns mushy and black, or if the leaves start to yellow and drop off rapidly, it’s likely rot. This usually stems from too much moisture, poor air circulation, or unsterile conditions. If you see this happening, unfortunately, that cutting is likely lost. Discard it to prevent the spread of any potential disease.
Keep Growing!
Propagating Cinchona calisaya is a beautiful way to connect with nature and expand your green collection. It requires a little patience and attention, but the reward of nurturing a new plant from a mere cutting is truly special. Don’t be discouraged if your first attempt isn’t perfect. Every gardener learns through trial and error. Keep trying, observe your plants closely, and most importantly, enjoy the process! Happy growing!
Resource:
https://identify.plantnet.org/k-world-flora/species/Cinchona%20calisaya%20Wedd./data