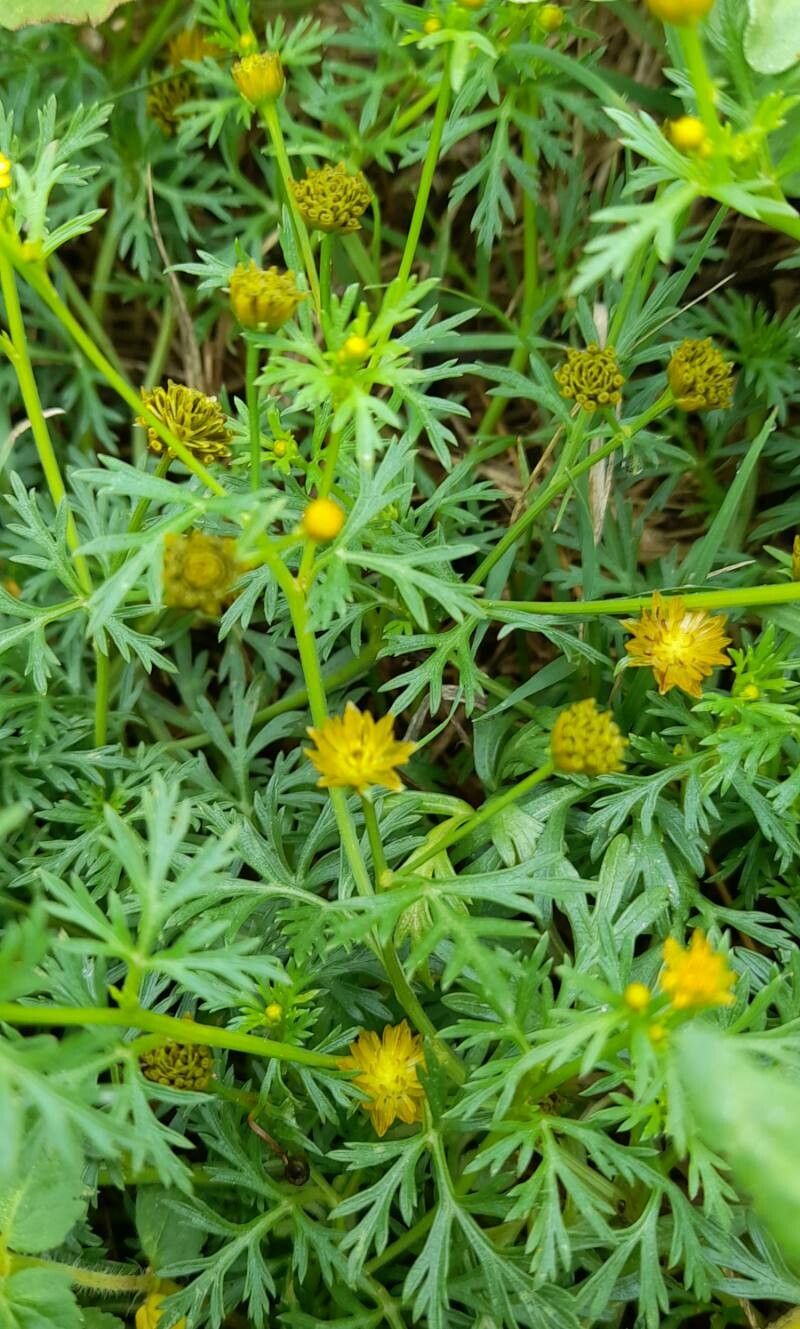
Hello fellow gardeners! Today, we’re diving into something truly delightful: Chrysanthellum indicum. If you’ve ever admired this cheerful little plant, with its daisy-like blooms in shades of sunshine yellow, you’re in for a treat. Propagating it is a wonderfully rewarding endeavor, and thankfully, it’s quite beginner-friendly. You’ll soon be sharing these beauties with friends!
The Best Time to Start
The sweet spot for propagating Chrysanthellum indicum is late spring to early summer. This is when the plant is actively growing and has plenty of energy to put into developing new roots. You’re looking for healthy, non-flowering stems. Think of it as gathering material when the plant is at its most vigorous!
Supplies You’ll Need
Gathering your supplies ahead of time makes the process so much smoother. Here’s what you’ll want on hand:
- Sharp Pruning Shears or a Clean Knife: For making clean cuts.
- Small Pots or Seed Trays: About 4-inch pots are usually perfect.
- Well-Draining Potting Mix: A good seed-starting mix or a blend of potting soil and perlite works wonderfully.
- Rooting Hormone (Optional but Recommended): This gives cuttings a little extra boost to get going.
- Plastic Bags or a Clear Lid: To create a mini-greenhouse effect.
- Watering Can or Spray Bottle: For gentle watering.
Propagation Methods
Chrysanthellum indicum is most commonly propagated from stem cuttings. It’s quite straightforward, and I’ve had great success with this method.
- Take Your Cuttings: Head out to your healthy Chrysanthellum. Look for strong, upright stems that are about 4-6 inches long. Using your clean shears or knife, make a cut just below a leaf node (where a leaf attaches to the stem). Remove the lower leaves from the cutting, leaving just a few at the top. This prevents them from rotting when buried.
- Apply Rooting Hormone (Optional): If you’re using rooting hormone, dip the cut end of the stem into the powder, tapping off any excess. This is like giving your cutting a little encouragement to sprout roots.
- Plant Your Cuttings: Fill your small pots with your chosen potting mix. Make a small hole in the center of the soil with your finger or a pencil. Gently insert the cut end of your Chrysanthellum cutting into the hole, about an inch deep. Firm the soil gently around the stem.
- Water Gently: Water your potted cuttings thoroughly but gently. You want the soil to be moist, not waterlogged.
- Create a Mini-Greenhouse: Place a clear plastic bag loosely over the pot, or use a clear plastic lid if you’re using a tray. This helps to maintain humidity around the cuttings, which is crucial for rooting. Ensure the plastic doesn’t touch the leaves too much.
The “Secret Sauce” (Pro Tips)
Now, for those little tricks that can make all the difference:
- Avoid Overcrowding: Give each cutting a bit of space. Too many cuttings packed together can lead to fungal issues and poor airflow. If you’re using a tray, thin out any weak seedlings once they start to grow.
- Bottom Heat is Your Friend: If you have the setup, placing your pots on a heat mat designed for plants can significantly speed up root development. It mimics the warmth of late spring better than just room temperature.
- Don’t Rush to Transplant: Be patient! You won’t see roots magically appear overnight. I usually wait until I see new leaf growth on the cutting, which is a good sign that roots are forming underneath. You can also gently tug on the cutting; if there’s resistance, roots have likely formed.
Aftercare & Troubleshooting
Once your cuttings start to show signs of life – new leaves unfurling is the best indicator – it’s time to slowly transition them to less humid conditions. Gradually remove the plastic bag or lid over a few days. Keep the soil consistently moist but allow the surface to dry slightly between waterings.
The most common sign of trouble is rot. If your cuttings turn mushy and black, it’s usually a sign of too much moisture and not enough airflow. If this happens, you might have to discard them and start again, perhaps with fewer cuttings or a slightly less damp soil mix. Don’t be discouraged!
A Encouraging Closing
Watching a new plant emerge from a tiny cutting is one of gardening’s true joys. Be patient with your Chrysanthellum indicum, give them the right conditions, and you’ll be rewarded with a bounty of beautiful blooms. Happy propagating, and enjoy the process!
Resource:
https://identify.plantnet.org/k-world-flora/species/Chrysanthellum%20indicum%20DC./data