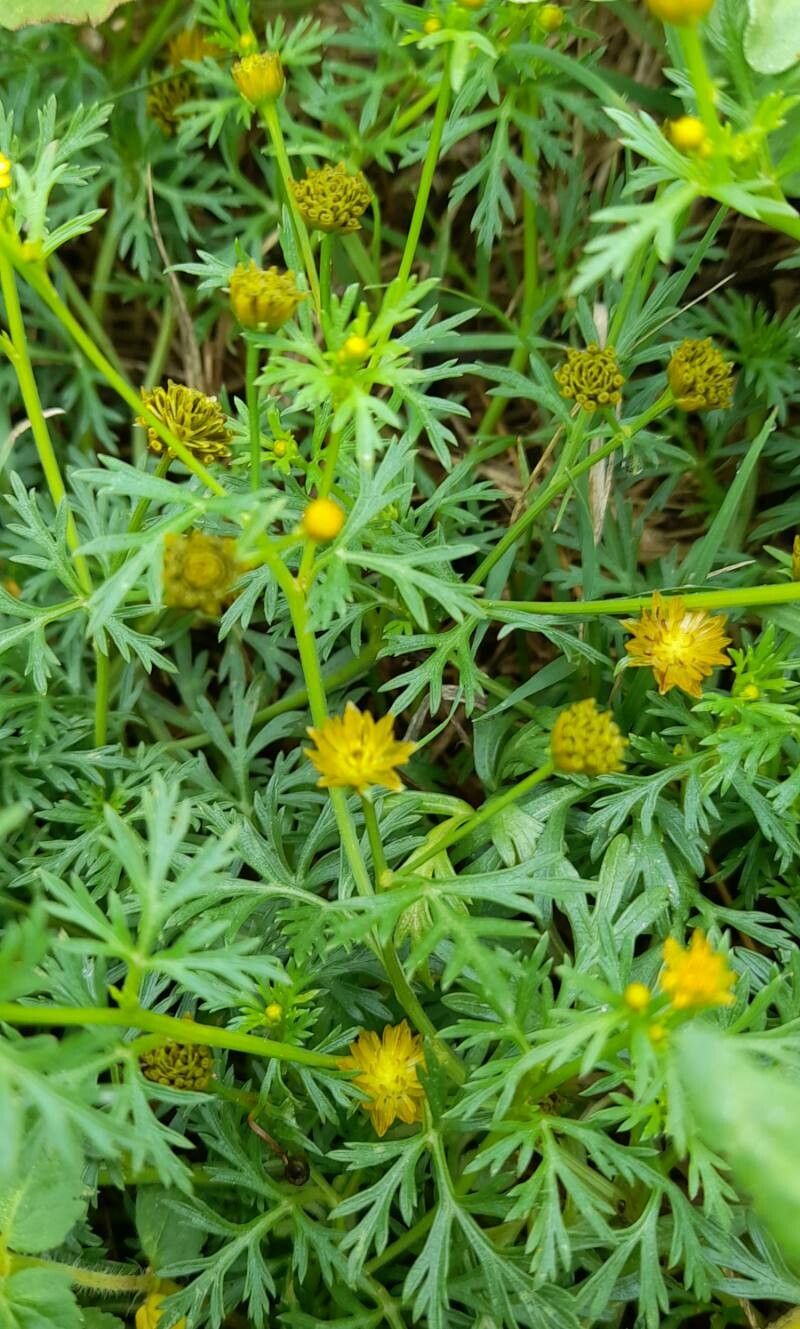
Oh, hello there! Grab a mug, and let’s chat about one of my garden favorites: Chrysanthellum indicum. You know, those cheerful little plants with their bright, daisy-like flowers? They bring such a sunny disposition to any corner of the garden or patio. And the best part? They’re surprisingly rewarding to propagate. If you’re just dipping your toes into the world of plant propagation, I’d say Chrysanthellum indicum is a pretty welcoming plant for beginners. It’s not overly fussy, and the joy of watching a tiny cutting transform into a whole new plant is simply unbeatable.
The Best Time to Start
For the highest success rate with your Chrysanthellum indicum, I find that late spring or early summer is your golden window. This is when the plant is actively growing and has plenty of energy to put into developing new roots. You want to take cuttings from healthy, non-flowering stems. If your plant is already producing flower buds, it’s putting its energy into blooming, not growing roots.
Supplies You’ll Need
Here’s a little gather-up of what you’ll want to have on hand:
- Sharp pruning shears or a clean knife: For taking nice, clean cuts.
- Rooting hormone (optional but recommended): This really gives your cuttings a boost.
- Well-draining potting mix: I like a blend of peat moss, perlite, and coarse sand. You can also find specific seed-starting mixes that work wonderfully.
- Small pots or trays: Clean, with drainage holes, of course!
- Watering can or spray bottle: For gentle watering.
- Clear plastic bag or propagation dome: To create a humid microclimate.
- Labels: So you don’t forget what you’ve planted!
Propagation Methods
Chrysanthellum indicum is quite obliging and can be propagated through a couple of easy methods.
Stem Cuttings: My Go-To Method
This is how I usually go about it, and it yields fantastic results.
- Select your parent plant: Choose a healthy, vigorous Chrysanthellum indicum.
- Take your cuttings: Using your clean shears, snip off healthy stems that are about 4-6 inches long. Aim for stems that are slightly soft and green, not woody. Remove any lower leaves, leaving just a couple at the top.
- Prepare the cuttings: If you’re using rooting hormone, dip the cut end of each stem into it. Give it a gentle tap to shake off any excess.
- Plant your cuttings: Fill your small pots or trays with your well-draining potting mix. Make a hole in the center of the soil with your finger or a pencil. Gently insert the cut end of the stem into the hole, making sure the rooting hormone (if used) is in contact with the soil. Firm the soil gently around the stem.
- Water gently: Water the soil thoroughly but avoid waterlogging. You want the soil to be moist but not soggy.
- Create humidity: Cover the pots with a clear plastic bag or place them under a propagation dome. This will help keep the humidity high, which is crucial for cuttings to root. Make sure the plastic doesn’t touch the leaves too much – you can use small stakes to hold it up.
- Find a bright spot: Place the pots in a bright location that receives indirect sunlight. Avoid direct sun, as it can scorch the delicate cuttings.
Division: A Quick Win
If you have an established clump of Chrysanthellum indicum, you can easily divide it.
- Gently unpot the plant: Carefully remove the entire plant from its pot or dig it up from the ground.
- Identify natural divisions: Look for where the root ball naturally separates into smaller sections.
- Separate the clumps: Using your hands or a clean trowel, gently pull or cut the root ball apart into sections. Each section should have a good amount of roots and some healthy foliage.
- Pot them up: Plant each division into its own pot filled with fresh, well-draining potting mix. Water them in well.
- Keep them moist: Water regularly until you see signs of new growth, which indicates they’ve established themselves.
The “Secret Sauce” (Pro Tips)
Here are a few little tricks that have helped me over the years:
- Don’t let the leaves touch the water: If you’re doing water propagation (which I sometimes do with Chrysanthellum, though cuttings in soil are usually more successful long-term), make sure only the stem is submerged. Any leaves sitting in the water will likely rot and can take your cutting down with them.
- Bottom heat is your friend: If you have a propagation mat or can place your pots on a warm surface (like near a gently heated appliance), it can significantly speed up root development. Think of it as giving your cuttings a cozy, warm bed.
- Don’t over-fuss: Resist the urge to constantly check or disturb your cuttings. Let them do their thing. Trust the process!
Aftercare & Troubleshooting
Once you start to see tiny roots peeking out of the drainage holes or new leaves unfurling, your little cutting is on its way! At this point, you can gradually introduce it to less humid conditions by opening the plastic bag a little bit more each day. Continue to keep the soil consistently moist but not soggy.
The most common issue you might encounter is rot. This usually happens due to overwatering or poor drainage. If you see your cutting wilting, turning black and mushy, or developing mold, it’s likely rot. Unfortunately, at that point, it’s usually too late to save the cutting. To prevent it, always ensure good air circulation and avoid letting your pots sit in saucers full of water.
Happy Propagating!
And there you have it! Propagating Chrysanthellum indicum is a wonderful way to multiply your favorite plants and share them with friends. Be patient with your cuttings; sometimes they take a little longer than you expect. Just keep them happy with the right conditions, and soon you’ll have a whole collection of these sunny beauties. Happy gardening!
Resource:
https://identify.plantnet.org/k-world-flora/species/Chrysanthellum%20indicum%20DC./data