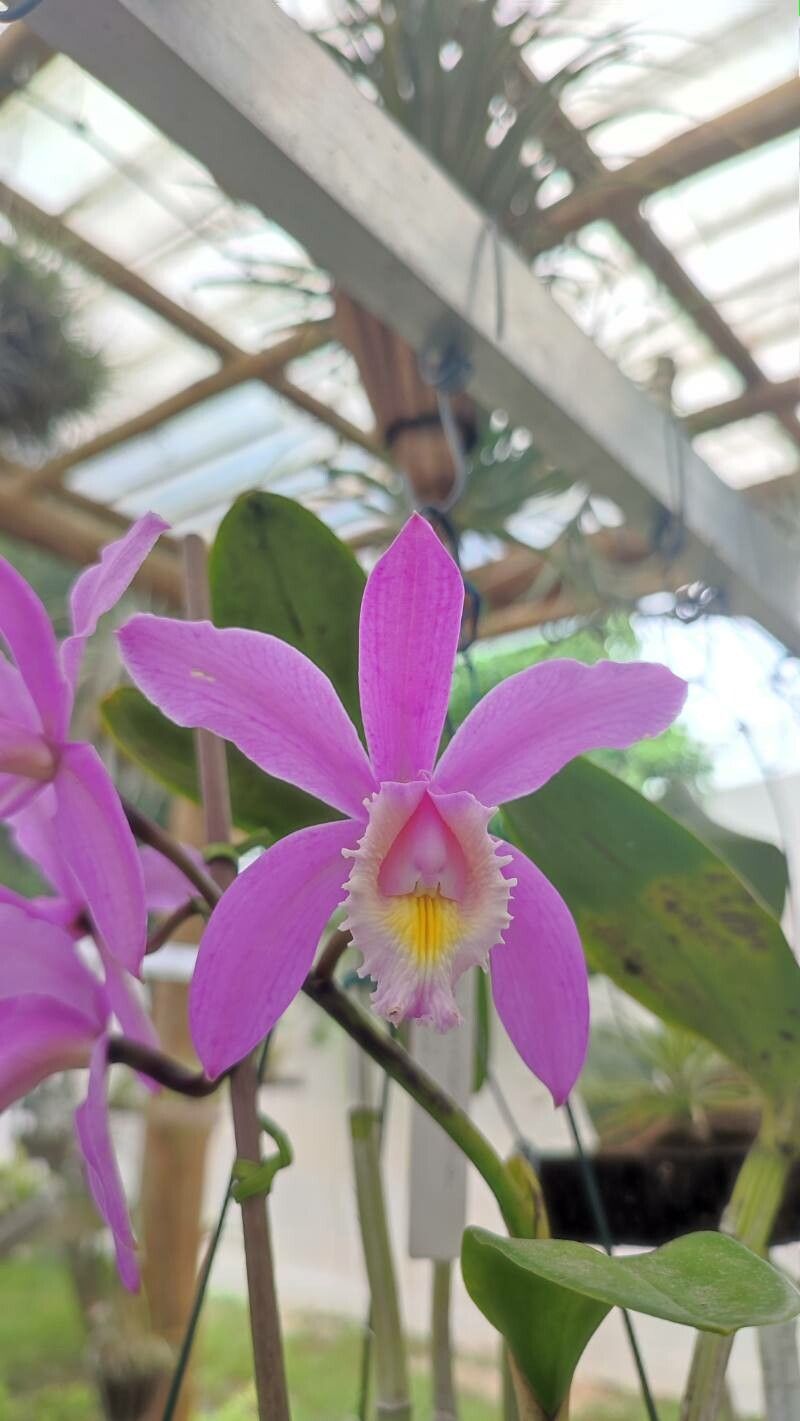
Hey there, fellow plant lovers! It’s your garden pal, back with another deep dive into the wonderful world of orchids. Today, we’re talking about a real gem: Cattleya harrisoniana.
This Brazilian beauty is a stunner, isn’t it? Those big, fragrant blooms can really brighten up any space. And the best part? Propagating your own Cattleya harrisoniana is not only possible but incredibly rewarding. It lets you expand your collection, share the beauty with friends, and feel that deep satisfaction of nurturing new life. Now, I know orchids can sometimes feel a bit intimidating, but don’t worry. While Cattleya harrisoniana isn’t the absolute easiest orchid for a complete beginner, with a little patience and care, you can absolutely succeed.
The Best Time to Start
For Cattleya harrisoniana, timing is everything. The ideal time to propagate is after the plant has finished its blooming cycle. This usually happens in late spring or early summer. After blooming, the plant is entering a period of active growth. This means it has the energy reserves to put into developing new roots and shoots, giving your new divisions the best possible start. Pushing it too early or too late can really stress the plant.
Supplies You’ll Need
You don’t need a fancy lab for this! Here’s what I always keep handy:
- Sharp, sterile pruning shears or a clean hobby knife: Cleanliness is key to preventing disease.
- Orchid potting mix: A well-draining mix specifically formulated for orchids is essential. I prefer a bark-based mix with perlite added for extra aeration.
- New pots or containers: Clean, appropriately sized pots are a must. Ensure they have good drainage.
- Orchid fertilizer: Diluted, of course, for eventual feeding.
- Cinnamon or sulfur powder (optional but recommended): This acts as a natural fungicide to dry out any cut surfaces.
- Rooting hormone (optional): Some folks swear by it, and it can give a little boost.
- Spray bottle: For misting.
- Labels and waterproof marker: Don’t underestimate the power of remembering what you propagated!
Propagation Methods: The Division Delight
The most common and successful way to propagate Cattleya harrisoniana is through division. This involves separating a mature plant into smaller, healthy sections.
- Assess your plant: Look for a mature Cattleya harrisoniana with at least three to four healthy pseudobulbs (those swollen stem-like structures). If it’s overcrowded and you can see some older, less vigorous pseudobulbs at the back, it’s a prime candidate.
- Gently remove it from its pot: If it’s stuck, a little tap on the sides of the pot usually helps. If not, a gentle squeeze or even a very careful knife around the edge might be needed.
- Clean off the old mix: Carefully remove as much of the old potting mix as you can. This gives you a clear view of the rhizome (the creeping stem that connects the pseudobulbs).
- Locate the rhizome: You’ll see how the pseudobulbs are connected. You want to make cuts between healthy pseudobulbs, ensuring each new division has at least two to three healthy pseudobulbs and some healthy green leaves.
- Make the cut: Using your sterilized shears or knife, make a clean cut through the rhizome. Don’t rip or tear!
- Dry the cuts: This is important! Let the cut surfaces air dry for a few hours to a day, or until they look a bit calloused. You can then lightly dust the cut ends with cinnamon or sulfur powder.
- Potting up: Place each division into its new pot. Ensure the pseudobulbs are sitting just at the surface of the new potting mix, not buried deeply. Gently firm the mix around the roots.
The “Secret Sauce” (Pro Tips)
Over the years, I’ve picked up a few tricks that really seem to make a difference.
- Don’t overwater, especially at first. New divisions are prone to rot. They don’t have established roots yet to wick away excess moisture. I usually wait a good week after potting before the very first, light watering. And when I do water, I try to water around the edges of the pot, not directly on the pseudobulbs.
- Bottom heat is a game-changer. If you can, place your newly potted divisions on a seedling heat mat. This gentle bottom warmth encourages root development like nothing else. It mimics the warmer soil temperatures orchids might experience in their natural habitat.
- Patience is your best friend. Seriously. New growth can take a while to show. Don’t be tempted to dig them up to “check for roots.” Give them time and consistent conditions.
Aftercare & Troubleshooting
Once your divisions are potted, place them in bright, indirect light. Keep the humidity relatively high, but ensure good air circulation.
Watch out for rot! This is the most common problem. Signs include soft, mushy pseudobulbs (often starting from the base) and leaves turning yellow and dropping off. If you see this, act fast. You might need to unpot the division, cut away all the rotten parts, dust with fungicide, and let it dry out for longer before repotting in fresh, dry mix.
If all goes well, you’ll start to see new root growth emerging from the base of the pseudobulbs. You might also see a new growth shoot. This is a sign your plant is happy and settling in! Once new roots are actively growing, you can gradually introduce a diluted orchid fertilizer every third watering.
Keep Growing!
Propagating Cattleya harrisoniana is a journey, and like any good journey, it takes a bit of patience. Don’t get discouraged if your first attempt isn’t perfect. Learn from it, adjust your approach, and most importantly, enjoy the process. Seeing those first tiny roots emerge or a new leaf unfurl is one of the most satisfying feelings a gardener can have! Happy growing!
Resource: