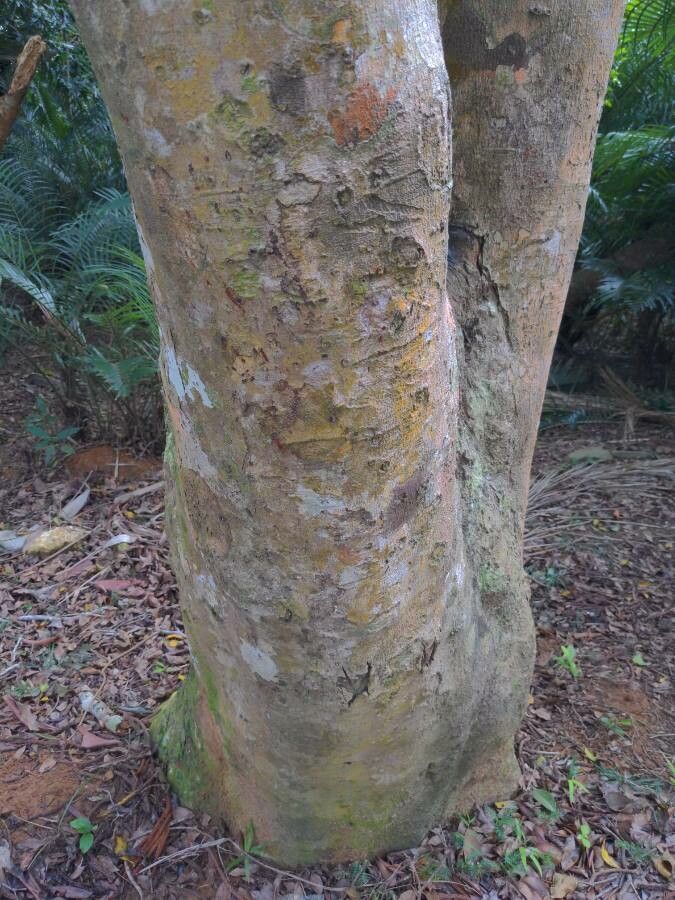
Hey there, fellow garden lovers! I’m so excited to chat with you today about one of my absolute favorite trees: the lovely Beilschmiedia erythrophloia, often called the “Red Bark Jewel.” If you’ve ever seen this stunner, you know why. Its coppery-red bark is simply magnificent, especially when it catches the sunlight. Plus, those lush, glossy leaves make for beautiful year-round interest.
There’s something incredibly satisfying about taking a piece of a plant you love and coaxing it to grow into a brand new one. It’s a connection to nature, really. Now, Beilschmiedia erythrophloia can be a bit of a patient plant to propagate, so I wouldn’t say it’s for the absolute beginner eager for instant gratification. But with a little care and know-how, it’s totally achievable, and the reward is so worth it!
The Best Time to Start
When it comes to getting our Beilschmiedia cuttings to take, late spring to early summer is generally your golden window. This is when the plant is actively growing, pushing out new shoots. These softwood cuttings have the best chance of rooting because they’re still pliable and brimming with energy. Trying to take cuttings later in the season, when growth slows down, can be a lot more challenging.
Supplies You’ll Need
Gathering your supplies beforehand makes the whole process much smoother. Here’s what I usually have on hand:
- Sharp, clean pruning shears or a sharp knife: For taking your cuttings.
- Rooting hormone: This is a great helper, especially for woody plants. I like to use a powder form.
- A well-draining potting mix: A good blend for me is typically 50% perlite and 50% peat moss or coco coir. You could also use a specialized seed-starting mix.
- Small pots or trays: Clean pots are essential to prevent disease.
- Clear plastic bags or a propagator lid: To create a humid environment for your cuttings.
- Watering can with a fine rose: For gentle watering.
- Labels and a marker: So you don’t forget what you’ve planted!
Propagation Methods
For Beilschmiedia erythrophloia, stem cuttings are my go-to method. It’s reliable and gives you a good chance of success.
- Take Your Cuttings: Head out in the late spring or early summer. Look for healthy, vigorous new shoots that are about 4-6 inches long and still a bit soft – not woody. Using your clean shears, make a clean cut just below a leaf node. A node is that little bump on the stem where a leaf grows from.
- Prepare the Cuttings: Once you have your cuttings, gently strip off the lower leaves. You want to expose the nodes where roots will form. You can also trim the remaining leaves in half to reduce water loss. This is really important.
- Apply Rooting Hormone: Dip the cut end of each cutting into your rooting hormone, tapping off any excess. This stuff really encourages root development.
- Plant Your Cuttings: Fill your clean pots with your damp potting mix. Poke a hole with a pencil or your finger, then insert the cutting. Gently firm the soil around the base of the cutting so it stands upright. You want to make sure those leafless nodes are below soil level.
- Create Humidity: Water the pot gently. Then, cover the pot with a clear plastic bag, securing it around the rim with a rubber band. Or, if you’re using a propagator, just put the lid on. This traps moisture and creates that crucial humid environment cuttings need.
The “Secret Sauce” (Pro Tips)
Here are a couple of little tricks I’ve learned over the years that can really give your cuttings an edge:
- Don’t let the leaves touch the water when you’re misting! If you’re ever in doubt about watering, it’s better to slightly under-water than over-water in this initial stage. Soggy leaves can lead to fungal issues.
- Bottom heat is your friend. If you have a heated propagator or can place your pots on a gentle heat mat (like one used for seedlings), this can significantly speed up root formation. Beilschmiedia loves a bit of warmth from below.
Aftercare & Troubleshooting
Once your cuttings are planted, place them in a bright spot with indirect light. Avoid direct sun, as it can scorch them and dry out the propagator too quickly. Keep the soil consistently moist but not waterlogged. You’ll want to open the bag or propagator daily for a few minutes to allow for air circulation and prevent mold.
You’ll know your cuttings are starting to root when you see new leaf growth. This can take anywhere from a few weeks to a couple of months, so patience is key! You can also give a very gentle tug on a cutting; if there’s resistance, you’ve got roots.
The most common issue you’ll face is rot. If you see your cuttings turning black and mushy at the base, it’s usually a sign of too much moisture and not enough air circulation. It’s a hard lesson, but sometimes you just have to discard the affected cuttings and learn from it.
A Encouraging Closing
See? It’s not so daunting, is it? Propagating your own Beilschmiedia erythrophloia is a journey, and it’s one you’ll learn from every time you try. Don’t get discouraged if your first attempt isn’t a roaring success. Gardening is all about observation, patience, and a little bit of love. Enjoy the process of nurturing these tiny green hopefuls! Happy propagating!
Resource:
https://identify.plantnet.org/k-world-flora/species/Beilschmiedia%20erythrophloia%20Hayata/data