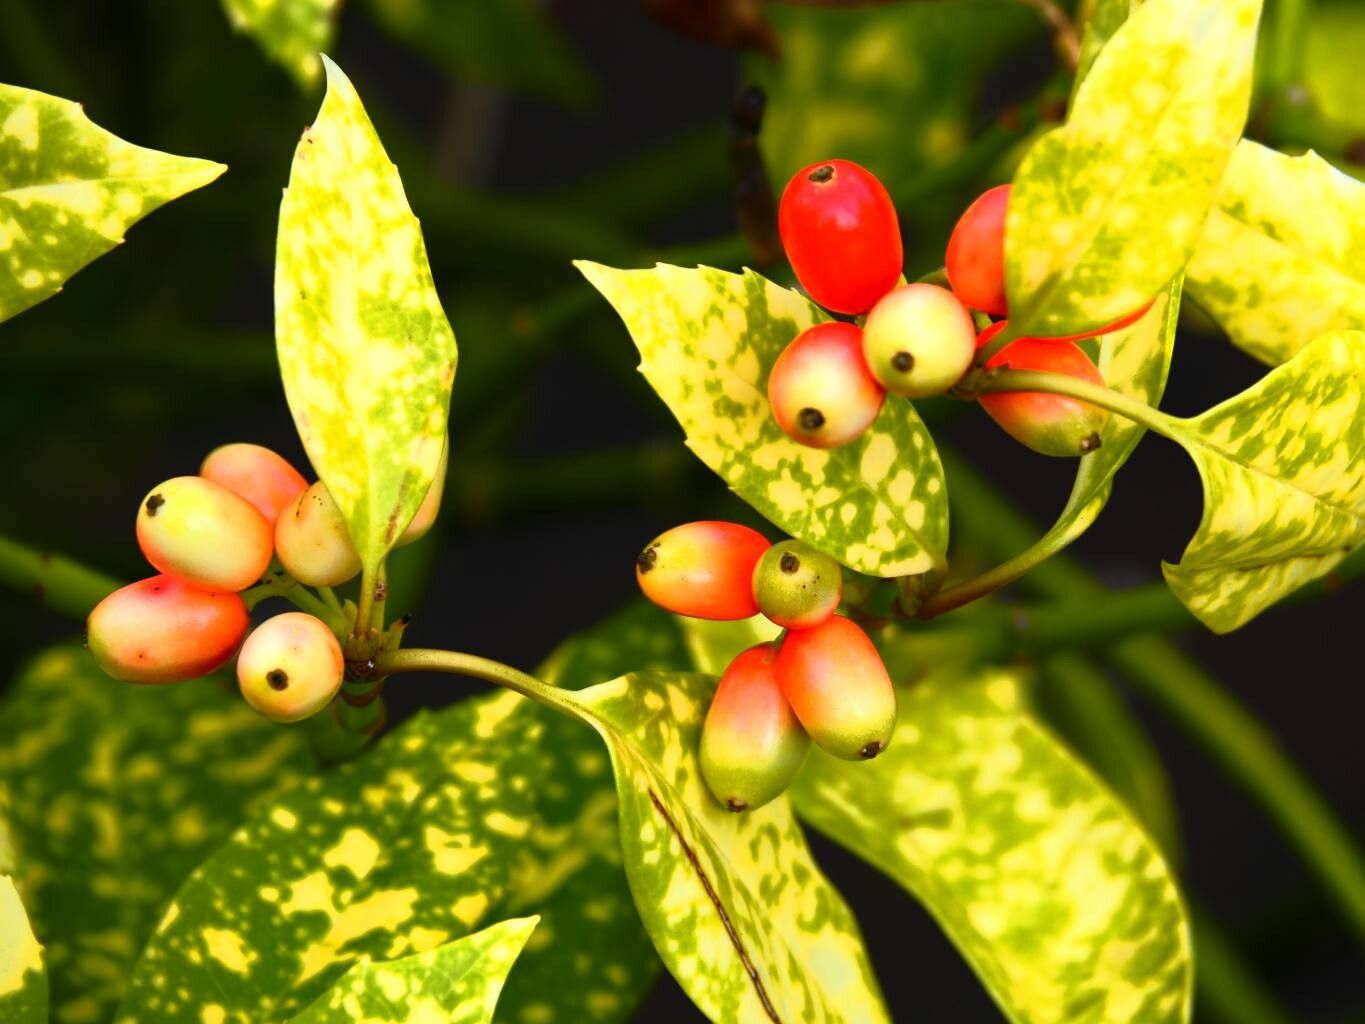
Hello there, fellow plant enthusiasts! Today, I want to talk to you about a plant that’s a real workhorse in many gardens: Aucuba japonica, often called the Spotted Laurel or Japanese Laurel. I’ve been growing and propagating these beauties for two decades, and I can tell you, they’re incredibly rewarding. With their glossy, often speckled evergreen leaves, they bring a splash of color even in the gloomiest of winter days. And guess what? Propagating them is wonderfully achievable, even for those of you just dipping your toes into the world of plant multipliers.
The Best Time to Start
For Aucuba japonica, your best bet is to get your cuttings in late spring to early summer. This is when the plant is actively growing and has new, semi-hardwood stems that are more pliable and eager to root. You can also try in early autumn with slightly older wood, but spring and early summer usually give you the most reliable results.
Supplies You’ll Need
Here’s what you’ll want to have on hand:
- Sharp pruning shears or a clean knife: To make clean cuts.
- Rooting hormone (optional but recommended): Helps speed up root development.
- Small pots or trays with drainage holes: For your cuttings.
- A well-draining potting mix: A good quality seed-starting mix or a blend of peat moss and perlite works beautifully.
- Plastic bags or a propagation tray with a lid: To create a humid environment.
- Water: For keeping things moist.
Propagation Methods
Let’s get our hands dirty!
Stem Cuttings (My Go-To Method)
This is my favorite way to multiply Aucubas. It’s straightforward and usually very successful.
- Select Your Cuttings: Look for healthy, non-flowering stems. You want sections that are about 4-6 inches long. The stem should be somewhat firm but still young and flexible – not woody and brittle, nor completely soft and new.
- Make the Cut: Using your sharp pruners, make a clean cut just below a leaf node (where a leaf attaches to the stem). This is where the magic happens, where new roots are most likely to form.
- Prepare the Cuttings: Gently remove the lower leaves from your cuttings. Leave just 2-3 leaves at the very top. If your leaves are quite large, you can even cut them in half horizontally to reduce water loss through transpiration.
- Apply Rooting Hormone (Optional): Dip the cut end of each stem into rooting hormone powder, tapping off any excess.
- Plant Your Cuttings: Fill your small pots with your chosen potting mix. Make a hole in the center of the soil with a pencil or your finger. Insert the cut end of your Aucuba cutting into the hole, ensuring it’s firm. Gently firm the soil around the stem.
- Water and Cover: Water the soil gently but thoroughly. Then, cover the pot with a clear plastic bag or place it in a propagation tray with a lid. This creates a mini-greenhouse effect, maintaining high humidity, which is crucial for cuttings that haven’t developed roots yet.
Division (For Mature Plants)
If you have a larger, established Aucuba, you might be able to divide it.
- Dig Up the Plant: In early spring, carefully dig up the entire plant.
- Separate the Roots: Gently untangle the root ball. You should be able to see natural divisions. Use a clean spade or your hands to separate sections, ensuring each section has a good clump of roots and some leafy stems.
- Replant: Immediately replant the divisions into their new spots in the garden or into pots filled with fresh potting soil.
The “Secret Sauce” (Pro Tips)
Here are a couple of things I’ve learned over the years that make a big difference:
- Don’t Let Leaves Touch the Water: If you decide to try water propagation (sticking cuttings directly into a jar of water), make absolutely sure no leaves are submerged. Rot sets in fast when leaves are in the water. Only the stem end should be in contact with the water.
- Bottom Heat is Your Friend: While not strictly necessary for Aucubas, if you’re having trouble or want to speed things up, placing your pots on a gentle propagation mat can work wonders. It encourages root growth from below.
Aftercare & Troubleshooting
Once your cuttings are potted, place them in a bright spot out of direct sunlight. Keep the soil consistently moist but not soggy. You’ll want to mist the leaves occasionally if you’re not using a covered propagator.
You’ll know your cuttings have rooted when you see new leaf growth or gentle resistance when you tug lightly on the stem. This can take anywhere from 4 to 8 weeks, sometimes longer. Once they’re established, you can gradually acclimate them to more normal conditions and transplant them to larger pots or their permanent garden homes.
If you see yellowing leaves that fall off easily, it might be too wet. If the stem turns mushy and black at the soil line, that’s the dreaded rot, usually caused by overwatering or poor drainage. Don’t despair if a few don’t make it; it’s all part of the learning process!
So there you have it! Aucuba japonica is a fantastic plant to propagate, and with these simple steps, you’ll soon have plenty of these cheerful shrubs to share or fill your own garden. Be patient, enjoy the journey, and happy gardening!
Resource:
https://identify.plantnet.org/k-world-flora/species/Aucuba%20japonica%20Thunb./data