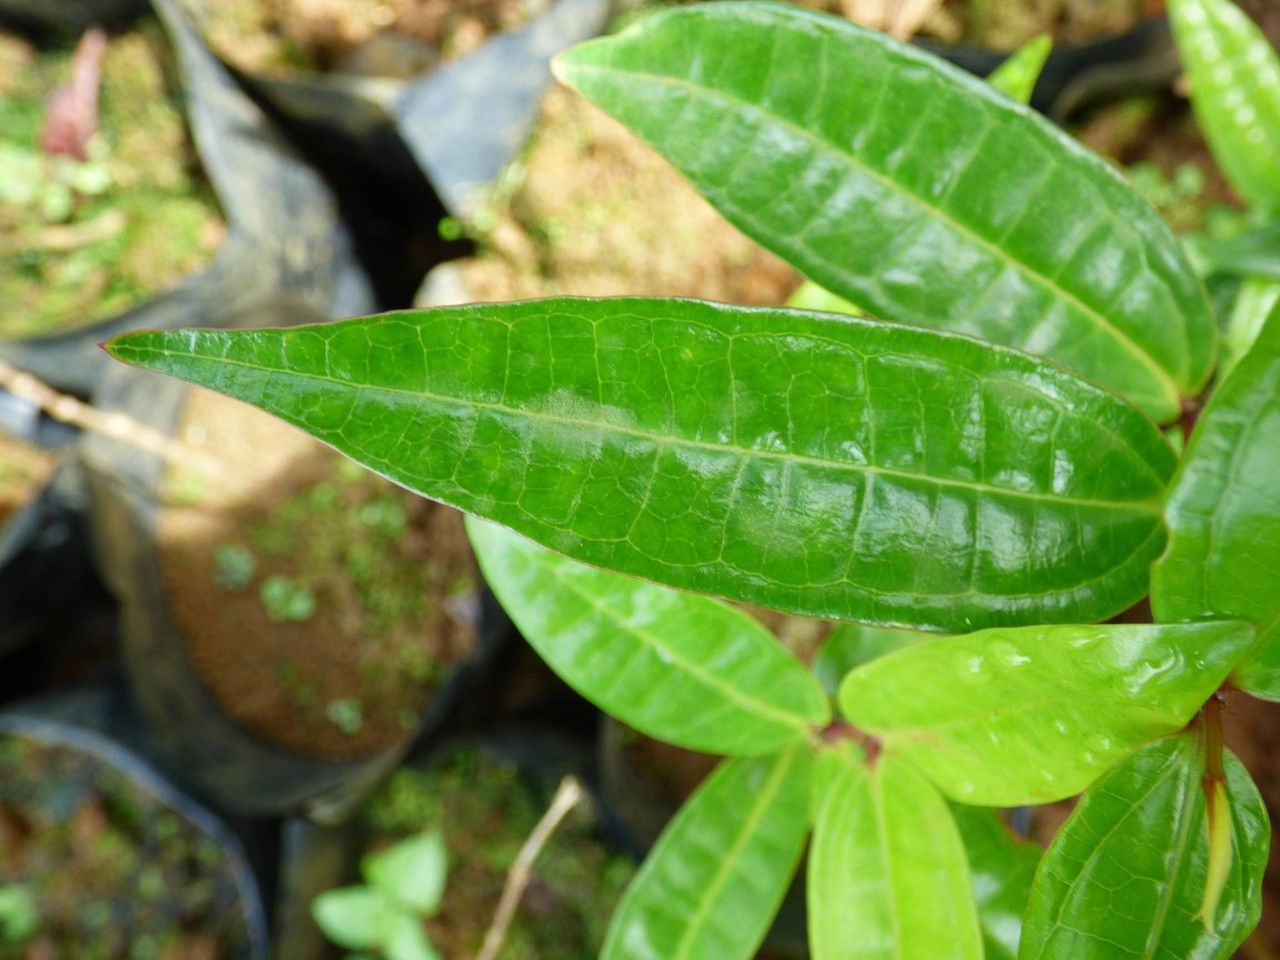
Hello, fellow plant lovers! Today, we’re diving into the wonderful world of propagating Warneckea trinervis. If you’ve ever admired its glossy, variegated leaves and elegant growth, you know it’s a real stunner. And guess what? Bringing more of these beauties into your life is incredibly rewarding. This isn’t a plant that gives beginners a hard time, which is fantastic news! With a little patience and care, you’ll be well on your way to a happy plant family.
The Best Time to Start
My absolute favorite time to take cuttings of Warneckea trinervis is in the late spring to early summer. This is when the plant is really getting into its active growth phase. The new growth at this time is usually vigorous and ready to produce roots. Waiting until after the plant has finished its main flush of spring growth gives you the best chance for successful rooting.
Supplies You’ll Need
Here’s what you’ll want to have on hand:
- Sharp pruning shears or a clean knife: For making clean cuts.
- Rooting hormone (optional but recommended): A powdered or gel form can give cuttings a real boost.
- Well-draining potting mix: A good blend is usually about 50% peat moss or coco coir and 50% perlite or coarse sand.
- Small pots or propagation trays: Clean ones are a must!
- Clear plastic bags or domes: To create a humid environment.
- Water: For watering and, if you’re using that method, for rooting.
- Optional: Heat mat: This can speed up root development, especially in cooler periods.
Propagation Methods
I find that stem cuttings are the most reliable way to go with Warneckea trinervis.
Stem Cuttings:
- Select your cutting: Look for healthy, non-flowering stems. You want pieces that are about 4-6 inches long. Make your cut just below a leaf node (where a leaf grows from the stem). This is where the magic happens!
- Prepare the cutting: Gently remove the leaves from the bottom half of the stem. You want at least one or two leaf nodes submerged if you were to put it in water, or covered with soil if you’re potting it. If the remaining leaves are very large, you can cut them in half horizontally to reduce water loss.
- Apply rooting hormone (if using): Dip the cut end into your rooting hormone. Tap off any excess.
- Pot it up: Fill your small pots with your prepared potting mix. Moisten the soil thoroughly but make sure it’s not waterlogged.
- Insert the cutting: Make a small hole in the soil with your finger or a pencil and gently insert the cutting, ensuring the leaf nodes are below the soil surface. Firm the soil around the stem.
- Create humidity: Water lightly to settle the soil. Then, cover the pot with a clear plastic bag or a propagator lid. This is crucial! It keeps the moisture in and creates that humid microclimate the cutting needs to stay hydrated while it roots. You can prop the bag up with stakes so it doesn’t touch the leaves.
The “Secret Sauce” (Pro Tips)
Here are a couple of tricks I’ve learned over the years that really make a difference for Warneckea trinervis:
- Don’t get greedy with leaves! When preparing your cuttings, make sure no leaves are touching the surface of the water if you’re experimenting with water propagation. They’ll rot faster than you can say “propagation station.” For soil cuttings, ensure the lower leaves are well above the soil line.
- A touch of warmth is a game-changer. If you can manage it, placing your pots or trays on a gentle heat mat can significantly speed up root formation. It mimics the warmth of spring soil, which really encourages those roots to get going. Just make sure it’s not too hot – think warm bath water, not a sauna!
Aftercare & Troubleshooting
Once your cuttings have happily rooted – you’ll know because you’ll see new leaf growth and they’ll resist a gentle tug – it’s time for their next step.
Gradually acclimatize your new plant to normal room humidity by opening the plastic bag or dome a little more each day over a week. Continue to water when the top inch of soil feels dry. Bright, indirect light is ideal.
The most common sign of trouble is rot. If your cutting looks mushy, turns black, or just isn’t showing any signs of life after several weeks, it’s likely rotted. This usually means the environment was too wet and not humid enough, or that the cutting itself wasn’t healthy to begin with. Don’t be discouraged; just grab another healthy stem and try again!
A Final Thought
Propagating plants is a journey, and Warneckea trinervis is a lovely companion along the way. Be patient with your cuttings. Some will root quickly, others will take their sweet time. Enjoy the process of nurturing something new, and celebrate every tiny sign of progress. Happy propagating!
Resource:
https://identify.plantnet.org/k-world-flora/species/Warneckea%20trinervis%20(DC.)%20Jacq.-Fél./data