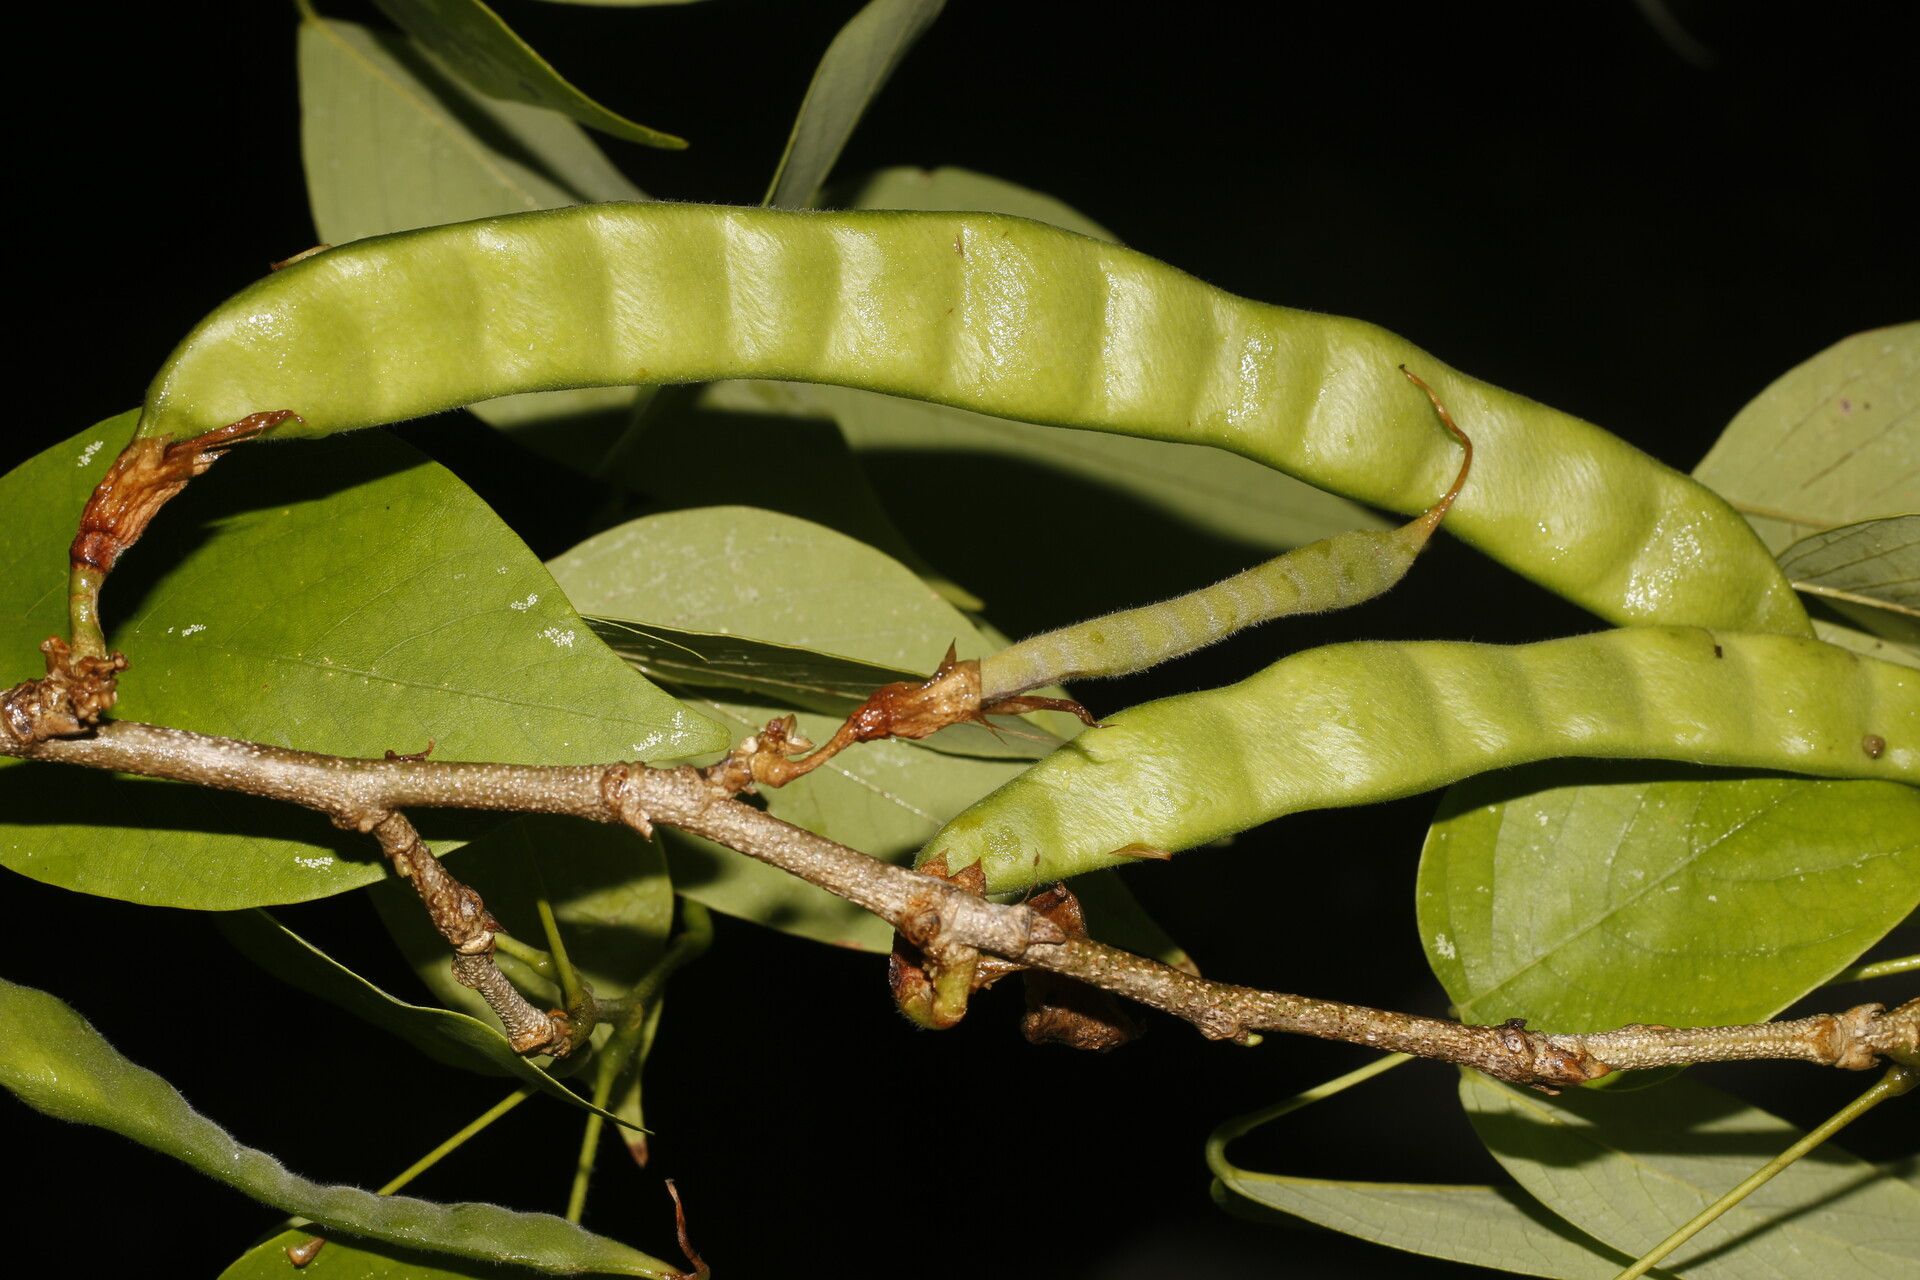
Hello there, fellow plant lovers! It’s so wonderful to connect with you again. Today, I want to chat about a plant that has brought me so much joy over the years: Clitoria glaberrima. You might know it by its common name, the “Butterfly Pea” relative, but trust me, this one has its own unique charm. Its delicate, often vibrant blue or purple flowers are simply captivating, and learning to make more of these beauties is incredibly satisfying. Now, if you’re a beginner, you might be wondering if this is a good place to start. I’d say it’s moderately easy. With a little patience and the right approach, you’ll be sharing these gorgeous plants with friends in no time.
The Best Time to Start
For the highest success rate with Clitoria glaberrima, I always recommend starting in late spring or early summer. This is when the plant is actively growing, so it has the energy to put into developing new roots. You’re looking for current year’s growth – stems that are firm but not woody. Think of it as the plant reaching its prime for making babies!
Supplies You’ll Need
Gathering your supplies beforehand makes the whole process smoother. Here’s what I usually have on hand:
- Sharp, clean pruning shears or a craft knife: Essential for making clean cuts. Sterilize them with rubbing alcohol between each cut to prevent disease spread.
- Rooting hormone (powder or gel): This isn’t strictly necessary for Clitoria glaberrima, but it can give you a significant boost in rooting success.
- Potting mix: A light, well-draining mix is key. I often use a blend of peat moss, perlite, and a little bit of vermiculite. A standard seed-starting mix works well too.
- Small pots or trays: Ensure they have drainage holes! We don’t want any soggy bottoms.
- Plastic bags or a propagator: To create a humid environment.
- Watering can with a fine rose: For gentle watering.
- Optional: Bottom heat mat: This can really speed up rooting, especially if your environment is a bit cooler.
Propagation Methods
While Clitoria glaberrima can be grown from seed, I find stem cuttings to be the most reliable and rewarding method for propagation. It’s how I’ve mostly expanded my collection.
Stem Cuttings
- Select your parent plant: Choose a healthy, vigorous Clitoria glaberrima that’s not flowering profusely. You want it focused on growing, not just blooming.
- Take the cuttings: Using your clean shears, cut pieces of stem that are about 4-6 inches long. Make sure each cutting has at least two to three sets of leaves. Try to make the cut just below a leaf node (where a leaf attaches to the stem) as this is where roots tend to form.
- Prepare the cuttings: Gently remove the lower leaves from your cuttings. This prevents them from rotting in the soil or water. If your cutting has very large leaves, you can even cut them in half horizontally to reduce water loss through transpiration.
- Apply rooting hormone (optional but recommended): Dip the cut end of each stem into your rooting hormone, tapping off any excess.
- Plant the cuttings: Fill your small pots or trays with your prepared potting mix. Make a small hole with a pencil or your finger and insert the cutting, ensuring the bottom leaf nodes are buried. Gently firm the soil around the base.
- Water gently: Water the soil thoroughly but gently. You want it moist, not waterlogged.
- Create humidity: Place the potted cuttings inside a plastic bag, sealing it loosely, or put them in a propagator. This traps moisture, creating the humid environment the cuttings need to root.
The “Secret Sauce” (Pro Tips)
Over the years, I’ve learned a few tricks that make a big difference.
- Never let the leaves touch the potting mix directly. This is more crucial with softer cuttings but good practice for all. I’ll often trim off lower leaves right up to the stem to prevent any contact.
- Bottom heat is your best friend. If you’re serious about faster rooting, a gentle bottom heat mat set to around 70-75°F (21-24°C) can work wonders. It encourages root development from below.
- Don’t fuss too much initially. Once you’ve set them up with humidity and moisture, resist the urge to keep opening the bag or propagator. Let them settle in and do their thing for the first week or two.
Aftercare & Troubleshooting
Once you start to see new tiny leaves appearing or gently tugging on a cutting reveals some resistance (meaning roots have formed!), it’s time for a little more attention.
- Acclimate slowly: Gradually introduce your new plants to normal room humidity by opening the bag or propagator a little more each day over a week.
- Watering: Continue to keep the soil consistently moist but not soggy. Water when the top inch of soil feels dry to the touch.
- Light: Place your cuttings in bright, indirect light. Direct sun can scorch those delicate new leaves.
- Signs of failure: The most common issue is rot. If your cuttings turn black and mushy, or if you see mold on the soil, it’s usually a sign of too much moisture and not enough air circulation. Unfortunately, rotted cuttings can’t be saved. Another sign is wilting that doesn’t perk up after watering, which could indicate poor root development or a cutting that simply didn’t take.
A Little Patience Goes a Long Way
Propagating plants is a wonderful journey. It’s about nurturing life, and sometimes, nature needs a little time. Don’t get discouraged if not every cutting succeeds. Each attempt is a learning experience. So, gather your supplies, get your hands dirty, and enjoy the process of growing more of these lovely Clitoria glaberrima. Happy gardening!
Resource:
https://identify.plantnet.org/k-world-flora/species/Clitoria%20glaberrima%20Pittier/data