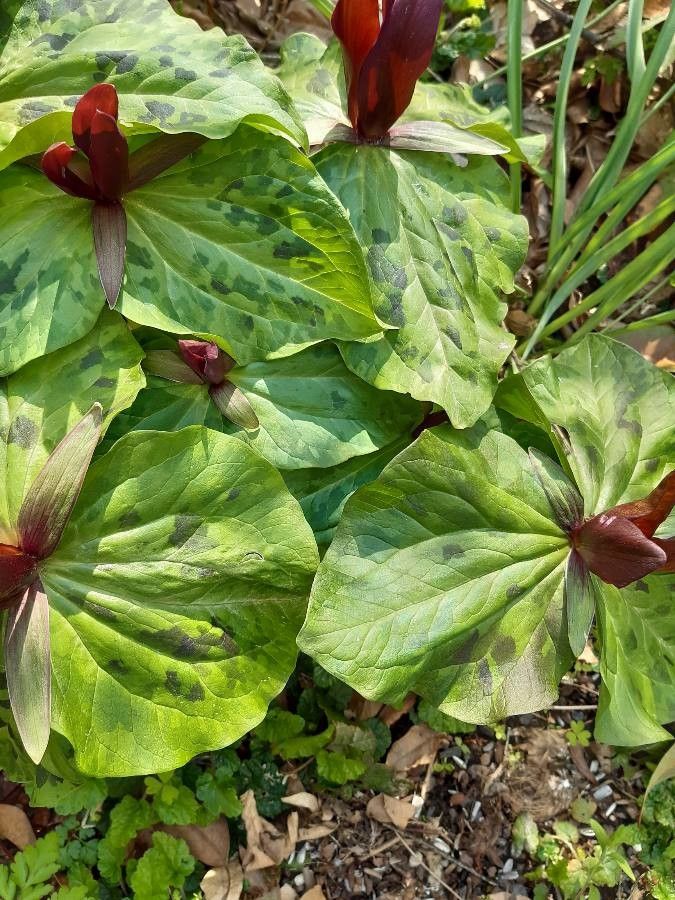
Oh, Trilliums! Aren’t they just the most enchanting woodland gems? Seeing that beautiful three-petaled bloom emerge from the forest floor is one of spring’s pure delights. If you’re captivated by Trillium kurabayashii, like I am, you might be wondering about bringing more of their magic into your garden. Propagating them can feel a bit like unlocking a delightful secret, and it’s a journey I’ve come to cherish over the years. Now, I’ll be honest, Trillium kurabayashii isn’t the easiest plant to propagate from seed for beginners. Their germination process takes its sweet time. But don’t let that deter you! Division, on the other hand, is much more approachable and can yield satisfying results.
The Best Time to Start
For the most success with propagating Trillium kurabayashii, division is best done in late summer or early fall. This is when the plant has finished its active growth cycle for the year but before the ground freezes. It allows the divisions to establish themselves a bit before winter sets in, giving them a better chance to thrive come spring. If you miss this window, you can also divide them in early spring, just as they’re about to emerge or have just emerged, but be extra gentle!
Supplies You’ll Need
Gathering your tools beforehand makes the whole process smoother. Here’s what you’ll want on hand:
- A sharp, clean trowel or hori hori (a Japanese gardening trowel that’s fantastic for digging and dividing)
- A small, sharp knife or pruning shears (sterilized, of course!)
- A well-draining potting mix. I like to use a blend of peat moss, compost, and perlite or coarse sand (about 1 part of each). For Trilliums, good drainage is absolutely key.
- Small pots or containers for your divisions. Terracotta pots are lovely for Trilliums, as they allow the soil to breathe.
- A spray bottle with water.
- Mulch (like pine needles or shredded bark) for covering the newly planted divisions.
Propagation Methods: Division
This is where the real magic happens for Trillium kurabayashii.
- Gently Excavate: With your trowel, carefully dig around the parent plant. You want to get down deep enough to lift the whole clump, roots and all, without causing too much disturbance. Try to keep as much of the root ball intact as possible.
- Inspect the Rhizome: Once you have the clump out, gently clean away some of the excess soil. You’re looking for the rhizome, which is the thick, fleshy underground stem of the Trillium. You’ll see where new growth points (buds) are forming along this rhizome.
- Divide Wisely: Using your sharp knife or pruning shears, carefully cut the rhizome into sections. Each section should have at least one healthy-looking bud and a good portion of roots attached. Don’t try to make the pieces too small; a larger division has a better chance of survival. It’s better to have fewer, stronger divisions than many weak ones.
- Potting Up: Fill your pots with your well-draining potting mix. Make a small indentation in the soil and place your Trillium division in it, ensuring the bud is pointing upwards. It should be planted at roughly the same depth as it was in the ground.
- Water and Mulch: Water the soil gently until it’s evenly moist but not waterlogged. Then, add a thin layer of mulch over the top. This helps retain moisture and protects the new division.
The “Secret Sauce” (Pro Tips)
Here are a few things I’ve learned over the years that make a difference:
- Rhizome Integrity is King: When you’re dividing, avoid damaging the fleshy parts of the rhizome as much as possible. If you get a little tear, don’t worry, but try to make clean cuts. The healthier the rhizome you start with, the happier your new plant will be.
- Patience with the Pace: Trilliums are naturally slow growers. Don’t expect a huge flush of new growth immediately. They need time to settle in and recover from the division. This is where actual patience comes in – and observing their subtle signs of life is more rewarding than rushing them.
- Mimic the Woodland Floor: After planting your divisions, especially if doing so in the fall, replacing some of the leaf litter outdoors (like oak or maple leaves) around them is incredibly beneficial. This mimics their natural habitat, providing insulation and a slow release of nutrients.
Aftercare & Troubleshooting
Once your divisions are in their new pots, treat them gently. Keep the soil consistently moist but never soggy. If you’re growing them in pots, you might need to water them more frequently than if they were in the ground, especially during dry spells.
The biggest challenge you might encounter is rot. If you see the rhizome turn mushy or black, it’s a sign of too much moisture and poor drainage. If this happens, you’ll need to dig it up, remove the rotted parts with your sterile knife, and replant it in fresh, dry, well-draining soil. Sometimes, sadly, a division is too far gone to save. Don’t be discouraged; it’s part of the learning process. If you see signs of wilting that aren’t due to dryness, it might be a sign the roots haven’t established yet. Just keep an eye on it and maintain consistent, moderate moisture.
A Little Bit of Patience Goes a Long Way
Propagating Trillium kurabayashii through division is a wonderful way to expand your collection of these captivating plants. It requires a gentle touch and a good dose of patience, but the reward of seeing new life emerge from your efforts is truly special. Enjoy the journey; every garden success starts with a little bit of hope and a lot of care. Happy gardening!
Resource:
https://identify.plantnet.org/k-world-flora/species/Trillium%20kurabayashii%20J.D.Freeman/data