Hey there, fellow plant lovers!
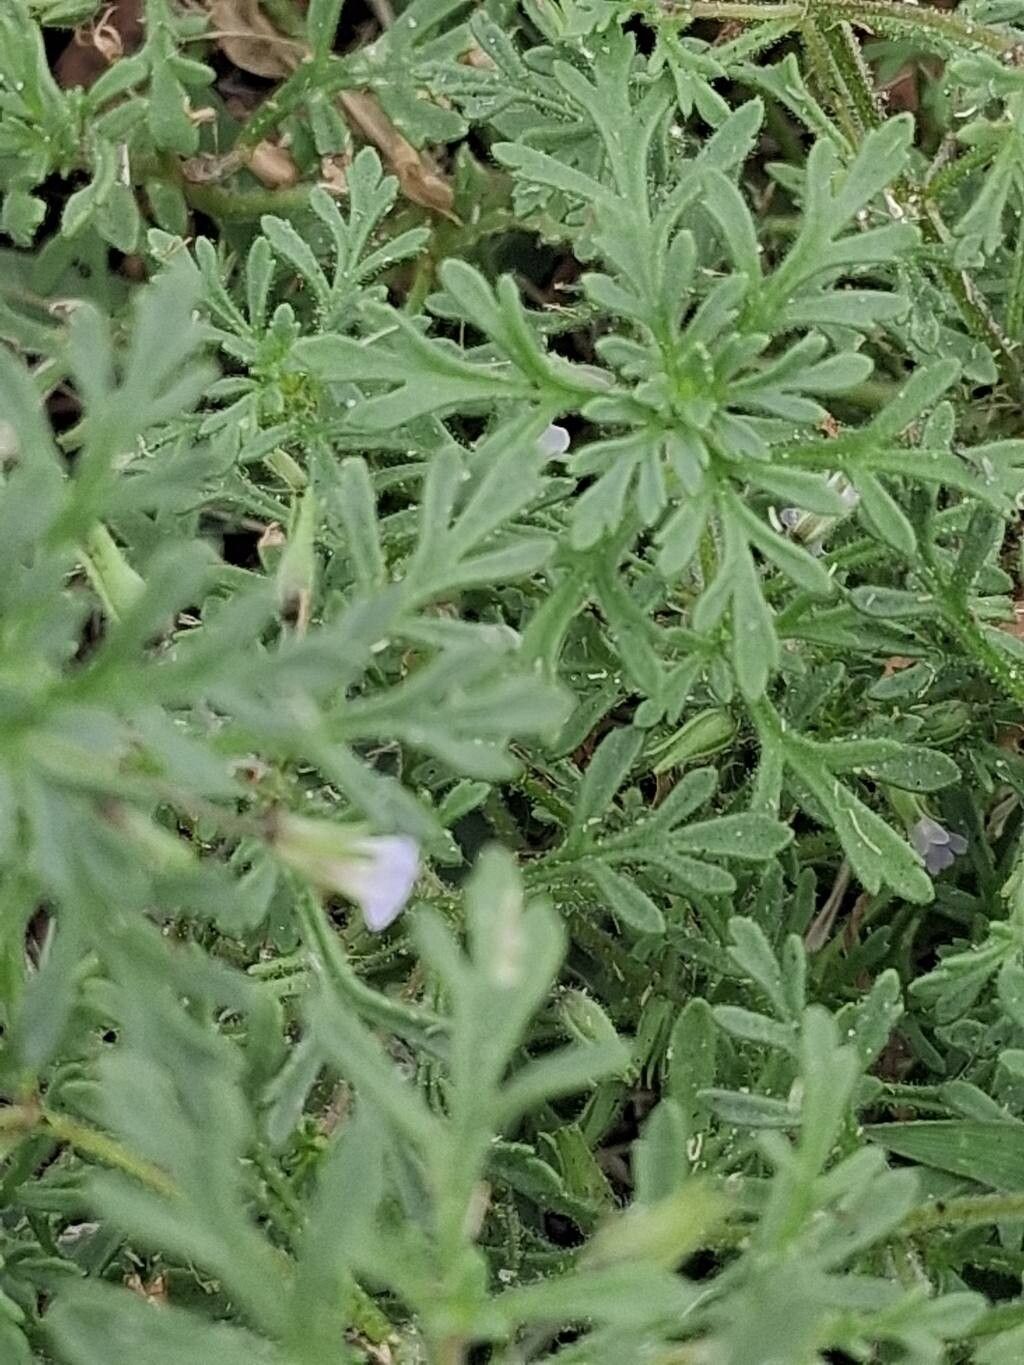
Today, we’re diving into the wonderful world of propagating Leucospora multifida. If you’re not familiar, this charming little plant, often called “Mexican Heather,” is an absolute gem for any garden. Its delicate, star-shaped purple or white flowers bloom prolifically, transforming even the most subdued corner into a vibrant spectacle. And the best part? Bringing more of this beauty into your life through propagation is incredibly rewarding. For those of you just starting out, I’d say Leucospora multifida is a fairly easy plant to propagate, which makes it a fantastic choice for beginner gardeners eager to expand their collection.
The Best Time to Start
When it comes to getting the best results, timing is everything. The ideal window for propagating Leucospora multifida is generally in the late spring to early summer. This is when the plant is actively growing and has plenty of energy to put into new root development. You’re looking for stems that are still somewhat flexible but have started to mature a bit – we call these “semi-hardwood” cuttings. Avoid taking cuttings from brand new, bright green, floppy shoots or from very woody old stems.
Supplies You’ll Need
Before we get our hands dirty, let’s gather our essential tools. You don’t need much, just the basics:
- Sharp Pruning Shears or a Craft Knife: For clean cuts that heal well.
- Rooting Hormone (Optional but Recommended): Helps to speed up and improve root formation. Look for one specifically for cuttings.
- Well-Draining Potting Mix: A sandy, peat-based mix works beautifully. You can also use a 50/50 blend of perlite and peat moss.
- Small Pots or Trays: Clean pots with drainage holes are a must.
- Watering Can or Spray Bottle: For gentle watering.
- Clear Plastic Bags or a Mini Greenhouse: To maintain humidity.
Propagation Methods
Leucospora multifida is quite amenable to a few different propagation techniques, but stem cuttings are my go-to for consistent success.
Stem Cuttings
This is where the magic happens!
- Take the Cuttings: Select healthy, non-flowering stems from your mature Leucospora multifida. Using your clean pruning shears or knife, cut sections about 4-6 inches long. Make the cut just below a leaf node (where a leaf attaches to the stem).
- Prepare the Cuttings: Gently remove the lower leaves from the bottom half of each cutting. This prevents them from rotting once they’re in the soil. You can leave 2-3 sets of leaves at the very top.
- Apply Rooting Hormone (If Using): Dip the cut end of each stem into the rooting hormone powder, tapping off any excess.
- Plant the Cuttings: Fill your small pots with the prepared potting mix. Make a small hole in the center with your finger or a pencil, and carefully insert the cut end of the stem. Gently firm the soil around the base.
- Water Gently: Water the soil thoroughly but gently, so you don’t disturb the cuttings.
Water Propagation (An Alternative)
While I prefer soil, some folks love to watch roots form in water. If you go this route:
- Follow Steps 1 and 2 above for preparing your cuttings.
- Place Cuttings in Water: Put the prepared cuttings into a clean jar or glass filled with fresh water.
- Ensure Leaves Stay Dry: This is crucial! Make sure none of the leaves are submerged in the water. They will rot, and that’s the last thing we want.
- Change Water Regularly: Change the water every few days to keep it fresh and oxygenated. Once you see good root development (about an inch long), you can carefully transplant them into soil.
The “Secret Sauce” (Pro Tips)
Here are a few little tricks I’ve picked up over the years that can really give your cuttings a boost:
- Don’t Pollute the Water: If you choose water propagation, and I can’t stress this enough: never let the leaves touch the water. They act like sponges for disease and will turn mushy and brown, taking your cutting with them.
- Embrace the Humidity Dome: After planting your stem cuttings in soil, cover them with a clear plastic bag, or place the pot inside a mini greenhouse. This creates a humid environment that is essential for preventing the cuttings from drying out before they can root. Just make sure the leaves aren’t pressing against the plastic. You can prop it up with a few sticks if needed.
- Bottom Heat is Your Friend: Leucospora multifida loves a little warmth from below. Placing your pots on a heating mat specifically designed for plants can significantly speed up root formation. It mimics the natural warmth of the soil in its native environment.
Aftercare & Troubleshooting
Once your cuttings have developed a good root system (you’ll see new growth at the top and feel a bit of resistance when you gently tug them), it’s time to transition them.
- Gradual Acclimation: If you’ve used a humidity dome, gradually acclimate your new plants to normal room humidity over a week or two by opening the vents or lifting the bag for longer periods each day.
- Potting Up: Once they’re strong, you can pot them up into slightly larger containers with a good quality potting mix. Keep them watered and in bright, indirect light.
- Watch for Rot: The most common sign of failure is rot. If your cutting is looking mushy, black, or is wilting dramatically despite being watered, it’s likely succumbing to rot. This is often due to overwatering, poor drainage, or lack of air circulation. If you catch it early, you might be able to salvage a healthy section for another attempt.
A Little Patience Goes a Long Way
Propagating plants is a journey, and it’s a beautiful one at that. Don’t get discouraged if not every single cutting takes. Each attempt is a learning experience. Be patient, enjoy the process of nurturing these tiny new lives, and soon you’ll have a garden bursting with Leucospora multifida to share with friends or simply to bask in yourself. Happy propagating!
Resource:
https://identify.plantnet.org/k-world-flora/species/Leucospora%20multifida%20(Michx.)%20Nutt./data