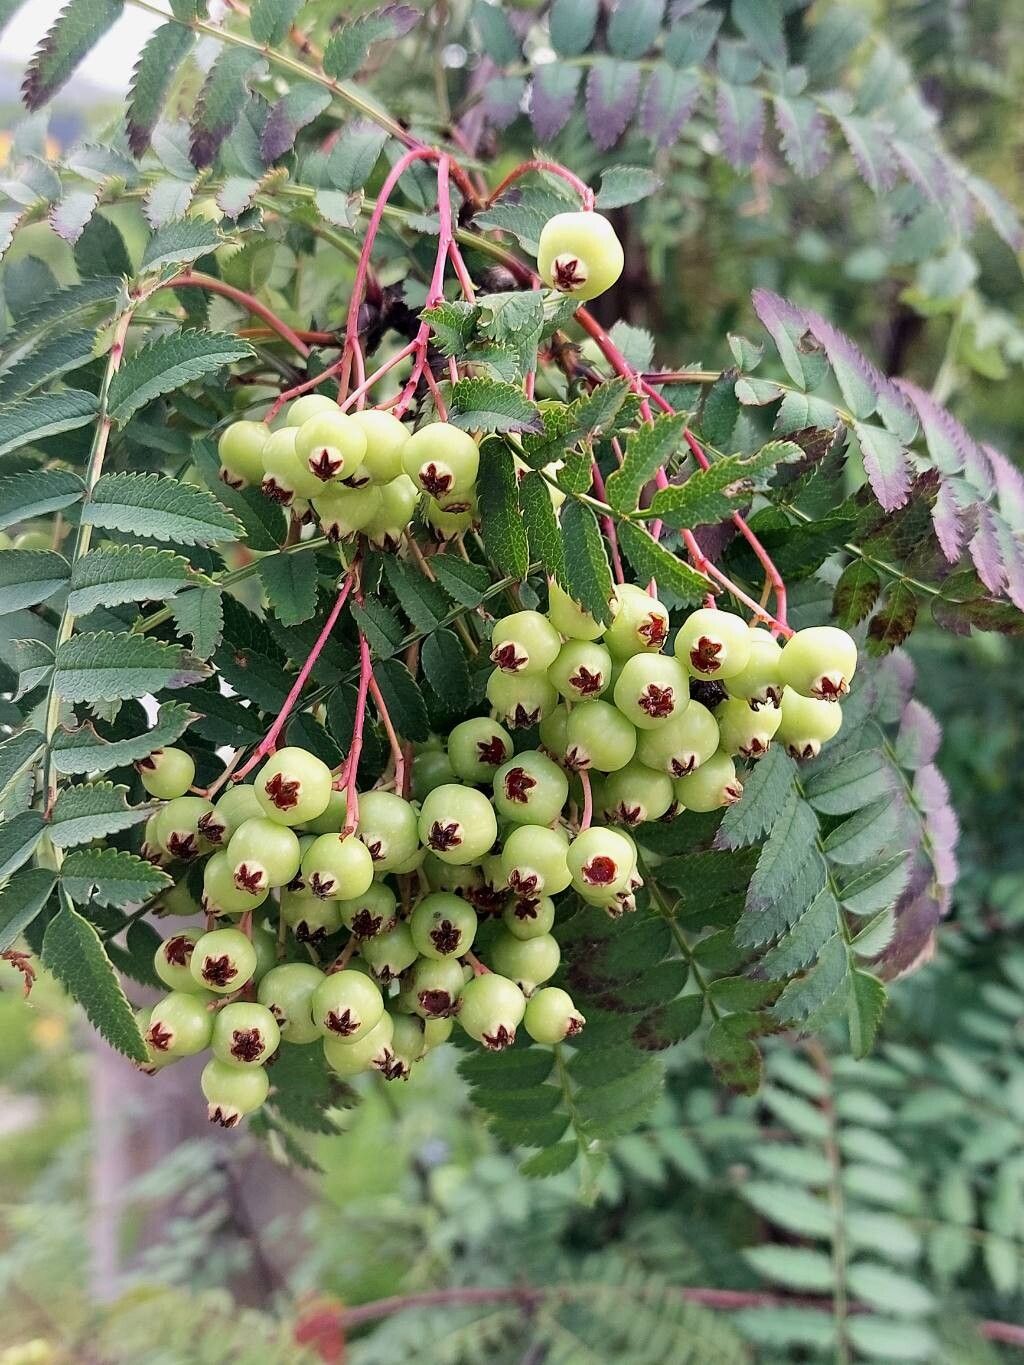
Oh, hello there! Come on in, let’s chat about gardens. Today, I want to introduce you to a plant that’s stolen my heart over the years: Sorbus koehneana, or the Chinese Rowan. Its delicate, fern-like foliage is lovely enough, but come autumn, it explodes with clusters of the most stunning, coral-pink berries. They truly are a sight to behold, attracting all sorts of delightful birds. Propagating Sorbus koehneana might sound a bit fancy, but I promise you, it’s a wonderfully rewarding process. I wouldn’t say it’s the easiest plant for an absolute beginner to take on, but with a little care and these tips, you’ll be well on your way.
The Best Time to Start
Timing is everything in the garden, isn’t it? For the best chance of success with Sorbus koehneana, I always recommend working with softwood cuttings in late spring to early summer. This is when the plant is actively growing, and the new shoots are pliable yet have started to firm up a bit. You’ll find they root more readily during this period of vigorous growth.
Supplies You’ll Need
Let’s get our toolkit ready! Here’s what you’ll want to have on hand:
- Sharp, sterilized pruning shears or a keen knife. Cleanliness is key to preventing disease.
- A good quality seedling or propagation potting mix. I prefer something gritty and well-draining – a mix of peat, perlite, and a little coarse sand works wonders.
- A small plastic bag or a propagator with a lid. This creates that humid environment new cuttings crave.
- A rooting hormone powder or gel. This isn’t strictly essential, but it really gives your cuttings a boost.
- Small pots or cell trays for your cuttings.
- A water spray bottle for misting.
- Optional: A heating mat can significantly speed up rooting, especially if your propagation area is a bit cool.
Propagation Methods
I find stem cuttings to be the most successful and straightforward method for Sorbus koehneana. Here’s how I do it:
- Take Your Cuttings: On a nice, mild day, select healthy, vigorous stems from your established Sorbus koehneana. Look for shoots that are about 4-6 inches (10-15 cm) long. Using your sterilized shears, make a clean cut just below a leaf node (that little bump where a leaf attaches to the stem).
- Prepare the Cuttings: Gently remove the lower leaves, leaving just a couple of leaves at the very top. This reduces water loss. If the remaining leaves are quite large, I’ll often cut them in half horizontally. This is an old trick to minimize transpiration.
- Apply Rooting Hormone: Dip the cut end of each stem into your rooting hormone powder or gel. Tap off any excess.
- Pot Up: Fill your small pots or cell trays with your prepared potting mix. Make a small hole in the center with a pencil or your finger. Insert the cutting into the hole, ensuring the nodes where you removed leaves are below the soil surface – that’s where the roots will emerge. Gently firm the soil around the stem.
- Water and Cover: Water your cuttings gently but thoroughly. Place the pots inside your plastic bag or propagator, sealing it to create a mini-greenhouse.
The “Secret Sauce” (Pro Tips)
Now, for a few things I’ve learned over the years that really make a difference:
- Don’t let the leaves touch the water. If you’re doing a simple water propagation (though I don’t recommend it as much for Sorbus), just the stem should be submerged. Any leaves dipping into water will rot, and rot is the enemy! With cuttings in soil, this isn’t as big an issue, but keep that principle in mind.
- Bottom heat is a game-changer. Placing your propagator on a gentle heating mat, around 70-75°F (21-24°C), encourages those roots to start forming much faster. You’ll see a noticeable difference.
- Be patient with the misting. You want the soil consistently moist, but not waterlogged. A fine misting twice a day is usually about right, or whenever the surface of the soil starts to look dry. The humidity inside the bag or propagator will do most of the work.
Aftercare & Troubleshooting
Once you see new growth emerging from your cuttings – usually tiny leaves – that’s a good sign they’re starting to root. Gradually acclimate them to the outside air by opening the propagator or the plastic bag for increasing periods over a week. Once they’re looking robust and have a decent root system (you can gently tug on one; if there’s resistance, they’re rooted), you can pot them into slightly larger individual pots. Keep them in a bright, but indirect, light spot and continue to water them when the soil feels dry.
The most common problem you’ll encounter is rot. If a cutting turns black and mushy, it’s a sign of too much moisture and poor air circulation. It’s disheartening, but don’t worry, just pull it out and try again, ensuring your mix is well-draining and you’re not overwatering.
A Encouraging Closing
Propagating any plant is a journey of learning and discovery. Don’t get discouraged if your first few attempts aren’t perfect. Observe your cuttings, adjust your care as needed, and celebrate every little success. The satisfaction of seeing a tiny cutting grow into its own beautiful Sorbus koehneana is just wonderful. Happy propagating, my friend!
Resource:
https://identify.plantnet.org/k-world-flora/species/Sorbus%20koehneana%20C.K.Schneid./data