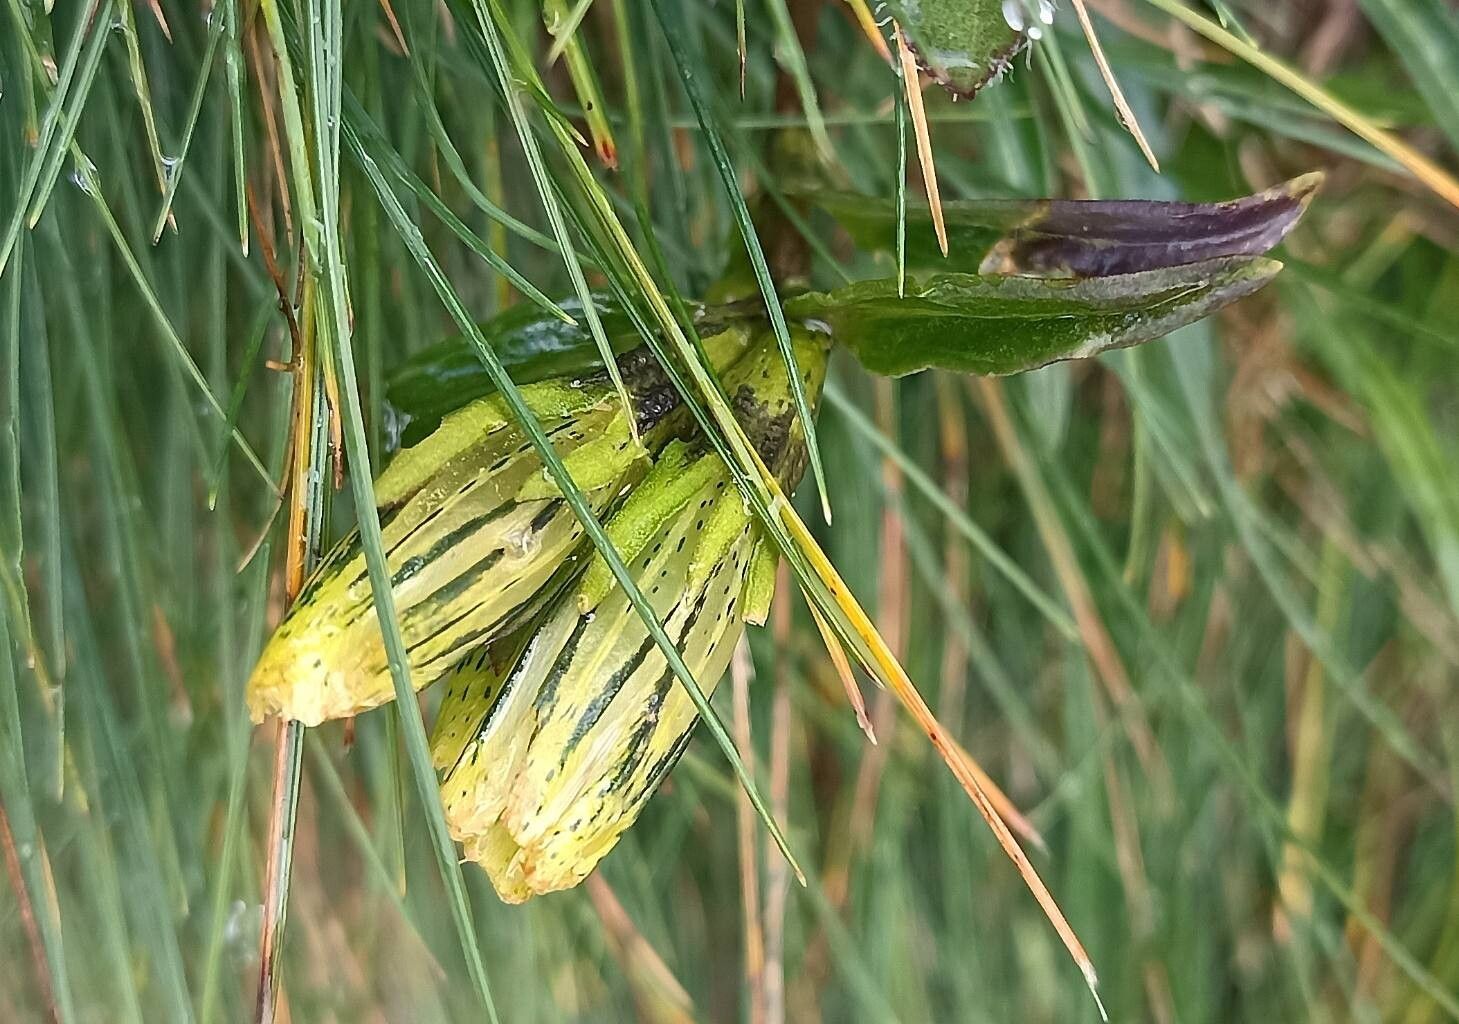
Oh, Gentiana frigida! It’s a true marvel, isn’t it? Those stunning, deep blue trumpets against a backdrop of robust foliage – it’s pure alpine magic. If you’re looking to bring a bit of that mountain charm into your own garden, propagating Gentiana frigida is a wonderfully rewarding endeavor. Now, I won’t lie, it can be a tad finicky, so it might not be the absolute first plant I’d suggest for a complete beginner, but with a little care and attention, you can absolutely master it. The joy of watching these delicate beauties emerge from your efforts is truly something special.
The Best Time to Start
For Gentiana frigida, the sweet spot for propagation is early to mid-summer. This is when the plant is actively growing and has plenty of robust energy to put into developing new roots. We’re looking for those nice, semi-hardened shoots – not the really soft, brand-new growth, but not the woody old stems either. Think of it like a pencil, firm but not stiff.
Supplies You’ll Need
Here’s what I always have on hand when I’m ready to get my propagation on:
- Sharp, clean pruning shears or a sharp knife: Essential for clean cuts that heal better.
- Rooting hormone (optional but recommended): Especially for Gentiana, a little help can go a long way. Look for one with a fungicide to prevent rot.
- Well-draining potting mix: I like a mix of equal parts perlite, coarse sand, and a good quality seed-starting mix. You want good aeration.
- Small pots or rooting trays: Clean ones, of course!
- Clear plastic bags or a propagator lid: To maintain humidity.
- Spray bottle with water: For misting.
- Labels and a marker: Don’t want to forget what you’ve planted, trust me!
Propagation Methods
While there are a few ways to go about it, stem cuttings are generally your best bet for Gentiana frigida. Division is also an option, but it’s best done in spring.
Stem Cuttings:
- Take your cuttings: On a cool, overcast morning is ideal. Using your sharp shears, select a healthy, semi-hardened shoot about 4-6 inches long. Make a clean cut just below a leaf node (where the leaves attach to the stem). Remove the lower leaves, leaving just a couple at the top.
- Prepare the cuttings: Dip the cut end into your rooting hormone, tapping off any excess.
- Plant the cuttings: Fill your clean pots with your prepared potting mix. Make a small hole with a pencil or your finger and gently insert the cutting, ensuring the leaf nodes are buried. Firm the soil gently around the stem.
- Water and cover: Water the soil lightly. Then, cover the pots with a clear plastic bag or a propagator lid to create a mini-greenhouse. This is crucial for maintaining humidity.
The “Secret Sauce” (Pro Tips)
Here are a few little tricks that have made a world of difference for me:
- Bottom Heat is Your Friend: Gentiana frigida absolutely loves a little warmth from below. Pop your cuttings on a propagator mat set to a gentle temperature (around 70-75°F). This encourages root development much faster.
- Don’t Drown Your Dreams (or Cuttings): While humidity is vital, soggy soil is the enemy. Water well initially, then water only when the top inch of soil feels dry, and always ensure good drainage. I sometimes even let the pots sit in a shallow tray of water for a short while to absorb moisture from the bottom, then remove them to drain completely.
- Patience is a Virtue (with a Hint of Mist): Keep those cuttings in a bright spot, but out of direct, scorching sun. Give them a light misting every day or two, especially if they’re not covered. And be patient! It can take several weeks – sometimes even a couple of months – for you to see signs of root development.
Aftercare & Troubleshooting
Once you start seeing new leaf growth or feel a gentle tug when you lightly pull on a cutting, you know you’ve got roots! At this point, you can gradually begin to acclimate them to lower humidity. Remove the plastic covering for increasing periods each day over a week or so. Continue to keep them in bright, indirect light and water when the soil is dry.
The biggest culprit for failure with Gentiana frigida is rot. If your cuttings turn mushy, black, or fall over, it’s a sign that conditions are too wet or there’s a fungal issue. This is where that rooting hormone with fungicide and that well-draining soil really come into play. If you see any signs of rot, it’s best to discard the affected cutting and ensure your remaining ones are in a drier, better-ventilated environment.
A Warm Encouragement
Don’t be discouraged if your first attempt isn’t a runaway success. Gardening is all about learning and experimenting. Each plant teaches us something new. So, gather your supplies, find a nice, healthy Gentiana, and give it a try. Enjoy the process, get your hands dirty, and celebrate every little bit of progress. You’ve got this!
Resource:
https://identify.plantnet.org/k-world-flora/species/Gentiana%20frigida%20Haenke/data