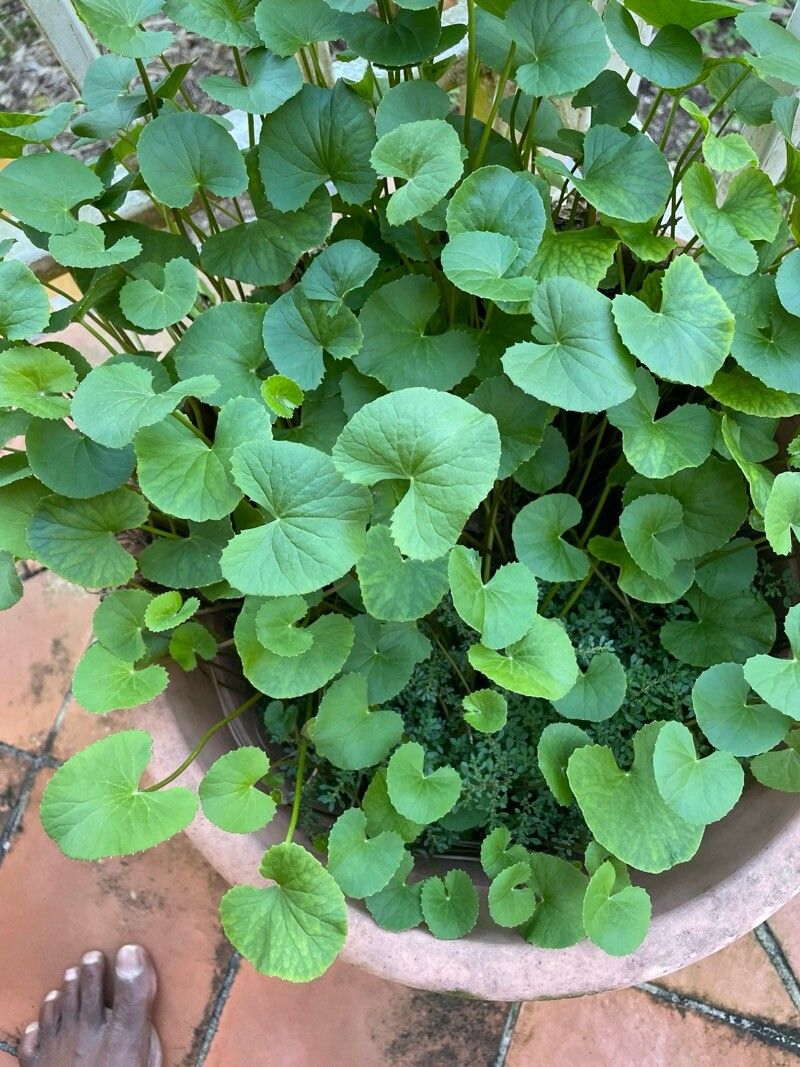
Oh, hello there! Pull up a chair, let’s chat about Centella erecta. This little gem, often known as Gotu Kola or Tiger Grass, is a real delight in the garden. Its lush, fan-shaped leaves are beautiful, and for those who are a bit more… adventurous in their gardening, it’s a plant with a useful side too. Propagating it is genuinely satisfying, and I’m happy to say, it’s not one of those finicky plants that will have you tearing your hair out. Even if you’re just starting your gardening journey, you can absolutely give this a go!
The Best Time to Start
For Centella erecta, spring or early summer is your golden ticket. This is when the plant is really showing off its vigor, pushing out new growth. This active growth phase means cuttings will be full of life and ready to root. Trying to take cuttings when the plant is dormant or stressed, say in the dead of winter, can be an uphill battle.
Supplies You’ll Need
Let’s get our toolkit ready! Here’s what I usually grab:
- Sharp pruning shears or scissors: Clean cuts are key to preventing disease.
- Rooting hormone (optional but helpful): A little boost can encourage faster root development.
- Well-draining potting mix: I like a blend of equal parts peat moss or coco coir and perlite. You can also use a seed-starting mix.
- Small pots or cell trays: Something that will hold moisture but also allow for good air circulation.
- A clear plastic bag or humidity dome: To keep things nice and humid around your cuttings.
- Water: Of course!
Propagation Methods
Centella erecta is incredibly amenable to a couple of easy methods. I find stem cuttings to be the most reliable, but division is a great option if you have an established clump.
Stem Cuttings
- Select your stems: Look for healthy, non-flowering stems that are about 3-6 inches long. You want to take cuttings from actively growing points.
- Make your cut: Using your clean snips, make a cut just below a leaf node (that little bump where the leaf attaches to the stem). This is where the magic happens, as roots are most likely to form.
- Prepare the cutting: Gently remove the lower leaves from the cutting, leaving just a couple at the very tip. This prevents them from rotting when they’re in the soil.
- Dip in rooting hormone (optional): If you’re using it, dip the cut end of the stem into the rooting hormone powder. Tap off any excess.
- Plant your cuttings: Make a small hole in your well-draining potting mix with a pencil or your finger. Insert the cutting deep enough so the leaf nodes you cleared are covered by the soil. Gently firm the soil around the stem.
- Settle them in: You can place several cuttings in one pot, spacing them out a bit.
Division
If you have a mature Centella erecta plant that’s looking a bit crowded or you simply want more, division is a breeze.
- Gently unpot your plant: Be careful not to damage the roots too much.
- Separate the clumps: Look for natural divisions in the root ball. You might be able to gently pull apart sections. If they’re really stuck, you can use a clean knife or trowel to help separate them. Make sure each section you’re dividing has some healthy roots and at least a few leafy shoots.
- Repot: Plant each new division into its own pot with fresh, well-draining soil. Water them in well.
The “Secret Sauce” (Pro Tips)
Here are a few little tricks I’ve learned over the years that can really give your Centella erecta cuttings the best chance:
- Humidity is your best friend: After planting your cuttings, mist them lightly and then cover the pot with a clear plastic bag or a propagator lid. This creates a mini-greenhouse effect, keeping the humidity high, which is crucial for cuttings to root before they dry out. Poke a few small holes in the bag if you notice a lot of condensation building up quickly.
- Think about “bottom heat”: If you have a heated propagator or can place your pots on a heat mat (the kind used for seedlings), this can significantly speed up rooting. Warm soil encourages root development. Just make sure the heat isn’t too intense to scorch the roots.
- Don’t rush the watering: When you initially plant cuttings, water them gently until the soil is moist but not soggy. Then, resist the urge to overwater while they are rooting. Let the top layer of soil dry out slightly between waterings. This helps prevent rot, which is the most common enemy of new cuttings.
Aftercare & Troubleshooting
Once you see new growth appearing on your cuttings, it’s a great sign! That means roots are forming.
- Gradually acclimate: If you used a plastic bag, start by opening it for a few hours each day, gradually increasing the time until you can remove it entirely. This hardens them off so they don’t shock when exposed to drier air.
- Gentle feeding: Once they have a good set of roots and are actively growing, you can start feeding them with a diluted liquid fertilizer every few weeks.
- Signs of trouble: The biggest foe here is rot. If you see a cutting turn black and mushy at the base, it’s likely rotted. This usually happens from overwatering and poor drainage. If you see mold on the soil surface, increase air circulation (take the bag off more often or poke more holes). Yellowing leaves can sometimes mean it’s getting too much direct sun before it’s established, or not enough water.
Happy Propagating!
See? Not so intimidating, is it? Propagating Centella erecta is a wonderful way to multiply your plant collection and share the green love. Be patient with the process, observe your cuttings, and don’t be discouraged if a few don’t make it. Every gardener has had a few! Enjoy watching those tiny roots emerge and those new leaves unfurl. It’s a little bit of gardening magic, right in your hands.
Resource:
https://identify.plantnet.org/k-world-flora/species/Centella%20erecta%20(L.f.)%20Fernald/data