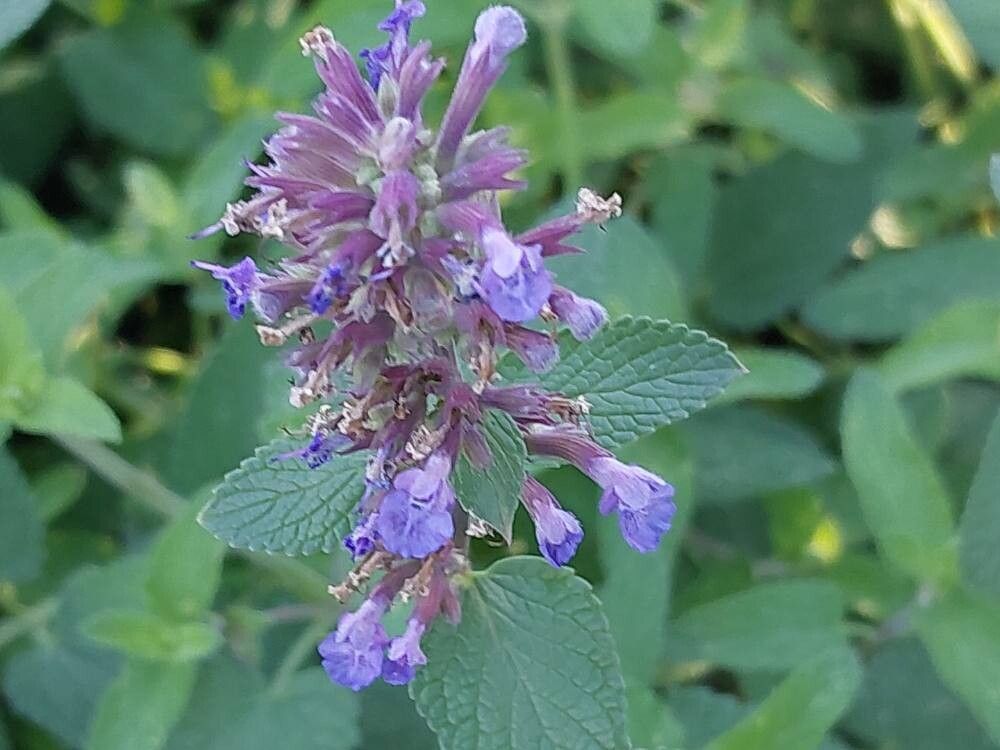
Oh, Nepeta wilsonii! If you’re looking for a plant that brings that lovely soft purple haze to your garden, with a fragrance that’s just delightful, then you’re in for a treat. This particular catmint is a gem, and getting more of it through propagation is incredibly satisfying. And honestly, if you’ve ever dabbled in a bit of gardening, you’ll find this little venture quite manageable. I’d say it’s beginner-friendly for sure!
The Best Time to Start
My absolute favorite time to take cuttings of Nepeta wilsonii is in late spring to early summer. This is when the plant is actively growing and has plenty of energetic new shoots. These young, flexible stems are much more inclined to root than the older, woodier bits. You can also get away with it in early autumn if you still have some good growth before the real chill sets in, but spring just has that extra oomph.
Supplies You’ll Need
Here’s what I usually have on hand when I’m ready to get my hands dirty:
- Sharp pruning shears or a clean knife: For making clean cuts.
- Rooting hormone (optional, but helpful): A powder or liquid that encourages root development.
- Seed starting mix or a well-draining potting mix: Something light and airy is best. I often mix perlite or coarse sand into my potting soil for extra drainage.
- Small pots or trays: Clean containers with drainage holes are a must.
- Plastic bags or a propagator: To create a humid microclimate.
- Water: For moistening the soil and a misting bottle.
- A sunny windowsill or a bright, indirect light location: Where the new cuttings can get plenty of light without scorching.
Propagation Methods
Let’s get propagating! I find stem cuttings work wonders for Nepeta wilsonii. It’s straightforward and usually yields great results.
Stem Cuttings:
- Choose your stems: Look for healthy, non-flowering shoots. You want stems that have new growth at the tip but are firm, not floppy.
- Make the cut: Using your clean shears or knife, take cuttings that are about 4-6 inches long. Make a clean cut just below a leaf node. This is the spot where a leaf attaches to the stem, and it’s where roots are most likely to form.
- Prepare the cuttings: Gently remove the lower leaves from the cutting, leaving just a few at the top. If the leaves are quite large, you can even cut them in half to reduce moisture loss.
- Apply rooting hormone (if using): Dip the cut end of the stem into the rooting hormone, tapping off any excess.
- Plant your cuttings: Fill your clean pots or trays with the moist potting mix. Make a small hole in the center with your finger or a pencil. Insert the cutting into the hole, ensuring the bottom leaf nodes are buried in the soil. Gently firm the soil around the base.
- Water gently: Water the soil thoroughly until it’s moist but not waterlogged.
- Create humidity: Cover the pots or trays with a plastic bag or place them in a propagator. This will help keep the humidity high, which is crucial for cuttings to root. If it’s just a few cuttings, you can even pop them into a clear plastic bag with a few holes poked in it.
Water Propagation (a good alternative for observation):
This method is super simple and lets you watch the magic happen.
- Select and cut: Follow steps 1 and 2 for stem cuttings. Ensure you have at least a couple of leaf nodes submerged.
- Remove lower leaves: Strip off any leaves that would end up below the waterline.
- Place in water: Pop the cuttings into a clean jar or vase filled with fresh water. Make sure no leaves sit in the water.
- Find a spot: Place the jar on a bright windowsill, out of direct sun.
- Change the water: Change the water every few days to keep it fresh and prevent rot.
The “Secret Sauce” (Pro Tips)
Here are a couple of little tricks that have helped me boost my success rates over the years:
- Bottom heat is your friend: If you have a heated propagator or can rig up a gentle heat mat underneath your pots, it makes a HUGE difference. Warmer soil encourages roots to develop faster. I’ve found cuttings root in about half the time with a little bit of warmth from below.
- Mist, don’t soak: While humidity is key, overwatering the soil can lead to rot. I like to gently mist the leaves of the cuttings and the soil surface every day or two, especially if they’re not in a sealed propagator. It keeps things tingly and alive without drowning them.
- Think about airflow: While you want humidity, stagnant air can encourage fungal diseases. If your cuttings are in a propagator, open the vents for a little while each day to let fresh air circulate. It’s a balance, but worth the effort.
Aftercare & Troubleshooting
Once you see new tiny roots emerging from the bottom of the pots (you might see them peeking through the drainage holes, or gently tugging on a cutting will offer some resistance), it’s time to ease them out of their high-humidity environment. Gradually remove the plastic cover over a few days. Water them as you would a young seedling – keeping the soil consistently moist but not soggy.
The biggest issue you’re likely to encounter is rot. If your cuttings turn mushy, black, or simply refuse to root and start to slime, it’s usually a sign of too much moisture and not enough airflow. Unfortunately, once rot sets in, it’s usually game over for that cutting. Don’t get discouraged though! Sometimes, a batch just doesn’t take, and that’s perfectly normal.
A Encouraging Closing
Gardening is a journey, and propagation is a wonderful way to deepen your connection with your plants. Be patient with your Nepeta wilsonii cuttings. Some will root quickly, and others might take their sweet time. Just enjoy the process, and soon you’ll have a whole collection of these fragrant beauties to share! Happy propagating!
Resource:
https://identify.plantnet.org/k-world-flora/species/Nepeta%20wilsonii%20Duthie/data