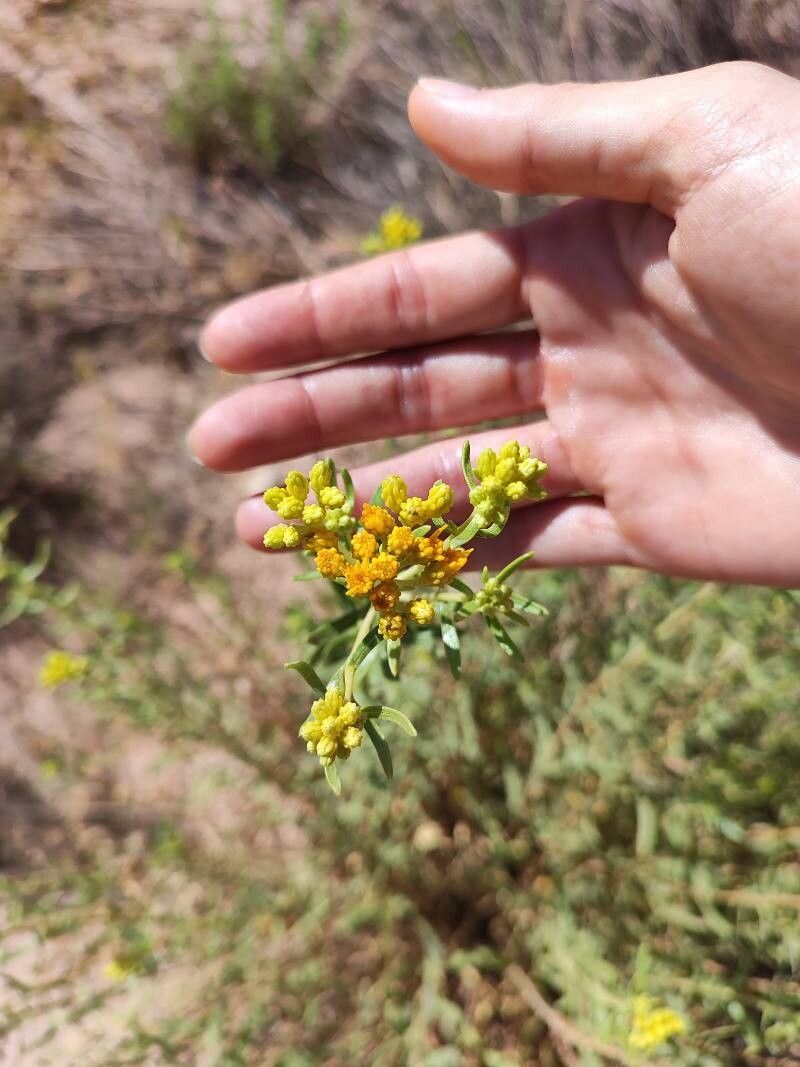
Hello there, fellow plant lovers! It’s so good to have you here. Today, we’re diving into a truly special plant that’s been brightening my garden for years: Isocoma arguta, or as many of us know it, Foothill California Buckwheat. This beauty is an absolute magnet for pollinators, its cheerful yellow blooms looking like little bursts of sunshine. Plus, it’s incredibly tough and thrives in drier conditions, making it a dream for hot, sunny spots.
There’s a unique satisfaction in growing a whole new plant from a tiny piece of an existing one. It’s like magic, and with Isocoma arguta, it’s a magic you can totally master. Good news for anyone just starting out – this plant is quite forgiving, so don’t be intimidated!
The Best Time to Start
For the highest chances of success, I find late spring to early summer is your golden window. You want to propagate when the plant is actively growing, but before the intense heat of mid-summer really kicks in. Look for new, soft growth that hasn’t become woody yet.
Supplies You’ll Need
Here’s what you’ll want to have on hand:
- Sharp, clean pruning shears or a sharp knife: Essential for making clean cuts.
- Rooting hormone powder or gel: This is a helpful boost, though Isocoma arguta can sometimes root without it.
- Small pots or seed trays: Clean ones, of course!
- A well-draining potting mix: I often use a mix of equal parts perlite and peat moss, or a commercial cactus and succulent mix. Good drainage is key!
- A spray bottle: For gentle watering.
- A plastic bag or propagation dome: To create a humid environment.
- Labels: Trust me, you’ll thank yourself later!
Propagation Methods
The most straightforward way to propagate Isocoma arguta is through stem cuttings. It’s reliable and gives you a great start.
- Take Your Cuttings: Using your sharp shears, select healthy, non-flowering stems that are about 4-6 inches long. Make a clean, angled cut just below a leaf node (where a leaf meets the stem). This is where roots are most likely to form.
- Prepare the Cuttings: Gently remove the lower leaves from the cutting, leaving just a few at the top. This prevents them from rotting in the soil and encourages the plant to focus its energy on rooting.
- Apply Rooting Hormone (Optional but Recommended): Dip the cut end of the stem into your rooting hormone powder or gel, tapping off any excess.
- Plant Your Cuttings: Fill your small pots or trays with your well-draining potting mix. Moisten the mix lightly. Make small holes in the soil and insert the cuttings, ensuring the leaf nodes are buried. Gently firm the soil around the base of each cutting.
- Create Humidity: Water the soil very lightly with your spray bottle. Then, cover the pots with a plastic bag or propagation dome to create a humid microclimate. Make sure the leaves don’t touch the plastic if possible. Place them in a bright spot that gets indirect sunlight.
The “Secret Sauce” (Pro Tips)
Here are a couple of things I’ve learned over the years that really make a difference:
- Bottom Heat is Your Friend: If you can, place your pots on a heat mat designed for plants. This gentle warmth from below encourages faster root development. It’s like giving your cuttings a cozy incubator!
- Don’t Overwater! This is probably the biggest mistake beginners make. We all want to keep our new babies happy, but soggy soil is a fast track to rot. Let the soil surface dry out slightly between waterings. A light misting is often enough to keep the humidity up.
Aftercare & Troubleshooting
Once your cuttings have been planted, the waiting game begins! Keep the soil consistently moist but not waterlogged. You’ll want to ventilate the humidity dome or plastic bag daily for a few minutes to prevent fungal issues.
You’ll know your cuttings are rooting when you see new leaf growth or feel a gentle tug when you very gently try to lift a cutting. This can take anywhere from 3-8 weeks, sometimes longer.
If you see mushy, black stems, that’s a sign of rot, usually due to overwatering or poor drainage. Unfortunately, these cuttings are likely lost. Don’t get discouraged though – it just means next time, you’ll adjust your watering or soil mix.
A Encouraging Closing
Growing new plants is such a rewarding journey, and Isocoma arguta is a fantastic plant to practice with. Be patient with yourself and your cuttings. Some will root quickly, others might take their sweet time. That’s the beauty of gardening – it’s a process of observation and learning. So grab your shears, get your hands dirty, and enjoy the magic of creating new life! Happy planting!
Resource:
https://identify.plantnet.org/k-world-flora/species/Isocoma%20arguta%20Greene/data