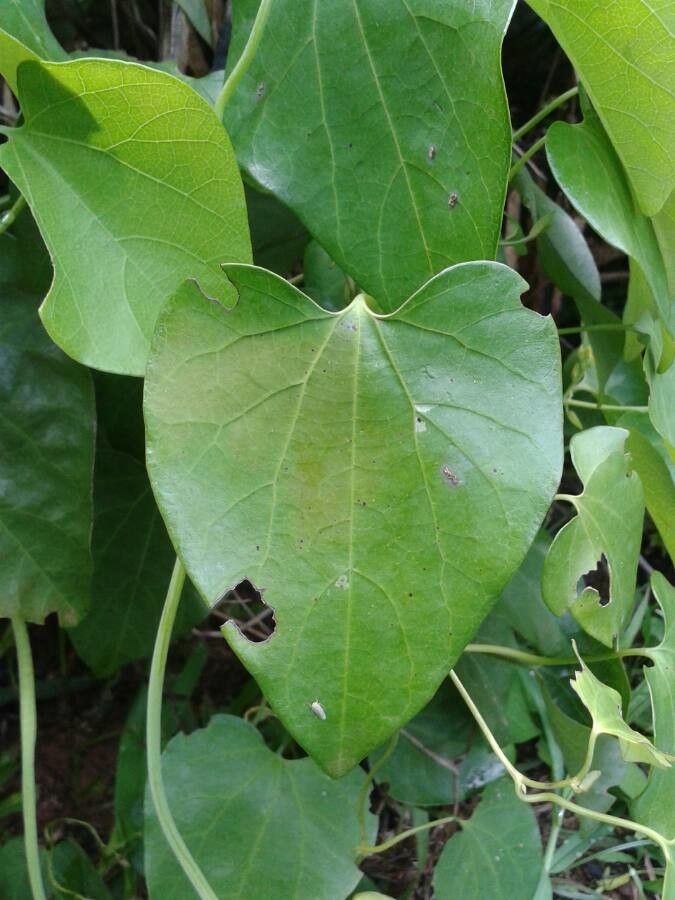
Oh, hello there, fellow plant lover! I’m so glad you’re interested in Aristolochia littoralis, also known as the Duck Flower or the Giant Dutchman’s Pipe. It’s a truly fascinating vine with its dramatic, oddly shaped blooms. Watching those unique flowers unfold is such a treat, and propagating your own plants from cuttings is incredibly rewarding. You get a piece of that magic to share with friends or to fill your own garden with.
Now, about its ease of propagation – Aristolochia littoralis can be a little bit of a diva. It’s not the absolute easiest plant for a complete beginner, but with a bit of patience and the right approach, you’ll be celebrating success. Don’t let that discourage you; it’s absolutely doable!
The Best Time to Start
For the highest success rate, I always recommend starting your cuttings in late spring or early summer. This is when the plant is actively growing, or in its vigorous growth phase. The softer, new growth from this time has a better chance of rooting quickly than the older, woody stems. You want to capture that springtime energy!
Supplies You’ll Need
Here’s what you’ll want to have on hand before you begin:
- Sharp, clean pruning shears or a sharp knife: Essential for making clean cuts.
- Rooting hormone powder or gel: This isn’t strictly mandatory, but it can significantly boost your success rate.
- A well-draining potting mix: I like a mix of equal parts peat moss, perlite, and a little bit of compost. You want something airy that won’t hold too much moisture.
- Small pots or containers: Clean 4-inch pots are usually a good size. Make sure they have drainage holes!
- A plastic bag or a clear plastic dome: To create a mini-greenhouse effect.
- Watering can or spray bottle: For gentle watering.
- Labels and a marker: To keep track of what you’ve planted and when.
Propagation Methods
I find that stem cuttings are the most reliable way to propagate Aristolochia littoralis. Let’s walk through it:
- Take Your Cuttings: Choose a healthy stem that has both soft new growth and a bit of firmness to it, often referred to as “semi-hardwood.” Look for stems with at least two or three leaf nodes (the little bumps where leaves grow from). Using your clean shears, make a cut just below a leaf node. Aim for cuttings that are about 4-6 inches long.
- Prepare the Cuttings: Gently remove the lower leaves from the cutting, leaving just one or two at the very top. This prevents them from rotting in the potting mix. If the remaining leaves are very large, you can even cut them in half horizontally to reduce transpiration (water loss).
- Apply Rooting Hormone: Dip the cut end of the stem into your rooting hormone powder or gel, tapping off any excess. This encourages root development.
- Plant Your Cuttings: Fill your clean pots with your well-draining potting mix. Make a small hole in the center with your finger or a pencil. Gently insert the cut end of the Aristolochia cutting into the hole, ensuring the rooting hormone remains on the cut end. Firm the soil gently around the stem.
- Water Gently: Water the soil thoroughly until it’s moist but not waterlogged.
- Create a Humid Environment: This is key! Cover the pot with a clear plastic bag or a plastic dome. Make sure the leaves don’t touch the plastic – you can use stakes or chopsticks to prop it up. This traps humidity, which is vital for cuttings that haven’t developed roots yet.
- Placement: Place the pots in a bright spot with indirect sunlight. Avoid direct sun, which can scorch the delicate cuttings.
The “Secret Sauce” (Pro Tips)
Here are a couple of things I’ve learned over the years that really make a difference:
- Don’t drown your roots: When watering, aim for consistent moisture, but never let the pots sit in standing water. Soggy soil is the fastest way to invite rot, and Aristolochia is particularly susceptible. Feel the soil; if the top inch feels dry, it’s time to water.
- Bottom heat is your friend: If you have an under-bench heating mat or an old seed-starting mat, placing your pots on it can work wonders. A little warmth from below encourages root growth much faster than just sitting at room temperature. It mimics the conditions of a greenhouse and really gives your cuttings a boost.
- Be patient with the leaves: Sometimes, the leaves might look a little droopy at first. This is normal as the cutting tries to establish itself. As long as they aren’t turning yellow or mushy, give them time.
Aftercare & Troubleshooting
Once your cuttings have started to show signs of new growth – tiny leaves unfurling or the top looking plump and healthy – it’s a good sign that roots are forming! You can gently tug on a cutting; if there’s resistance, roots are likely developing.
Continue to keep the soil consistently moist, but not wet. Gradually introduce them to more light as the new leaves harden off. Once you see significant root development by gently tipping a pot out (or if you just know they’re ready), you can transplant them into slightly larger individual pots with fresh potting mix.
The most common sign of failure you’ll encounter is rot. If your cutting turns black and mushy, or the leaves develop yellow patches that then turn brown and crispy, it’s usually a sign of too much moisture or not enough air circulation. Don’t be discouraged; just clean up the pot, sterilize your tools, and try again with a fresh cutting.
A Little Encouragement
Propagating plants is a journey, and sometimes it takes a few tries to get it just right. Aristolochia littoralis is a beautiful plant, and the satisfaction of growing your own is immense. Be patient with yourself and with your cuttings. Enjoy the process of nurturing something new, and soon you’ll have your own charming Duck Flowers to admire! Happy gardening!
Resource:
https://identify.plantnet.org/k-world-flora/species/Aristolochia%20littoralis%20Parodi/data