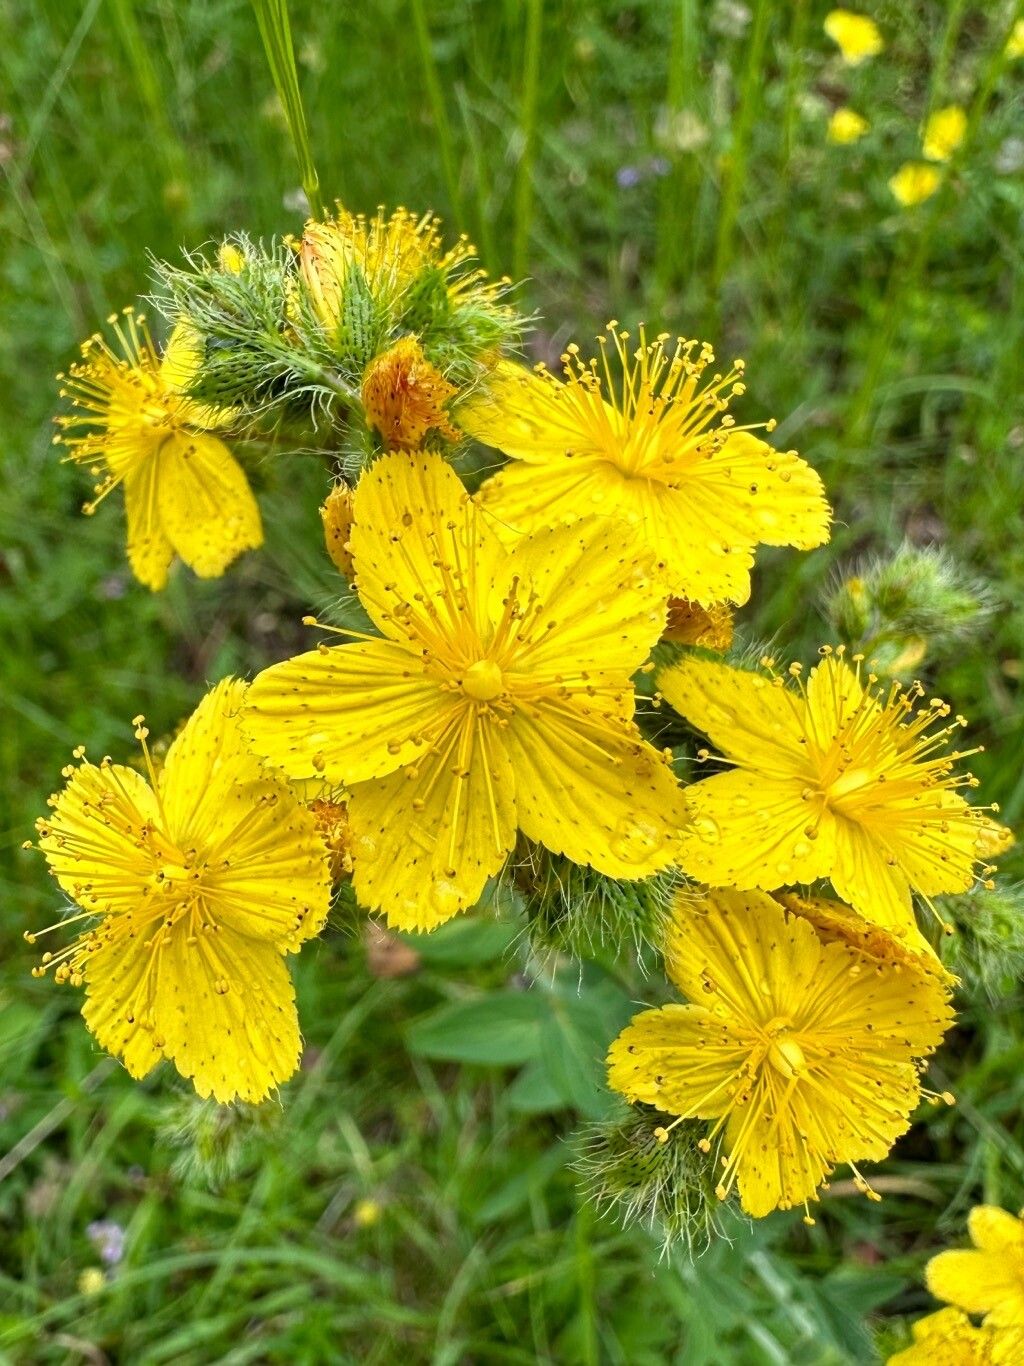
Hey there, fellow plant enthusiasts! It’s so good to be chatting with you today. I wanted to share a little something I’ve been loving lately: Hypericum barbatum, also known as St. John’s Wort. It’s got these lovely yellow flowers that really brighten up any garden, and the fuzzy foliage is just delightful. Plus, the satisfaction of growing your own from just a small piece? Pure garden joy! Now, if you’re a beginner, don’t shy away! We can absolutely tackle this.
The Best Time to Start
For the most success with Hypericum barbatum, I find late spring to early summer is the sweet spot. This is when the plant is actively growing, and those young, tender stems are full of life and ready to take root. You’ll be looking for stems that are firm but not woody – think pencil-thick.
Supplies You’ll Need
Gathering your supplies makes the whole process smoother. Here’s what I typically have on hand:
- Sharp, clean pruning shears or a craft knife: Cleanliness is key to prevent disease.
- Rooting hormone (powder or gel): This gives your cuttings a helpful boost.
- Well-draining potting mix: A good blend of perlite, peat moss, and a little compost works wonders. Avoid heavy garden soil.
- Small pots or seedling trays: Make sure they have drainage holes.
- A watering can with a fine rose attachment: Gentle watering is crucial.
- A plastic bag or propagation dome: This creates a humid environment.
- Labels and a marker: Trust me, you’ll thank yourself later!
Propagation Methods
Let’s get our hands dirty! The most reliable way I’ve found to propagate Hypericum barbatum is through stem cuttings.
- Take Your Cuttings: Using your clean shears, select healthy, non-flowering stems. Cut sections that are about 4-6 inches long, making your cut just below a leaf node (where the leaves attach to the stem).
- Prepare the Cuttings: Gently remove the leaves from the bottom half of each cutting. You want to expose a few nodes so they can sprout roots. Leave just a couple of leaves at the top to help the cutting photosynthesize.
- Apply Rooting Hormone: Dip the cut end of each stem into your rooting hormone. Tap off any excess – you don’t need a thick coating.
- Pot Them Up: Fill your pots with the well-draining mix. Make a small hole in the center of each pot with your finger or a pencil. Carefully insert the hormone-dipped end of the cutting into the hole, pushing it down about an inch or two. Gently firm the soil around the stem.
- Create a Humid Environment: Water the soil gently until it’s moist but not soggy. Then, cover the pots with a plastic bag or a propagation dome. Make sure the leaves aren’t touching the plastic if possible.
The “Secret Sauce” (Pro Tips)
Here are a few little tricks I’ve learned over the years that really make a difference:
- Bottom Heat is Your Friend: If you have a heat mat, placing your pots on it can significantly speed up root development. It mimics the warmth of spring and signals to the plant that it’s time to get growing.
- Don’t Overwater, Ever! This is probably the most common mistake. Soggy soil is a recipe for rot, and it’s much harder to recover from than slightly dry soil. Let the top inch of soil dry out before watering again.
- Provide Bright, Indirect Light: While your cuttings need light to survive, direct sunlight can scorch those tender new leaves. A bright windowsill that doesn’t get harsh afternoon sun is ideal.
Aftercare & Troubleshooting
Once your cuttings are nestled in their pots, give them a few weeks. You’ll know they’re rooting when you gently tug on a stem and feel a bit of resistance. At this point, you can start to gradually remove the plastic bag or dome, letting the new plant acclimatize to its surroundings for a few hours each day before removing it completely. Continue watering as needed.
If you see a cutting wilting, turning yellow and mushy, or developing dark spots, it’s a sign of rot. Sadly, there’s usually no coming back from advanced rot, so prevention with proper watering and drainage is paramount. Don’t be discouraged if a few don’t make it – it happens to all of us! Just cheerfully try again.
A Little Encouragement
Growing new plants is such a rewarding journey. Be patient with these little cuttings. Sometimes they take their time, and that’s perfectly okay. Enjoy the process, the anticipation, and the eventual thrill of seeing new roots and new growth. Happy gardening!
Resource:
https://identify.plantnet.org/k-world-flora/species/Hypericum%20barbatum%20Jacq./data