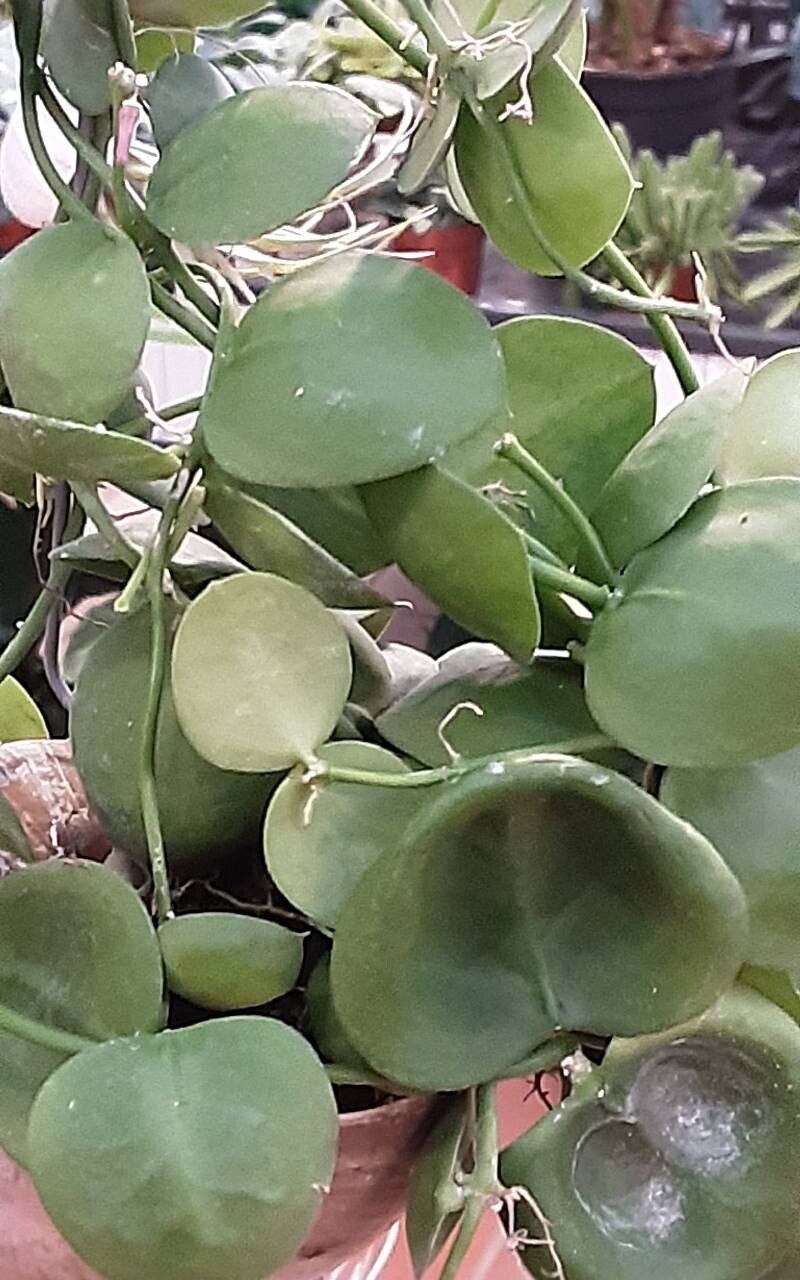
Ah, Dischidia platyphylla! If you’ve ever seen this gorgeous plant with its plump, shield-like leaves dangling in a pot, you know exactly why it’s captured so many hearts. It has this uniquely charming, almost architectural look, and it’s utterly delightful to watch it grow. Growing more of these beauties for yourself, or to share with friends, is incredibly rewarding. And the good news? While it’s not quite as forgiving as a pothos, Dischidia platyphylla is actually quite good to propagate, even for those relatively new to the plant parent game. You’ve got this!
The Best Time to Start
My go-to time to propagate Dischidia platyphylla is when the plant is in its active growing season. This is usually from late spring through summer. During these warmer months, the plant has more energy to put into producing roots and new growth, which significantly bumps up your success rate. You’ll see lots of new stems and leaves forming – a sure sign it’s ready for a little propagation adventure.
Supplies You’ll Need
Here’s what you’ll want to have on hand before you get started:
- Sharp, clean pruning shears or scissors: A clean cut is crucial to prevent disease.
- A well-draining potting mix: I often use a blend of orchid bark, perlite, and coco coir. A regular houseplant mix with added perlite works well too.
- Small pots or propagation trays: Whatever you have, as long as it has drainage holes!
- Optional: Rooting hormone: While not strictly necessary for Dischidia platyphylla, it can give your cuttings a little extra boost.
- Water: For water propagation or moistening your soil.
- A clear plastic bag or dome: To create a humid environment for your cuttings.
- A spray bottle: For misting.
Propagation Methods
The most reliable way I’ve found to grow more Dischidia platyphylla is through stem cuttings.
- Select Your Cuttings: Look for healthy, mature stems. You want pieces that are at least 4-6 inches long and have at least two or three nodes. Nodes are those little bumps on the stem where leaves grow from.
- Make the Cut: Using your clean shears, make a clean cut just below a node. This is where roots are most likely to emerge.
- Prepare the Cutting: Gently remove the leaves from the bottom half of the cutting. This prevents them from rotting when placed in the soil or water. You can leave the top leaves on.
- Rooting Options:
- In Soil: Dip the cut end into rooting hormone (if using). Then, firmly insert the cut end into your prepared, slightly moist potting mix. Make sure at least one node is buried.
- In Water: If you prefer, you can place the cut end in a small jar or glass of water. Make sure the leaves are NOT submerged in the water, as this can lead to rot. Just the stems should be in contact with the liquid.
- Create Humidity: Whichever method you choose, it’s a good idea to cover your pots or jars with a clear plastic bag or a propagation dome. This traps humidity, which is key for successful rooting. Prop it up with a skewer or two if the bag looks like it might touch the leaves.
The “Secret Sauce” (Pro Tips)
Here are a few things I’ve learned over the years that really make a difference:
- Don’t Over-Water the Soil: When propagating in soil, the biggest mistake is keeping it too soggy. The soil should feel like a wrung-out sponge – moist but not waterlogged. Overwatering is the fast track to rot.
- Bottom Heat is Your Friend: If you have the option, placing your pots on a gentle heat mat can dramatically speed up root development. The warmth of the soil encourages those little root nubs to form much faster.
- Patience with Water Propagation: For water propagation, resist the urge to change the water too frequently. Once a week is usually plenty. It takes time for the roots to develop, and constant disruption isn’t helpful.
Aftercare & Troubleshooting
Once you see new root growth appearing (you might see them poking out of the drainage holes in pots, or longer roots developing in water), it’s time to adjust care.
- For Soil Cuttings: Gradually remove the plastic cover over a few days to acclimate the new plant to normal humidity. Continue to water when the top inch of soil feels dry.
- For Water Cuttings: Once the roots are a couple of inches long, it’s time to transplant them into a well-draining potting mix. Treat them as you would a young seedling.
The most common issue you’ll encounter is rot. If your cutting turns black and mushy, it’s usually a sign of too much moisture and not enough air circulation. If this happens, unfortunately, it’s best to discard it and try again. Sometimes, leaves might yellow or shrivel – a little natural die-back can happen, but if the entire stem goes dark, it’s rot.
A Encouraging Closing
Propagating plants is a wonderful journey of observation and patience. Don’t be discouraged if your first attempt isn’t perfect! Each cutting is a chance to learn. Enjoy the process of nurturing these new little Dischidia and watching them grow into their own glorious selves. Happy propagating!
Resource:
https://identify.plantnet.org/k-world-flora/species/Dischidia%20platyphylla%20Schltr./data