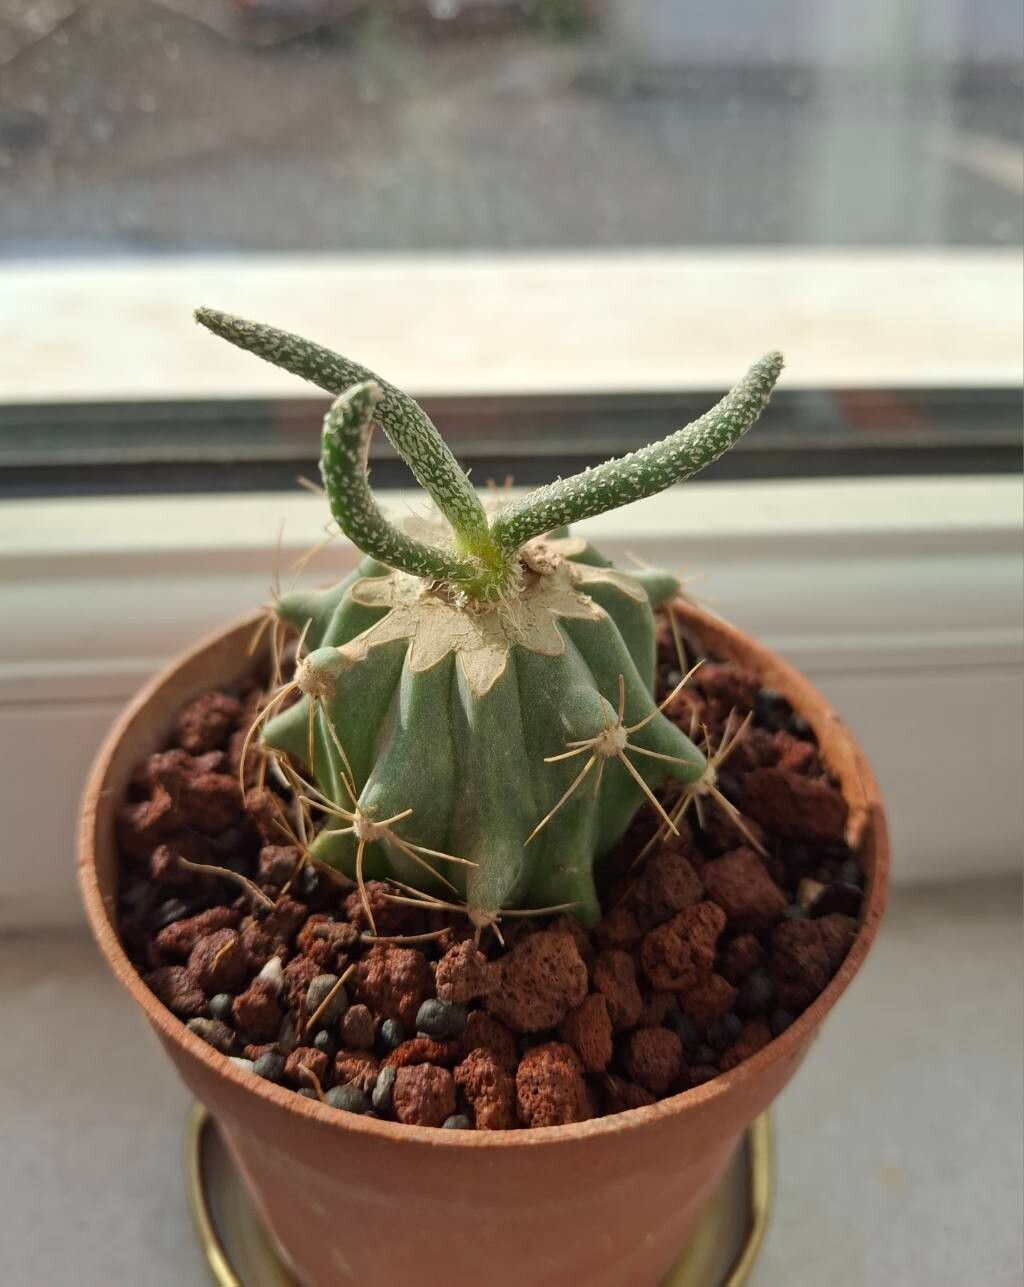
Oh, Astrophytum caput-medusae! What a fascinating little cactus. Its unique, almost alien appearance, with those fleshy, snake-like tubercles, is truly captivating. If you’re looking for a conversation starter in your collection, this is certainly it. And the joy of seeing a tiny new offset unfurl from your efforts? Simply magical! Now, I’ll be honest, while I adore this plant, propagating it isn’t quite as straightforward as, say, a jade plant. It’s more of a “take your time and pay attention” kind of project. But that’s what makes it so rewarding when you succeed!
The Best Time to Start
I find the early spring and summer months to be your best bet. This is when your Astrophytum caput-medusae is actively growing and has the most energy reserves. You want to work with a healthy, robust plant, not one that’s been stressed by cold or drought. Look for offsets that have already developed a bit, showing some substance and maybe even a tiny areole or two.
Supplies You’ll Need
Here’s what I always have on hand:
- A well-draining gritty potting mix. I usually use a blend of equal parts pumice or perlite, coarse sand, and a good quality cactus soil.
- A sterilized sharp knife or razor blade. Your sharpest tool is crucial for a clean cut.
- Rubbing alcohol for sterilizing your knife between cuts.
- Rooting hormone powder (optional, but I find it gives a nice boost).
- Small pots or propagation trays with drainage holes.
- A fine mist spray bottle.
- A heat mat (highly recommended for faster rooting).
Propagation Methods
For Astrophytum caput-medusae, division is generally the most successful and easiest method. This plant doesn’t readily produce stem cuttings like some other cacti.
Division: Bringing Forth New Life
- Gently remove the plant from its pot. This might require a little gentle coaxing.
- Carefully brush away excess soil from the base of the plant. You want to clearly see where the offsets meet the main body.
- Identify your offsets. Look for naturally forming segments or pups that have their own root structure, or at least the potential for one.
- Use your sterilized knife to make a clean cut where the offset meets the parent plant. If the offset has its own small root system already, fantastic! If not, don’t worry, we’ll encourage them. Ensure you’re making a clean separation, minimizing damage to both the parent and the offset.
- Allow the cut end to callus over. This is a critical step to prevent rot. Place the offset in a dry, well-ventilated spot out of direct sun for several days to a week. You want to see a dry, hardened scab form.
- Potting the offset. Once callused, place the offset in your prepared gritty mix. You can lightly dust the cut end with rooting hormone before planting, if using. Don’t bury it too deep; just enough so it’s stable.
The “Secret Sauce” (Pro Tips)
You know, after all these years, it’s the little things that make a big difference.
- My absolute favorite trick is to use bottom heat. Placing your potted offsets on a gentle heat mat (around 70-75°F or 21-24°C) significantly speeds up root development. It really mimics the warmth of spring and summer soil.
- When watering newly potted offsets, be incredibly sparing. I prefer to wait until I see the first signs of new growth before I water at all. This encourages the plant to push out roots in search of moisture. When you do water, a very light misting is often enough.
- Don’t be tempted to tug! Your first instinct might be to gently pull on the offset to see if it has roots. Resist this urge! It can damage fragile new root hairs. Patience is truly a virtue here.
Aftercare & Troubleshooting
Once your offset is potted, keep it in a bright spot with indirect light. Avoid harsh sun while it’s establishing. You’ll know it’s happy when you see new tubercles or growth emerging.
The biggest thing to watch out for is rot. If your offset looks mushy, discolored (often yellowing or browning), or smells off, it’s likely succumbing to rot. This usually happens if the cut wasn’t properly callused or if it’s kept too wet. If you catch it early, you might be able to save it by cutting away the rotted tissue with your sterilized knife and allowing the healthy part to callus again.
A Little Patience Goes a Long Way
Propagating Astrophytum caput-medusae is a journey of observation and a testament to the beauty of patience. Don’t get discouraged if a few don’t make it. Each attempt teaches you something new. Celebrate the successes, learn from the challenges, and most importantly, enjoy the process of nurturing these unique little plants into their own. Happy gardening!
Resource: