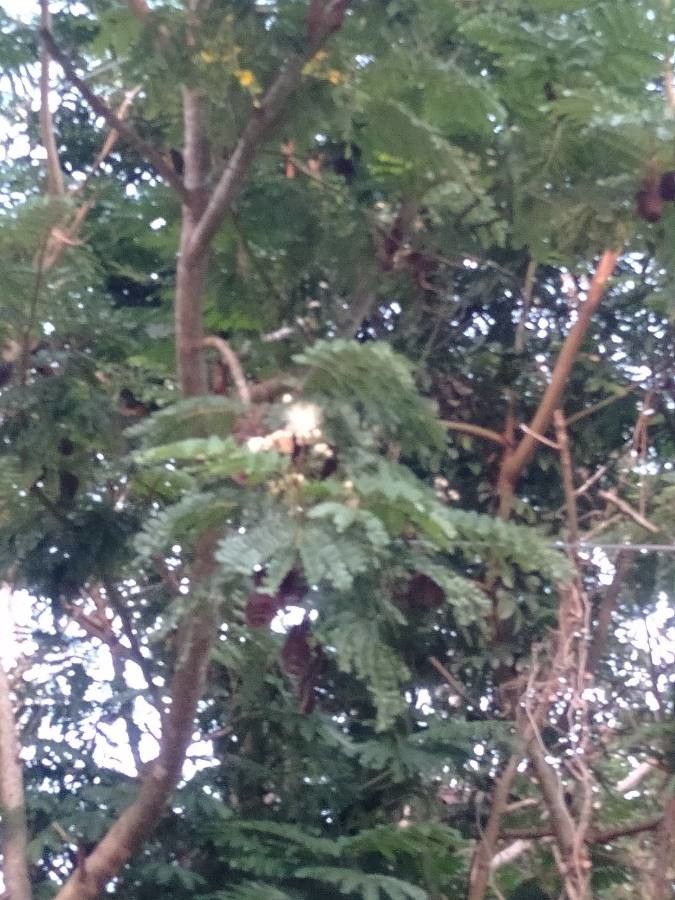
Oh, hello there! I’ve been eager to chat with you about Serianthes grandiflora. If you’ve ever seen one of these beauties, you know exactly why I’m so excited to share how to bring more of them into your life. The fern-like leaves have this amazing delicate texture, and when those spectacular, fluffy, rose-pink flower clusters appear, it’s just… well, it’s a showstopper. It’s like having a little piece of tropical paradise in your garden, or even on your patio.
Now, I’ll be honest, propagating Serianthes grandiflora isn’t quite as straightforward as, say, a pothos. It might be a tad challenging for absolute beginners, but don’t let that deter you! With a little patience and some careful technique, you can absolutely succeed. And trust me, the feeling of nurturing a new plant from a tiny cutting is incredibly rewarding. It’s a true gardener’s joy.
The Best Time to Start
For the highest success rate with Serianthes grandiflora, I always aim to take cuttings in late spring or early summer. This is when the plant is actively growing and has a good amount of energy to put into new root development. You’re essentially working with the plant’s natural vigor at this time of year, which gives your cuttings a much better head start.
Supplies You’ll Need
Here’s what you’ll want to have on hand before you get started:
- Sharp, clean pruning shears or a sharp knife: Sterilize them with rubbing alcohol to prevent disease.
- Seedling potting mix or a mix of perlite and peat moss: This provides good drainage and aeration, which is crucial.
- Small pots or seedling trays: With drainage holes, of course!
- Rooting hormone (optional but recommended): A powder or gel can significantly boost your success rate.
- A clear plastic bag or a propagator lid: To create a humid environment.
- Watering can or spray bottle: For gentle watering.
Propagation Methods
I’ve found success using stem cuttings for Serianthes grandiflora. It’s a reliable way to get new plants going.
- Select Your Stems: Look for healthy, semi-hardwood stems. These are stems that are not brand new and floppy, but also not old and woody. They should have a bit of flexibility. About 4-6 inches long is ideal.
- Make Your Cuts: Using your sterilized shears or knife, make a clean cut just below a leaf node (the point where a leaf attaches to the stem). This is where root formation is most likely to occur.
- Prepare the Cuttings: Gently remove the lower leaves, leaving just a couple of leaves at the top. This helps the cutting conserve energy and reduces the risk of rot. If the remaining leaves are very large, you can even cut them in half.
- Apply Rooting Hormone (Optional): Dip the cut end of the stem into your rooting hormone, tapping off any excess.
- Plant Your Cuttings: Fill your pots or trays with your pre-moistened potting mix. Make a small hole with your finger or a pencil and insert the base of the cutting. Firm the soil gently around it.
- Create a Humid Environment: Water the soil lightly. Then, cover the pot with a clear plastic bag, making sure the leaves don’t touch the plastic if possible. Or, place the pots inside a propagator with a lid.
The “Secret Sauce”
Here are a couple of things I’ve learned over the years that really seem to make a difference:
- Bottom Heat is Your Friend: Serianthes grandiflora absolutely loves a bit of warmth from below. If you have a seedling heat mat, pop your pots on top of it. This encourages root development much faster than just ambient room temperature.
- Be Patient with Bottom Leaves: If you notice the very bottom leaf of your cutting is turning yellow and seems to detach easily, don’t panic! Often, this is the plant using that leaf’s energy to form roots. Just gently remove it and keep the rest of the cutting clean.
Aftercare & Troubleshooting
Once your cuttings have been planted, keep the soil consistently moist but not waterlogged. This is key. You want it to feel like a damp sponge. Keep them in bright, indirect light – direct sun can scorch those tender new leaves.
You’ll know your cuttings are starting to root when you see new leaf growth or feel a gentle tug when you carefully try to pull the cutting from the soil. It might take anywhere from 4 to 8 weeks, sometimes longer.
The most common sign of failure is rot. If your cuttings look mushy, brown, or slimy, it’s usually a sign of too much moisture and poor air circulation. Make sure your soil drains well and don’t overwater. If you catch it early, you might be able to salvage a cutting by taking it out, trimming away the rotted part, and re-potting in fresh, dry medium.
A Encouraging Closing
So there you have it! Propagating Serianthes grandiflora is a journey, and like all good gardening adventures, it requires a bit of patience and a willingness to learn. Don’t get discouraged if your first attempts aren’t perfect. Each cutting is a learning experience. Just keep trying, enjoy the process of nurturing these beautiful plants, and soon you’ll have a whole collection of your own Serianthes to admire. Happy propagating!
Resource:
https://identify.plantnet.org/k-world-flora/species/Serianthes%20grandiflora%20Benth./data