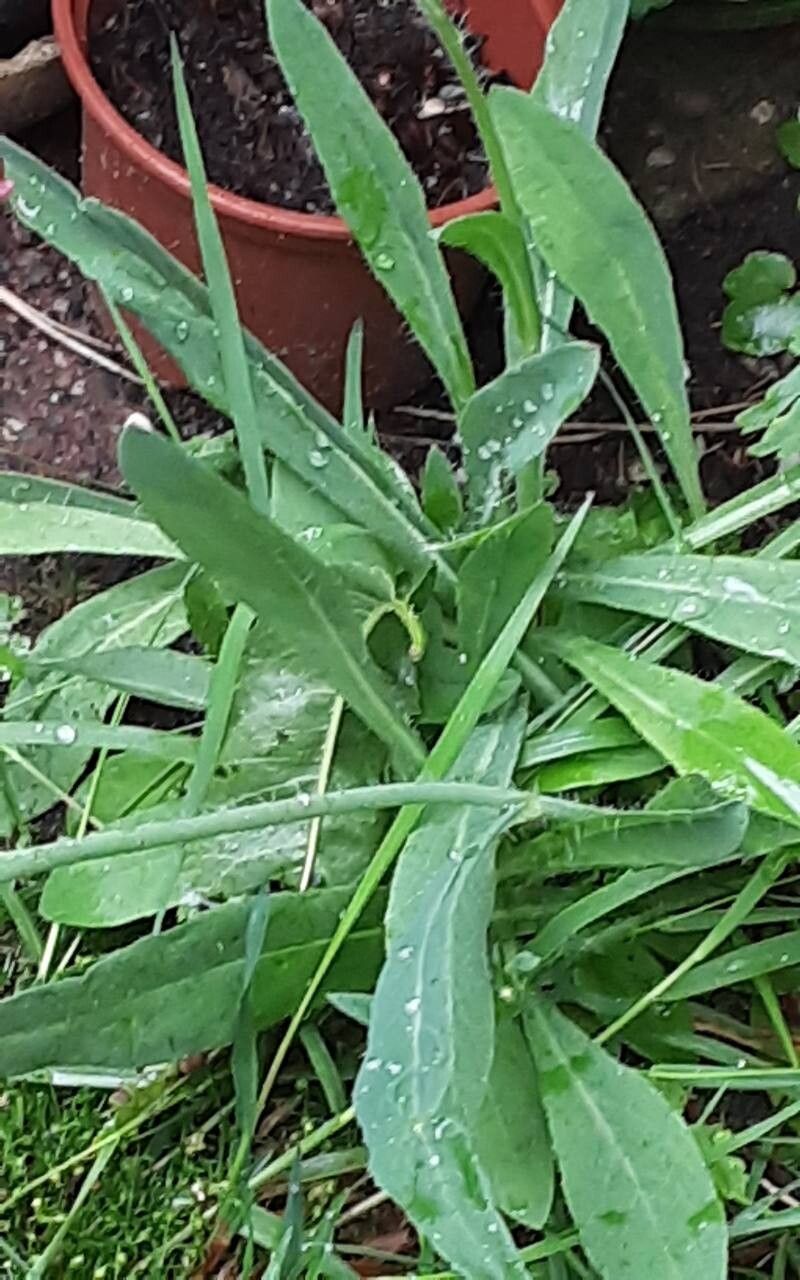
Oh, hello there, fellow plant enthusiast! Come on in, grab a mug. I’m so glad you’re curious about Pilosella cymosa. It’s one of those understated beauties that just brings a smile to my face when I see it thriving. Its fuzzy leaves and delicate yellow blooms are like little sunbeams in the garden, and the best part? Getting more of them is surprisingly achievable. Don’t you just love the idea of filling your space with more of what you adore?
Why Propagate Pilosella cymosa?
If you’re looking for a rewarding project that doesn’t demand expert-level skills, you’re in the right place. Pilosella cymosa is quite amenable to propagation, even for those just dipping their toes into the world of plant multipliers. There’s a special kind of magic in taking a piece of a plant you love and watching it grow into its own, isn’t there? It’s a simple act of abundance.
The Best Time to Start
For the happiest Pilosella cymosa cuttings, aim for late spring to early summer. This is when the plant is actively growing and has plenty of energy to put into developing new roots. You can also have good luck in the early autumn, just before things start to cool down significantly. We’re essentially tapping into its natural growth spurt.
Supplies You’ll Need
You don’t need a fancy lab for this! Here’s what you can gather:
- Sharp pruning shears or a clean craft knife: For taking clean cuts.
- Well-draining potting mix: I usually mix about 2 parts perlite to 1 part peat moss or coco coir. This ensures good aeration and prevents waterlogging.
- Small pots or seed trays with drainage holes: Whatever you have handy will do.
- Rooting hormone (optional but helpful): A powder or gel can give cuttings an extra boost.
- A spray bottle with clean water: For misting.
- A label stake and waterproof pen: To remember what’s what!
Propagation Methods
Pilosella cymosa is a champion at producing little plantlets from its base, making division often the easiest and most successful route, especially for beginners.
Method 1: Division (My Go-To!)
- Gently excavate: When your Pilosella cymosa has grown into a clump and started producing offsets (those little baby plants around the edges), it’s time to divide. Carefully dig around the parent plant with a trowel, lifting the entire root ball from the soil.
- Tease apart: Gently shake off excess soil. You’ll see where the plantlets are attached to the main root system. With clean hands or a small trowel, carefully separate the plantlets. Try to keep as many roots attached to each division as possible. If a plantlet has its own little root system, even better!
- Pot them up: Plant each division into its own small pot filled with your well-draining mix. Make sure the base of the plant is at soil level.
- Water lightly: Give them a gentle watering to settle the soil.
Method 2: Stem Cuttings (A Fun Alternative)
- Select healthy stems: Look for non-flowering, actively growing stems that are about 3-4 inches long.
- Make the cut: Using your clean shears or knife, make a cut just below a leaf node (where a leaf attaches to the stem). Remove the lower leaves, leaving just a couple at the top.
- Apply rooting hormone (optional): If you’re using rooting hormone, dip the cut end into it.
- Plant: Insert the cut end into your prepared potting mix. You can fit a few cuttings into one pot, spacing them a couple of inches apart.
- Water gently: Water the mix until it’s moist but not soggy.
The “Secret Sauce” (Pro Tips)
- Don’t be too precious with the roots: When dividing, it’s okay if a few roots break. The plant is resilient! Just aim to preserve the majority.
- Avoid soggy bottoms: The biggest enemy for young cuttings and divisions is rot. Ensure your pots have excellent drainage and that your soil mix is airy. If you’re using shallow trays, don’t let the leaves of adjacent cuttings touch the surface of the water if you’re misting heavily.
- A touch of warmth helps: If you’re struggling to get cuttings to root, placing them on a heat mat designed for seedlings can significantly speed things up. It mimics that gentle, consistent warmth they crave.
Aftercare & Troubleshooting
Once your divisions are potted or your cuttings are in their new homes, give them a light misting and place them in a bright spot that avoids direct, harsh sunlight. Too much sun can scorch delicate new growth.
Keep the soil consistently moist but never waterlogged. You’ll know they’re happy when you start to see new leaf growth. For divisions, this might happen quite quickly. For cuttings, be patient – it can take several weeks for roots to develop. You can test for roots by giving a gentle tug; if there’s resistance, you’ve got ’em!
The most common issue you’ll encounter is rot. This usually happens because the soil is too wet, the air is too stagnant, or the sunlight is too intense. If you see a cutting turning brown and mushy, remove it immediately to prevent it from affecting others. Sometimes, a division might struggle if it lost too many roots; give it time and ensure its immediate environment is stable.
Happy Growing!
See? It’s not rocket science, just a little bit of patience and attentiveness. Watching those tiny roots begin to form and new leaves unfurl is incredibly satisfying. Don’t be afraid to experiment and learn as you go. Happy propagating, and I can’t wait to hear about your successful Pilosella cymosa offspring!
Resource: