Hey there, fellow plant lovers!
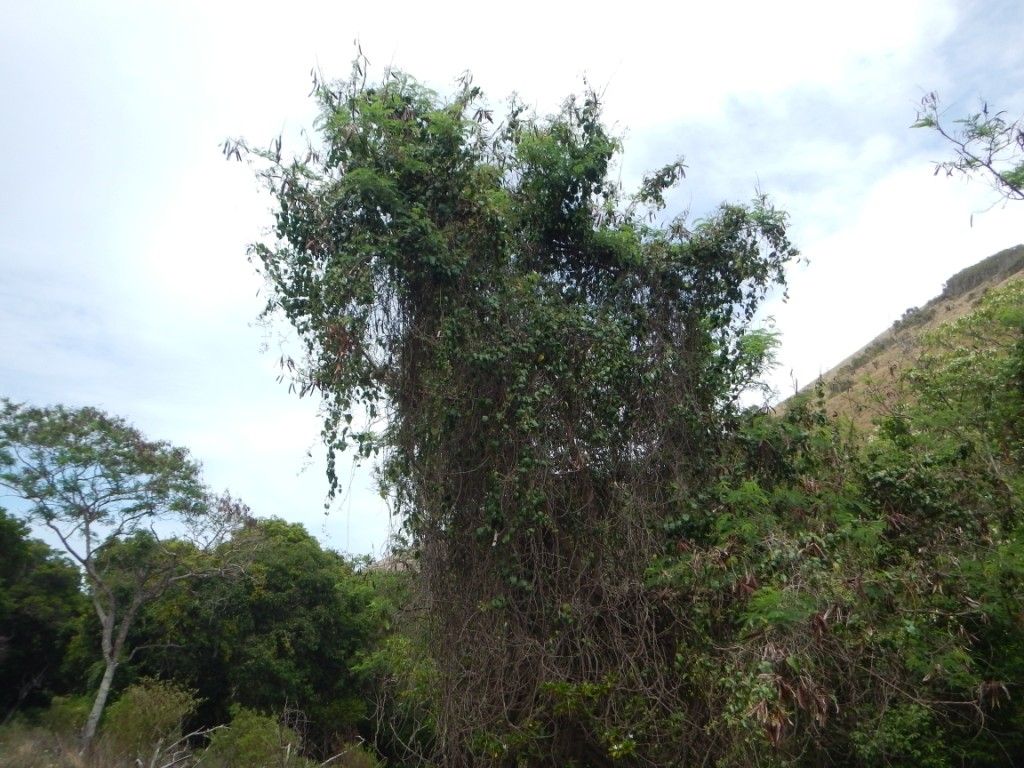
Today, we’re diving into the wonderful world of propagating Parsonsia brachiata, also known as the Native Wisteria or Climbing Lily. If you’ve ever admired its delicate, often fragrant, white or pale pink blooms cascading over a trellis or fence, you know how special this vine is. And oh, the satisfaction of growing your own from scratch! It’s a truly rewarding experience, seeing a tiny cutting transform into a thriving plant. Now, is it a walk in the park for absolute beginners? Honestly, it’s a bit more involved than, say, a pothos, but with a little patience and the right approach, it’s entirely achievable. Don’t let that deter you from trying!
The Best Time to Start
For Parsonsia brachiata, you’ll find the highest success rate when you propagate from semi-hardwood cuttings. This means you want to take them when the stem is no longer brand new and soft, but not yet woody and tough. Think late spring to mid-summer. The plant is actively growing during this period, which gives your cuttings the best energy reserves to develop roots. You’re looking for stems that have matured a bit but are still bendy, not brittle.
Supplies You’ll Need
Gathering your supplies beforehand makes the whole process smoother. Here’s what I find essential:
- Sharp Pruning Shears or a Knife: Clean cuts are crucial for healthy growth. Sterilize them with rubbing alcohol to prevent disease.
- Rooting Hormone: This isn’t strictly mandatory, but it significantly boosts your chances of success by encouraging faster root development.
- Well-Draining Potting Mix: A good blend is key. I love to use a mix of equal parts perlite, coco coir, and a good quality seed-starting mix. Perlite helps with aeration, coco coir retains some moisture, and the seed-starting mix provides a good base.
- Small Pots or Trays with Drainage Holes: Clean pots are a must!
- Clear Plastic Bags or a Propagation Dome: This helps maintain high humidity around your cuttings, which is vital for preventing them from drying out.
- Watering Can with a Fine Rose: For gentle watering.
- Gloves: If you have sensitive skin or just prefer to keep your hands clean.
Propagation Methods: Stem Cuttings
Stem cuttings are my go-to method for Parsonsia brachiata. It’s straightforward and yields excellent results.
- Select Your Cuttings: With your sterilized pruning shears, take cuttings from a healthy, vigorous parent plant. Aim for pieces that are about 4-6 inches long. Make your cut just below a leaf node (where a leaf attaches to the stem).
- Prepare the Cuttings: Gently remove the lower leaves from the cutting, leaving only the top 2-3 leaves. If the remaining leaves are quite large, you can carefully cut them in half. This reduces water loss through transpiration while still allowing for some photosynthesis.
- Apply Rooting Hormone: Dip the cut end of each prepared cutting into your rooting hormone powder or gel. Tap off any excess.
- Potting Up: Fill your clean pots or trays with your well-draining potting mix. Make a small hole in the center of the mix with your finger or a pencil.
- Insert the Cuttings: Place the treated end of each cutting into the hole and gently firm the soil around it. Make sure at least one or two leaf nodes are buried beneath the soil surface, as this is where roots will emerge.
- Water Gently: Water thoroughly but gently, ensuring the soil is moist but not waterlogged.
- Create a Humid Environment: Cover the pots or tray with a clear plastic bag or propagation dome. If using a bag, you can place a few stakes in the pot to keep the plastic from touching the leaves. This creates a mini-greenhouse effect.
The “Secret Sauce” (Pro Tips)
Here are a few little tricks I’ve learned over the years that can really give your propagating efforts a boost:
- Don’t Let the Leaves Touch the Water: This is crucial. If you’re doing water propagation (which I don’t recommend as much for Parsonsia brachiata as cuttings can rot easily), or even just misting, ensure the leaves of your cuttings don’t sit in any standing water. This is a fast track to rot and disease.
- Bottom Heat is Your Friend: While not always necessary, providing a little bit of warmth from below can dramatically speed up root formation. A dedicated heat mat designed for propagation is perfect for this. It encourages root growth from the bottom of the cutting.
- Patience is a Virtue (and a Necessity): Parsonsia brachiata can be a little slower to root than some other plants. Don’t be discouraged if you don’t see results for several weeks. I typically wait 4-8 weeks to see substantial root development. Resist the urge to constantly peek!
Aftercare & Troubleshooting
Once you start to see signs of new growth peeking out, or if you gently tug on a cutting and feel resistance, it’s a good sign that roots have formed!
- Acclimatization: Gradually introduce your new plant to normal conditions. Begin by opening the plastic bag or propagation dome for a few hours each day, slowly increasing the duration over a week or two.
- Watering: Continue to keep the soil consistently moist but not soggy. As the plant grows stronger, you can let the top inch of soil dry out slightly between waterings.
- Transplanting: Once the roots have filled the pot, you can gently transplant your new Parsonsia brachiata into a slightly larger pot.
- Troubleshooting Rot: The most common issue you might face is rot. If you see your cuttings become black, mushy, or develop brown spots, it’s usually a sign of overwatering or poor air circulation. Ensure your potting mix is airy and your pots have good drainage. If rot sets in, it’s often best to discard the affected cutting and try again, paying closer attention to moisture levels.
So there you have it! Propagating Parsonsia brachiata is a delightful journey that connects you even more deeply with your plants. Don’t be afraid to experiment, learn from any setbacks, and most importantly, enjoy the process. Happy propagating!
Resource: