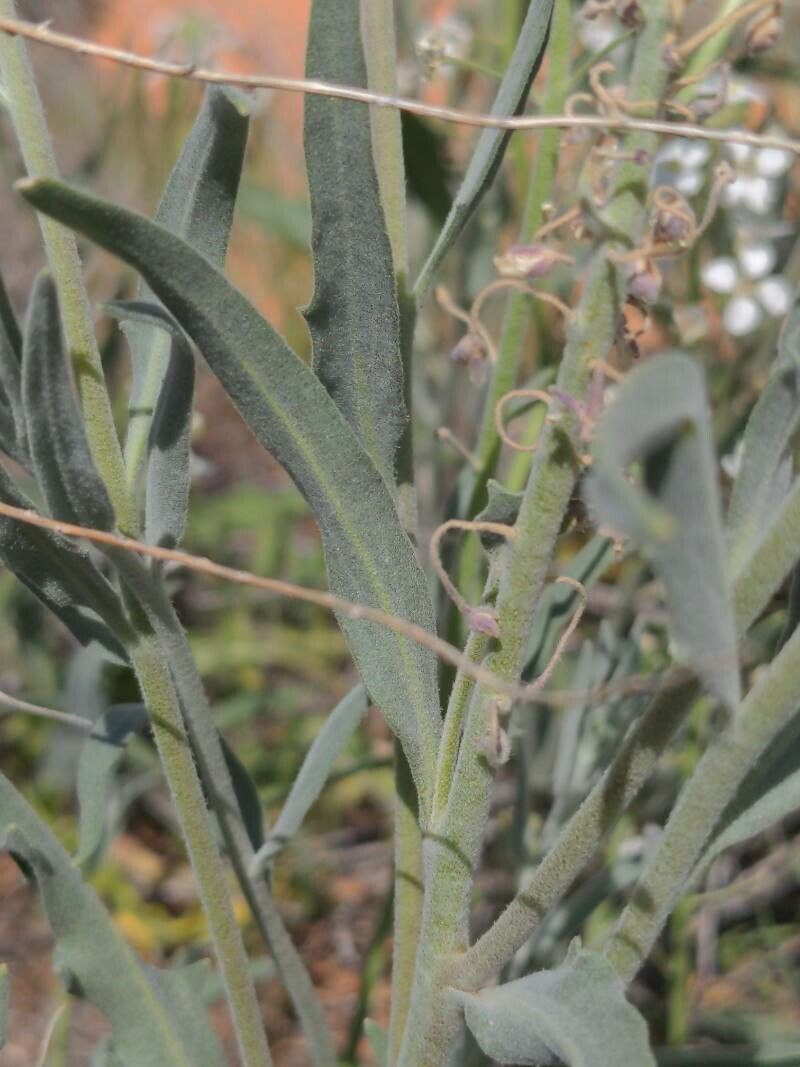
Hello, fellow garden lovers! I’m thrilled to share a little bit about a plant that has brought so much joy to my own garden – Dimorphocarpa candicans. You might know it better by its common name, the “Dewflower” or “White Sparkle Plant.” Its delicate, almost ethereal white flowers that bloom prolifically have a way of catching the morning dew, making your garden shimmer. Propagating this beauty is a truly rewarding experience, letting you share its magic with friends or simply fill your own space with more of its charm. And for those of you just dipping your toes into the world of propagation, you’ll be happy to hear that Dimorphocarpa candicans is particularly forgiving, making it a wonderful choice for beginners!
The Best Time to Start
For the absolute best success, I always recommend starting your Dimorphocarpa candicans cuttings in late spring or early summer. This is when the plant is in its most vigorous growth phase. The days are getting longer and warmer, giving those new cuttings the energy they need to establish themselves quickly. You can also take cuttings in early autumn, but you might find they take a little longer to root as the plant begins to slow down for winter.
Supplies You’ll Need
Gathering your supplies beforehand makes the whole process much smoother. Here’s what I usually have on hand:
- Clean, sharp pruning shears or a sharp knife: For making clean cuts, which is crucial for healthy root development.
- Rooting hormone (optional but recommended): This little powder or gel can give your cuttings a significant boost.
- A well-draining potting mix: I swear by a mix of equal parts perlite and high-quality potting soil for my cuttings. You can also use a seedling or propagation mix.
- Small pots or propagation trays: Clean pots are key to preventing disease.
- Plastic bags or a propagator lid: To create a humid environment for your cuttings.
- Watering can with a fine rose nozzle: For gentle watering.
- Labels and a marker: To keep track of what you’ve planted and when.
Propagation Methods
Dimorphocarpa candicans is a real trooper when it comes to propagation, and stem cuttings are my go-to method. It’s straightforward, and you can get quite a few new plants from a single parent plant.
Stem Cuttings:
- Select a healthy stem: Look for a non-flowering stem that is firm but still flexible. Avoid woody or very soft, new growth. You want a stem that’s a few inches long.
- Make the cut: Using your clean pruning shears or knife, make a clean cut just below a leaf node (where a leaf attaches to the stem). This is where the magic happens for root formation! I usually aim for cuttings that are about 4-6 inches long.
- Prepare the cutting: Gently remove the lower leaves, leaving just a few at the top. This prevents them from rotting in the soil.
- Apply rooting hormone (optional): If you’re using rooting hormone, lightly dip the cut end of the stem into the powder or gel. Tap off any excess.
- Plant the cutting: Fill your small pots with your prepared potting mix. Make a small hole in the center with your finger or a pencil. Insert the cut end of the stem into the hole, ensuring the leaf nodes are buried. Gently firm the soil around the stem.
- Water gently: Water the soil lightly until it’s moist but not waterlogged.
- Create humidity: Cover the pot with a plastic bag or propagator lid. This is vital to keep the humidity high around the leaves, preventing them from drying out before they can root. Make sure the leaves don’t touch the sides of the bag if possible.
The “Secret Sauce” (Pro Tips from My Greenhouse)
Over the years, I’ve learned a few tricks that can really give your propagation success a nudge.
- Bottom Heat is Your Friend: This is one of the biggest game-changers! Placing your pots on a heated propagator mat significantly speeds up root development. Dimorphocarpa candicans just loves that warmth from below, encouraging those roots to form much faster and more reliably.
- Air Circulation Matters: While humidity is crucial, stagnant air can lead to fungal issues. If you’re using a plastic bag, I recommend loosening it or opening it for a few minutes each day to allow for some air exchange. This helps prevent mold and encourages stronger growth.
- Don’t Be Afraid to Experiment with Leaf Removal: Sometimes, if a cutting seems to be struggling, I might experiment with removing one or two more lower leaves. It’s a gentle way to reduce the plant’s water demands while it’s trying to establish roots.
Aftercare & Troubleshooting
Once you see signs of little roots (which you can sometimes see peeking out the drainage holes or gently tugging on the cutting and feeling resistance), it’s time for a little more gentle care.
- Gradually Acclimate: Slowly remove the plastic bag or propagator lid over a few days. You want to gradually introduce your new plant to the drier air of your home or greenhouse.
- Water Wisely: Keep the soil consistently moist but not soggy. Overwatering is still the biggest culprit for rot.
- Light Touches: Once roots are well-established, you can transplant your new Dimorphocarpa candicans into a slightly larger pot with fresh potting mix.
Now, what if things go wrong? The most common enemy here is rot. If your cutting turns mushy, brown, or black, it’s usually a sign of too much moisture and not enough air circulation. If you see this, unfortunately, it’s best to discard the affected cutting and try again, perhaps with better drainage or more air circulation. Sometimes, a cutting might just fail to root – this is part of gardening! Don’t be discouraged; just clean up your tools and try again.
Happy Propagating!
See? It’s not nearly as daunting as it might seem! Propagating Dimorphocarpa candicans is a beautiful way to connect with nature and bring more of that delicate sparkle into your life. Be patient, enjoy the process, and get ready to marvel at your own gardening success. Happy growing!
Resource: