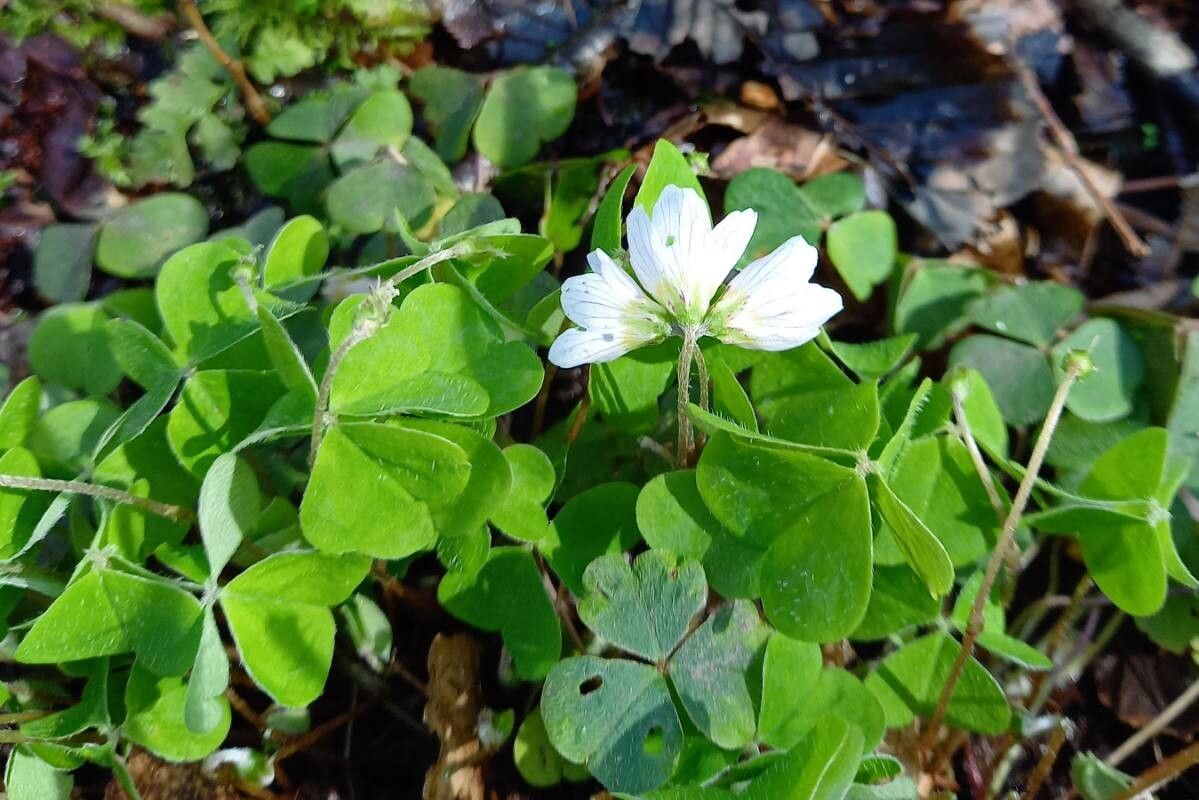
Hey there, fellow garden lovers! Pull up a chair, let’s have a virtual cuppa and chat about a plant that’s captured my heart over the years: Oxalis acetosella, or Wood Sorrel. You know, those delicate, clover-like leaves with that charming lemony tang? They bring such a gentle, woodland feel to shady spots, and seeing new baby plants pop up from your own efforts is just incredibly satisfying. They’re absolutely beginner-friendly, so if you’re looking for a propagation project that’s sure to bring a smile, you’ve come to the right place.
The Best Time to Start
From my experience, the absolute sweet spot for propagating Wood Sorrel is during its active growing season. Think late spring through early summer. This is when the plant is full of energy, pushing out new growth, and generally just feeling feisty. Trying to propagate when it’s dormant or stressed is like trying to build a house in a hurricane – much harder than it needs to be!
Supplies You’ll Need
Before we get our hands dirty, let’s gather our tools. Nothing too fancy here:
- Small pots or seed trays: Whatever you have on hand will likely do. Recycled yogurt cups with drainage holes work a treat!
- Well-draining potting mix: A good standard potting mix is fine, but I like to add a bit of perlite or coarse sand to really ensure no waterlogging.
- Scissors or pruning shears: Clean and sharp is key for neat cuts.
- A spray bottle: For misting.
- (Optional) Rooting hormone: While not strictly necessary for Wood Sorrel, it can give a little boost.
- (Optional) Small labels: To keep track of what you’ve planted.
Propagation Methods
Wood Sorrel is wonderfully generous with its propagation. The easiest way to multiply your plants is through division. This plant forms a sort of rhizomatous root system, and separating these little clumps is a doddle.
- Gently excavate: Take your mature Wood Sorrel plant out of its pot. If it’s in the ground, carefully dig around the base.
- Locate the divisions: You’ll see where the plant has naturally branched out from its roots. There might be small bulbs or offsets clinging to the main root ball.
- Separate gently: With clean hands or a small trowel, carefully pull or cut the root clumps apart. Aim for divisions that have at least a few leaves and some healthy roots attached. Don’t worry if you lose a few tiny roots in the process; they’re resilient.
- Potting up: Fill your small pots with your prepared potting mix. Make a little hole in the center and place your division in, covering the roots with soil. Water thoroughly until you see it drain from the bottom.
- Find a good spot: Place your newly potted divisions in a bright, but indirect light location. They don’t want to be scorched by direct sun, especially when they’re trying to establish themselves.
If you’re feeling adventurous, you can also try stem cuttings, though division is usually much more straightforward. Take a healthy stem with a few leaves, make a clean cut just below a leaf node, and pop it into moist soil or water. Just ensure those leaves don’t sit in the water if you’re using that method.
The “Secret Sauce” (Pro Tips)
Over the years, I’ve learned a few little tricks that seem to make a difference:
- Don’t be afraid of a little shock: When you divide, it’s normal for the plant to look a bit sad for a day or two. That’s okay! Just keep them consistently moist (not soggy) and out of direct sun, and they’ll bounce back.
- Bottom watering can be your friend: Once they’re potted, I often find setting the pots in a shallow tray of water for about 15-20 minutes allows the soil to wick up moisture evenly without disturbing delicate new roots. Just make sure they don’t sit in standing water for too long.
- Give them a humid hug: Wood Sorrel loves a bit of humidity. If your home is on the drier side, a light misting every few days can be really beneficial, especially in those initial weeks.
Aftercare & Troubleshooting
Once your little Wood Sorrel babies have settled in and you start to see new growth peeking out, you know they’re happy! Continue to keep the soil consistently moist but never waterlogged. As they grow, you can gradually introduce them to a bit more light, but always keep an eye on those leaves. If they start to look pale or scorched, they’re getting too much sun.
The most common sign of trouble is rot. This usually happens if the soil stays too wet for too long. You might notice yellowing leaves, wilting even when the soil is moist, or a mushy texture at the base of the stem. If you spot this, gently unpot the plant and try to remove any rotten parts. Let the remaining healthy bits dry out a bit before repotting in fresh, drier soil.
A Encouraging Closing
Propagating plants is a fantastic way to connect with nature and, let’s be honest, get more of the plants you love without breaking the bank! Be patient with your Wood Sorrel cuttings and divisions. Gardening is a journey, and sometimes nature takes its time. Enjoy the process, celebrate the little victories, and soon you’ll have a whole little woodland of your own. Happy growing!
Resource:
https://identify.plantnet.org/k-world-flora/species/Oxalis%20acetosella%20L./data