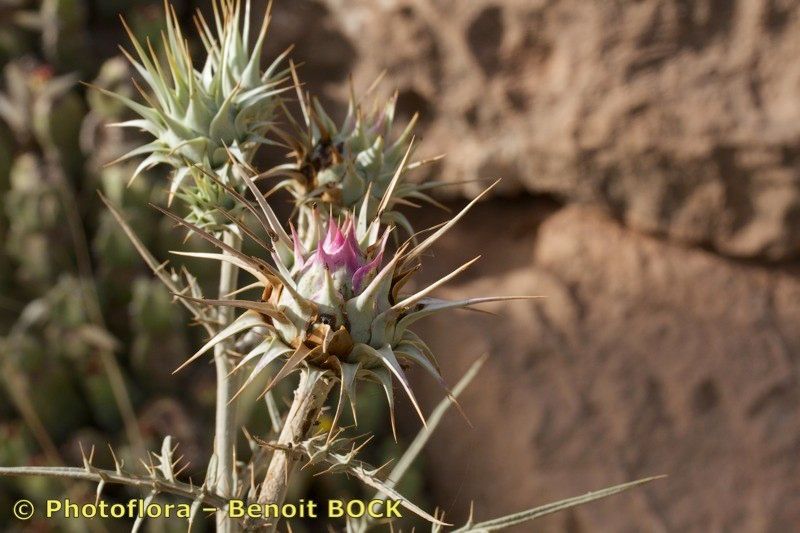
Hello, fellow plant lovers! Today, we’re diving into the world of a rather magnificent plant: Cynara baetica. If you’ve ever had the pleasure of seeing this Mediterranean beauty, you know its architectural form and striking thistle-like blooms are simply captivating. Trust me, coaxing new plants from your existing ones is one of the most satisfying parts of gardening. And while Cynara baetica isn’t something you’ll find at every nursery, propagating it yourself makes it wonderfully accessible. Now, for the good news: it’s moderately easy to propagate, even for those of you who are still building your green thumb confidence.
The Best Time to Start
The sweet spot for propagating Cynara baetica is usually in late spring or early summer. This is when the plant is actively growing after its winter rest, and new shoots are readily available. You want to work with healthy, vigorous material that has good energy reserves. Waiting until after the plant has had a chance to really wake up post-spring is key.
Supplies You’ll Need
Here’s what you’ll want to have on hand:
- Sharp pruning shears or a clean knife: For taking clean cuts.
- Rooting hormone (optional but recommended): Helps cuttings establish roots. Look for one with IBA (indole-3-butyric acid).
- Well-draining potting mix: A 50/50 blend of perlite and seed starting mix is ideal. Avoid heavy, water-retentive soils.
- Small pots or trays: Clean ones, of course! Four-inch pots are usually a good size.
- Clear plastic bags or a propagator: To create a humid environment.
- Watering can with a fine rose: For gentle watering.
- Labels: So you don’t forget what you’ve planted!
Propagation Methods
We’ll focus on two reliable methods: stem cuttings and division.
Stem Cuttings: This is my go-to for Cynara baetica.
- Select your cuttings: Look for healthy, non-flowering shoots that are about 4-6 inches long. These are usually found at the base of the plant or on new growth.
- Make the cut: Using your sterile pruners or knife, make a clean cut just below a leaf node (where a leaf attaches to the stem).
- Prepare the cutting: Gently remove the lower leaves. You want to expose at least one or two leaf nodes, as this is where roots will emerge. If the cutting has any flower buds, pinch them off – we want the plant’s energy focused on root development, not flowering.
- Apply rooting hormone: Dip the cut end of the stem into your rooting hormone powder, tapping off any excess.
- Plant the cuttings: Fill your small pots with your prepared potting mix. Poke a hole in the center with a pencil or your finger, making it deep enough for the cut end and a couple of leaf nodes.
- Insert the cutting: Place the cutting into the hole and gently firm the soil around it.
- Water and cover: Water thoroughly until you see water drain from the bottom of the pot. Then, cover the pot with a clear plastic bag or place it in a propagator. This humidity is crucial!
Division: If your Cynara baetica is an older, established clump, division is a fantastic option.
- Excavate the plant: In late spring or early summer, carefully dig up the entire plant. Try to disturb the root ball as little as possible.
- Inspect the root ball: Gently shake off some of the excess soil so you can see the structure of the plant. You’ll be looking for distinct clumps or crowns, each with its own set of roots.
- Divide the plant: Using a sharp spade or knife, carefully cut through the root ball to separate the clump into smaller sections. Ensure each division has a good amount of roots and at least one healthy shoot.
- Replant: Plant the divisions immediately into their new homes, whether that’s back in the ground or in new pots. Water them well.
The “Secret Sauce” (Pro Tips)
Here are a couple of little tricks I’ve picked up over the years:
- Think bottom heat! Cynara baetica absolutely loves warmth at its base, especially when trying to root from cuttings. Placing your pots on a heated propagator mat can dramatically speed up root formation and increase your success rate. It mimics the warmth of the soil in its natural habitat.
- Don’t overwater. While cuttings need humidity, they can easily rot if the soil stays too soggy. I like to check the soil moisture by touch. If the top inch feels dry, give it a gentle watering. The perlite in the mix helps prevent this, but it’s still good practice to be mindful.
Aftercare & Troubleshooting
Once roots have formed, you’ll start to see new growth appearing. This is your cue! Gradually acclimate your new plants to open air by removing the plastic cover for a few hours each day. Eventually, you can remove it entirely.
Keep them in a bright spot, but out of direct, scorching sun for the first week or two. Continue to water them regularly, but again, make sure the soil dries out slightly between waterings.
Now, what if things go wrong? The most common issue is rot. If your cuttings wilt dramatically, turn black and mushy at the base, or develop a furry mold, it’s a sign of too much moisture and not enough air circulation. Sadly, these are usually unsalvageable. Sometimes, cuttings just fail to root. Don’t be discouraged! This can happen for many reasons, from the cutting itself not being quite ready, to environmental factors. Just try again!
A Encouraging Closing
Growing new plants is an exercise in patience and observation. There’s a special kind of magic in nurturing a tiny cutting or a divided clump into a thriving new Cynara baetica. So, gather your supplies, get your hands dirty, and enjoy the process. Happy gardening!
Resource:
https://identify.plantnet.org/k-world-flora/species/Cynara%20baetica%20(Spreng.)%20Pau/data